📑 Table of Contents ▶
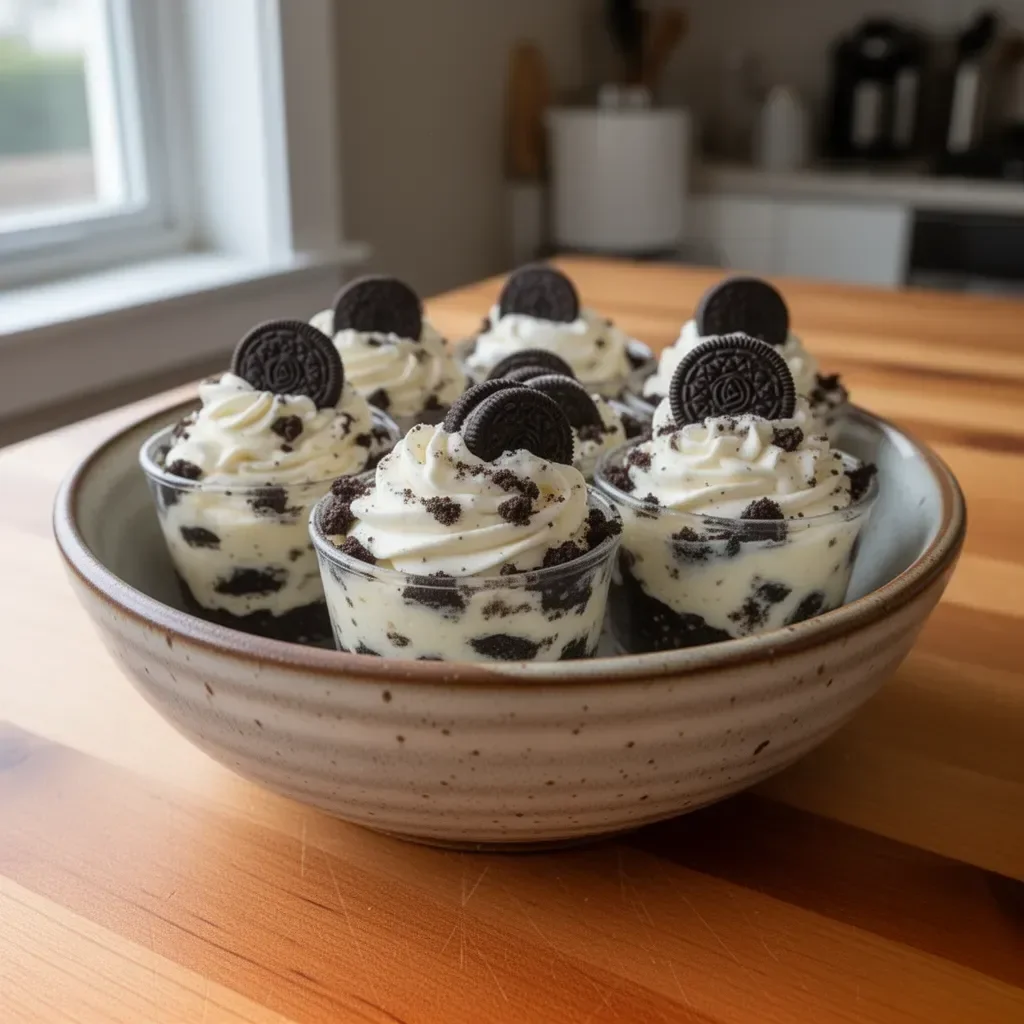
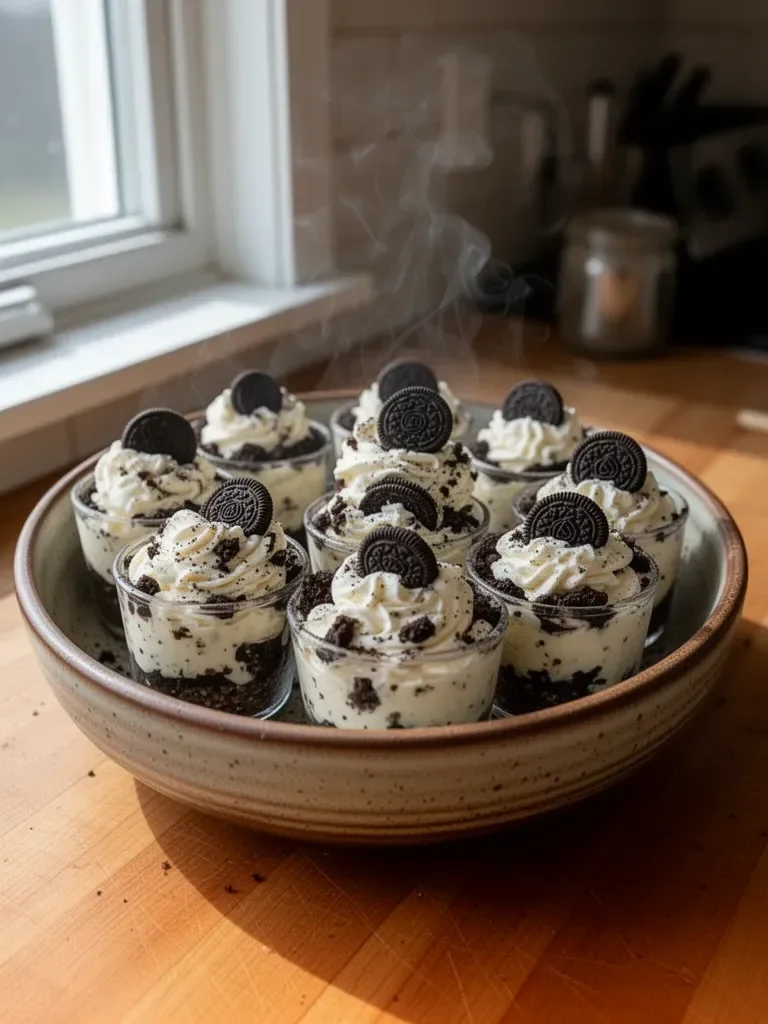
No-Bake Oreo Cheesecake Cups
I’m Della Lucia, and HealthyDinnerMeals was created from my belief that food should nourish both the body and the moments we share. My fondest memories come from simple homemade meals — not perfection, just comfort, connection, and care. Here, healthy eating stays approachable and satisfying, with recipes that fit real life: quick, flavorful, and balanced. Whether you’re cooking for yourself or loved ones, I hope these meals help you feel confident in the kitchen and inspired to enjoy every moment around the table.
Oreo cheesecake cups bring together memory, indulgence, and simplicity. Each bite delivers a delightful crunch from the Oreo crust and a creamy, smooth filling that feels like a dream. It’s a dessert that sparks joy at gatherings, parties, or even a quiet evening at home. This isn’t just any dessert; it’s a cherished part of celebrations and everyday treats.
The beauty of no-bake Oreo cheesecake cups lies in their straightforward preparation. Only a handful of ingredients create a stunning, dessert that requires minimal effort and maximum enjoyment. Spending time with family and friends around a buffet of sweets hardly feels like a task when these little cups steal the show.
With the right recipe approach, these delicious cups will impress everyone without the stress of traditional baking. You get to focus on the fun of dessert instead of the chaos of ovens and bake times. Make the day special, whether it’s a party or just a treat for yourself. Now, let’s dive into how to master the art of no-bake Oreo cheesecake cups.
No-Bake Oreo Cheesecake Cups
Fundamentals
Creating perfect no-bake Oreo cheesecake cups starts with understanding your ingredients. The classic Oreo cookies serve as the ideal base, providing texture and flavor that complements the creamy filling. Melted butter binds the crumbs together, ensuring a sturdy foundation that holds up.
Next, cream cheese delivers an irresistible richness and tang that balances the sweetness. Adding powdered sugar enhances this sweetness while keeping the filling smooth. Vanilla extract rounds out the flavors with an aromatic touch. Finally, whipped topping creates that light and airy texture, making each bite feel luxurious.
Once you grasp these fundamentals, making Oreo cheesecake cups becomes a simple process. Each layer plays a crucial role in achieving the perfect balance of flavors and textures. With this knowledge, you are ready to create a dessert that brings smiles and satisfaction.
Preparation/setup
For a successful preparation, gather all your ingredients before you start. Make sure to have 18 Oreo cookies, 3 tablespoons of melted butter, 8 ounces of cream cheese, ½ cup of powdered sugar, 1 teaspoon of vanilla extract, and 1½ cups of whipped topping. Mini Oreos will serve as an elegant garnish.
Start by crushing the Oreo cookies into fine crumbs using a food processor or a plastic bag and a rolling pin. Mix these crumbs with the melted butter until you achieve a sandy texture. Prepare your serving cups, ensuring they are clean and ready for dessert assembly.
Once your crust is ready, you can focus on creating the cream cheese filling. Ensure your cream cheese is at room temperature for easy blending. Beat the cream cheese, powdered sugar, and vanilla together until the mixture is smooth and fluffy. Afterward, gently fold in the whipped topping until fully combined.
Ingredients
- 18 Oreo cookies
- 3 tablespoons melted butter
- 8 ounces cream cheese
- ½ cup powdered sugar
- 1 teaspoon vanilla extract
- 1½ cups whipped topping
- Mini Oreos for garnish
Directions
- Crush Oreos into fine crumbs and mix with melted butter.
- Press the mixture into the bottom of your cups.
- Beat cream cheese, powdered sugar, and vanilla until smooth and fluffy.
- Gently fold in whipped topping.
- Layer the cheesecake filling over the crust, adding extra Oreo chunks if desired.
- Top with whipped topping, crushed Oreos, and a mini Oreo for an elegant touch.
- Chill for at least 1 hour before serving.
Unlocking the Secrets to No-Bake Oreo Cheesecake Cups
Technique
To elevate your no-bake Oreo cheesecake cups, pay attention to your mixing technique. When beating the cream cheese, ensure there are no lumps. This guarantees a velvety filling that spoons effortlessly onto the crust. Use a hand mixer or stand mixer for speed and efficiency.
Folding in the whipped topping requires a gentle touch. This technique ensures that you maintain the lightness of the whipped topping while fully incorporating it into the cream cheese mixture. Avoid over-mixing to keep that exquisite texture.
Tips/tricks
For added crunch, consider mixing in some chopped mini Oreos into the cheesecake filling before laying it over the crust. This adds delightful surprises in every bite.
Be creative with the serving cups — you can use mason jars, small bowls, or even fancy dessert cups. The right presentation makes a significant difference, adding to the visual appeal.
If you want to prepare these cups ahead of time, they hold well in the fridge for up to two days before serving. Just ensure you cover them tightly to prevent any absorption of unwanted odors.
Perfecting No-Bake Oreo Cheesecake Cups
Perfecting results
The key to perfecting your no-bake Oreo cheesecake cups lies in the chilling time. Allowing them to chill for at least one hour ensures the filling firms up just enough for easy serving. The flavors meld beautifully as they chill, enhancing the overall taste.
Pay attention to the serving size too. Using smaller cups allows for a delightful presentation, creating a bite-sized indulgence that’s perfect for parties or gatherings. It also prevents guests from overindulging and ensures that everyone can enjoy the sweetness in moderation.
Troubleshooting/variations
If your filling feels too runny, check if the cream cheese was fully blended. Cold cream cheese can affect the mixture’s consistency. In such cases, you can mix in another tablespoon of powdered sugar to help firm it up.
For variations, consider experimenting with different flavored Oreos, such as mint or peanut butter. Each variation creates a unique twist on the classic no-bake Oreo cheesecake cups.
If you’re looking to reduce sugar, opt for a sugar-free version of the cookies and powdered sugar. This allows you to enjoy the same delicious dessert with fewer calories.
Serving No-Bake Oreo Cheesecake Cups
Serving/presentation
Transform your no-bake Oreo cheesecake cups into an eye-catching dessert with a few simple presentation tips. After chilling, take the cups out and gently pile on a generous swirl of whipped topping on top. Sprinkle crushed Oreos, and place a mini Oreo cookie for a perfect finishing touch. These small details elevate the overall look, impressing your guests.
Using clear plastic or glass cups allows the layers to shine through, showcasing the beautiful contrast between the dark crust, creamy filling, and fluffy topping.
Pairings/storage
Serve these delightful cheesecake cups alongside fresh berries, such as strawberries or raspberries, for a burst of color and freshness. The tartness of the berries perfectly complements the sweetness of the cheesecake.
Store any leftover cheesecake cups in an airtight container in the refrigerator. They will maintain their deliciousness for up to two days. Always cover them to keep them fresh and firm.
Creamy, rich, and utterly satisfying, no-bake Oreo cheesecake cups will leave everyone wanting more.
No greetings, closings, emotional wrap-ups, or user-facing commentary.
No-bake Oreo cheesecake cups combine effortless preparation with outstanding flavor. By following the outlined steps, you prepare a dessert that embodies comfort and enjoyment. Each bite promises joy, engaging the palate while you create cherished moments around the table. Enjoy this treat today and witness its magic transform any gathering into a celebration.
Print
No-Bake Oreo Cheesecake Cups
- Prep Time: 15 minutes
- Cook Time: 0 minutes
- Total Time: 75 minutes
- Yield: 4 servings
- Category: Dessert
- Method: Chilling
- Cuisine: American
- Diet: Vegetarian
Description
Delicious no-bake Oreo cheesecake cups with a creamy filling and crunchy crust, perfect for gatherings or a sweet treat at home.
Ingredients
- 18 Oreo cookies
- 3 tablespoons melted butter
- 8 ounces cream cheese
- ½ cup powdered sugar
- 1 teaspoon vanilla extract
- 1½ cups whipped topping
- Mini Oreos for garnish
Instructions
- Crush Oreos into fine crumbs and mix with melted butter.
- Press the mixture into the bottom of your cups.
- Beat cream cheese, powdered sugar, and vanilla until smooth and fluffy.
- Gently fold in whipped topping.
- Layer the cheesecake filling over the crust, adding extra Oreo chunks if desired.
- Top with whipped topping, crushed Oreos, and a mini Oreo for an elegant touch.
- Chill for at least 1 hour before serving.
Notes
For added crunch, mix in chopped mini Oreos into the cheesecake filling. Use clear cups for presentation.