
📑 Table of Contents ▶
Melt-in-Your-Mouth Cake
I’m Della Lucia, and HealthyDinnerMeals was created from my belief that food should nourish both the body and the moments we share. My fondest memories come from simple homemade meals — not perfection, just comfort, connection, and care. Here, healthy eating stays approachable and satisfying, with recipes that fit real life: quick, flavorful, and balanced.
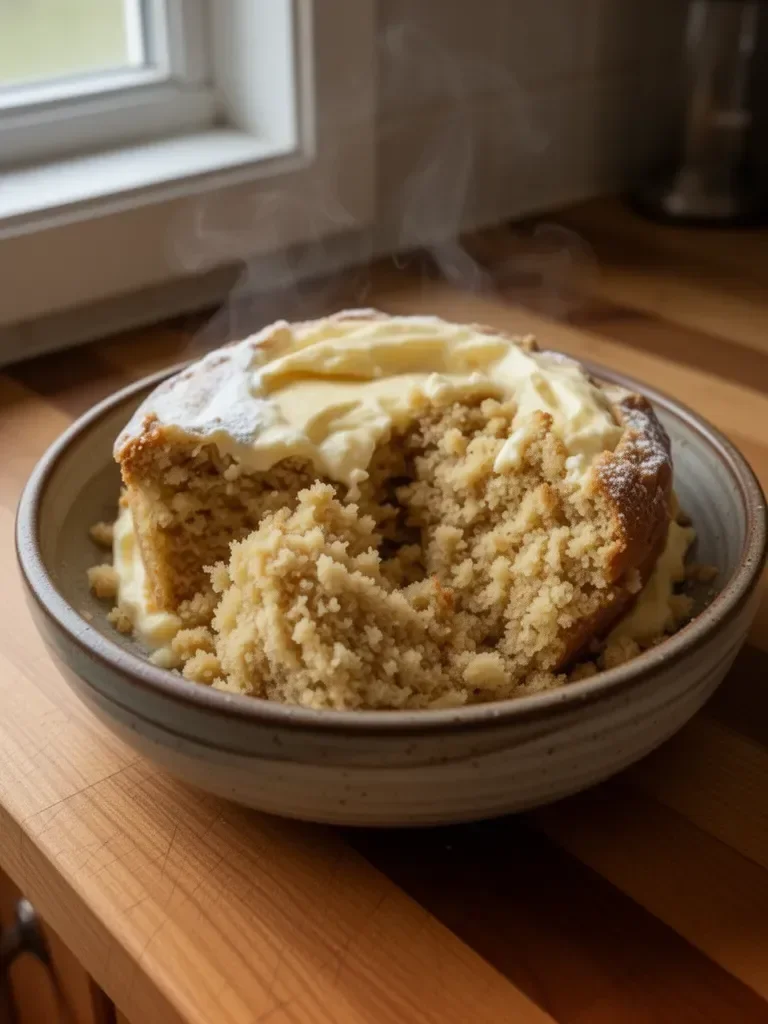
Among my favorite treats to prepare is a melt-in-your-mouth cake that simply delights the senses. This cake holds a special place in my heart because it captures the essence of family gatherings, cozy afternoons, and sweet celebrations. Each slice promises a blend of moist texture and creamy filling, making it perfect for any occasion.
Crafting this cake involves basic yet wholesome ingredients, transforming them into a sensuous experience as layers of cream fill the delicious cake. The joy of creating something so delightful becomes infectious as the aroma fills your kitchen. Each bite creates a moment to savor, one that embraces every relished memory shared around the table.
This melt-in-your-mouth cake invites you to indulge in its tenderness and flavorful richness. As you journey through the steps of making it, you will find the process both engaging and rewarding. Join me in exploring this delightful recipe that will surely become a cherished favorite in your home.
Melt-in-Your-Mouth Cake Basics
Fundamentals
Creating a melt-in-your-mouth cake begins with understanding the fundamentals of basic baking principles. You want to achieve a balance of ingredients that work harmoniously together to produce a light, moist cake with a rich filling. Mastering the temperature of your ingredients and the baking time can significantly impact the final result.
Precision is crucial. The right measurements ensure your cake rises appropriately and has the desired texture. Pay attention to the mixing process to maintain the airy quality in your batter. Remember, this cake thrives on the integration of butter, eggs, and flour, forming a canvas for the sumptuous cream filling.
Preparation/Setup
Start by preheating your oven to the appropriate temperature. Generally, a range of 350°F (175°C) works well for most cakes. As you prepare your ingredients, make sure everything is at room temperature, especially your butter and eggs. This step fosters better emulsification, resulting in a finer texture.
Grease your cake pan thoroughly to prevent sticking. Consider lining the bottom with parchment paper for easy removal after baking. Gather all your ingredients to ensure a smooth workflow and minimize confusion during the baking process.
Ingredients
For the cake, you will need:
- 150 grams (1 ½ cups) of all-purpose flour
- 100 ml (½ cup) of water
- 100 ml (½ cup) of milk
- 80 grams (⅓ cup) of butter
- 4 large eggs
- 1 teaspoon baking powder
- ½ teaspoon salt
For the filling, you will need:
- 500 ml (2 cups) of milk
- 150 grams (¾ cup) of sugar
- 100 grams (1 cup) of all-purpose flour
- 2 large eggs
- 180 grams (¾ cup) of butter
Directions
-
In a large mixing bowl, combine 150 grams of all-purpose flour, 80 grams of butter, 1 teaspoon of baking powder, and ½ teaspoon of salt. Mix the dry ingredients thoroughly.
-
In a separate bowl, whisk together 100 ml of water, 100 ml of milk, and 4 large eggs until well combined. Gradually fold this mixture into the dry ingredients until fully integrated.
-
Pour this batter into a prepared cake pan and spread it evenly. Bake in a preheated oven until lightly golden, usually around 25-30 minutes.
-
While the cake bakes, prepare the cream filling by combining 500 ml of milk and 150 grams of sugar in a saucepan. Heat the mixture over medium heat until warm.
-
In another bowl, mix 100 grams of flour with 2 large eggs until smooth. Gradually pour this mixture into the warm milk, stirring constantly to avoid lumps. Cook until the mixture thickens, then remove from heat and mix in 180 grams of butter.
-
Once the cake is baked and cooled, slice it in half horizontally. Spread the cream filling generously between the layers.
-
Close the cake, allowing the filling to seep into the layers. Dust the top with icing sugar or your favorite garnish before serving.
Tips for Creating Your Dream Cake
Technique
The technique you employ can elevate your melt-in-your-mouth cake. Pay attention to how you mix the butter and sugar — a fluffy mixture creates a better texture for your cake. Use room temperature butter for optimal results, as it blends better with the sugars, leading to a lighter batter.
When combining wet and dry ingredients, don’t overmix. Gentle folding helps retain the air bubbles you’ve incorporated, ensuring the final cake remains airy and moist. Utilize a spatula to scrape down the sides of your bowl, making sure no flour is hidden away.
Tips/Tricks
Here are some tips and tricks to ensure your cake stands out:
- Use high-quality ingredients like fresh eggs and real butter for the best flavor.
- Consider adding a splash of vanilla extract or a zest from citrus fruits to enhance the overall taste.
- Let your cake cool completely before slicing. This practice prevents the filling from oozing out too much, making for a more appealing presentation.
- If the filling becomes too thick before using, whisk in a splash of milk to adjust its consistency.
Perfecting Your Cake
Perfecting Results
Perfecting the melt-in-your-mouth cake takes practice. Learning your oven’s unique characteristics plays a significant role in getting the baking timing just right. Baking times can vary slightly based on the oven, so always check for doneness a few minutes before the indicated time by inserting a toothpick.
Allow cooling periods to help develop the cake’s flavor fully. Similarly, chilling the cream filling before slathering it between layers enhances its creaminess and stability.
Troubleshooting/Variations
If you experience issues during the cake preparation, consider these troubleshooting tips:
- If your cake doesn’t rise well, check the freshness of your baking powder and ensure you mixed the batter correctly.
- For an unexpected dense cake, double-check the butter temperature, as cold ingredients can lead to less volume.
- Experiment with the filling by incorporating different flavors or textures. For instance, adding chocolate chips or fruits can create delightful variations.
Serving Suggestions and Storage
Serving/Presentation
Serving your melt-in-your-mouth cake is part of the joy. Place it on a decorative cake stand to elevate its presentation. Dust the top with icing sugar or opt for fresh fruit toppings to personalize each serving. Each slice should showcase the cream filling, inviting everyone to savor its goodness.
Pairings/Storage
This cake pairs wonderfully with a cup of coffee or tea, making it a perfect dessert for afternoon gatherings. Store any leftovers in an airtight container to keep your cake fresh. Ideally, consume it within three days. You can also refrigerate it to prolong shelf life, but remember to let it come to room temperature before enjoying it again.
Crafting a melt-in-your-mouth cake offers a delightful baking experience that intertwines flavor and nostalgia. Through each step, the simple ingredients transcend into something extraordinary, connecting you to the moments worth celebrating. Enjoy every bite, knowing you have created something truly special to share with loved ones.
Print
Melt-in-Your-Mouth Cake
- Prep Time: 15 minutes
- Cook Time: 30 minutes
- Total Time: 45 minutes
- Yield: 8 servings
- Category: Dessert
- Method: Baking
- Cuisine: American
- Diet: Vegetarian
Description
A delightful cake with a moist texture and creamy filling, perfect for family gatherings and celebrations.
Ingredients
- 150 grams (1 ½ cups) all-purpose flour
- 100 ml (½ cup) water
- 100 ml (½ cup) milk
- 80 grams (⅓ cup) butter
- 4 large eggs
- 1 teaspoon baking powder
- ½ teaspoon salt
- 500 ml (2 cups) milk (for filling)
- 150 grams (¾ cup) sugar (for filling)
- 100 grams (1 cup) all-purpose flour (for filling)
- 2 large eggs (for filling)
- 180 grams (¾ cup) butter (for filling)
Instructions
- In a large mixing bowl, combine 150 grams of all-purpose flour, 80 grams of butter, 1 teaspoon of baking powder, and ½ teaspoon of salt. Mix the dry ingredients thoroughly.
- In a separate bowl, whisk together 100 ml of water, 100 ml of milk, and 4 large eggs until well combined. Gradually fold this mixture into the dry ingredients until fully integrated.
- Pour this batter into a prepared cake pan and spread it evenly. Bake in a preheated oven until lightly golden, usually around 25-30 minutes.
- While the cake bakes, prepare the cream filling by combining 500 ml of milk and 150 grams of sugar in a saucepan. Heat the mixture over medium heat until warm.
- In another bowl, mix 100 grams of flour with 2 large eggs until smooth. Gradually pour this mixture into the warm milk, stirring constantly to avoid lumps. Cook until the mixture thickens, then remove from heat and mix in 180 grams of butter.
- Once the cake is baked and cooled, slice it in half horizontally. Spread the cream filling generously between the layers.
- Close the cake, allowing the filling to seep into the layers. Dust the top with icing sugar or your favorite garnish before serving.
Notes
Use high-quality ingredients for the best flavor. Let the cake cool completely before slicing to maintain its structure.