📑 Table of Contents ▶
- Matilda’s Chocolate Cake
- The Art of Matilda’s Chocolate Cake
- Fundamentals
- Preparation/Setup
- Directions
- The Techniques Behind Matilda’s Chocolate Cake
- Technique
- Tips/Tricks
- Perfecting the Results of Matilda’s Chocolate Cake
- Perfecting Results
- Troubleshooting/Variations
- Serving Matilda’s Chocolate Cake
- Serving/Presentation
- Pairings/Storage
- Matilda’s Chocolate Cake
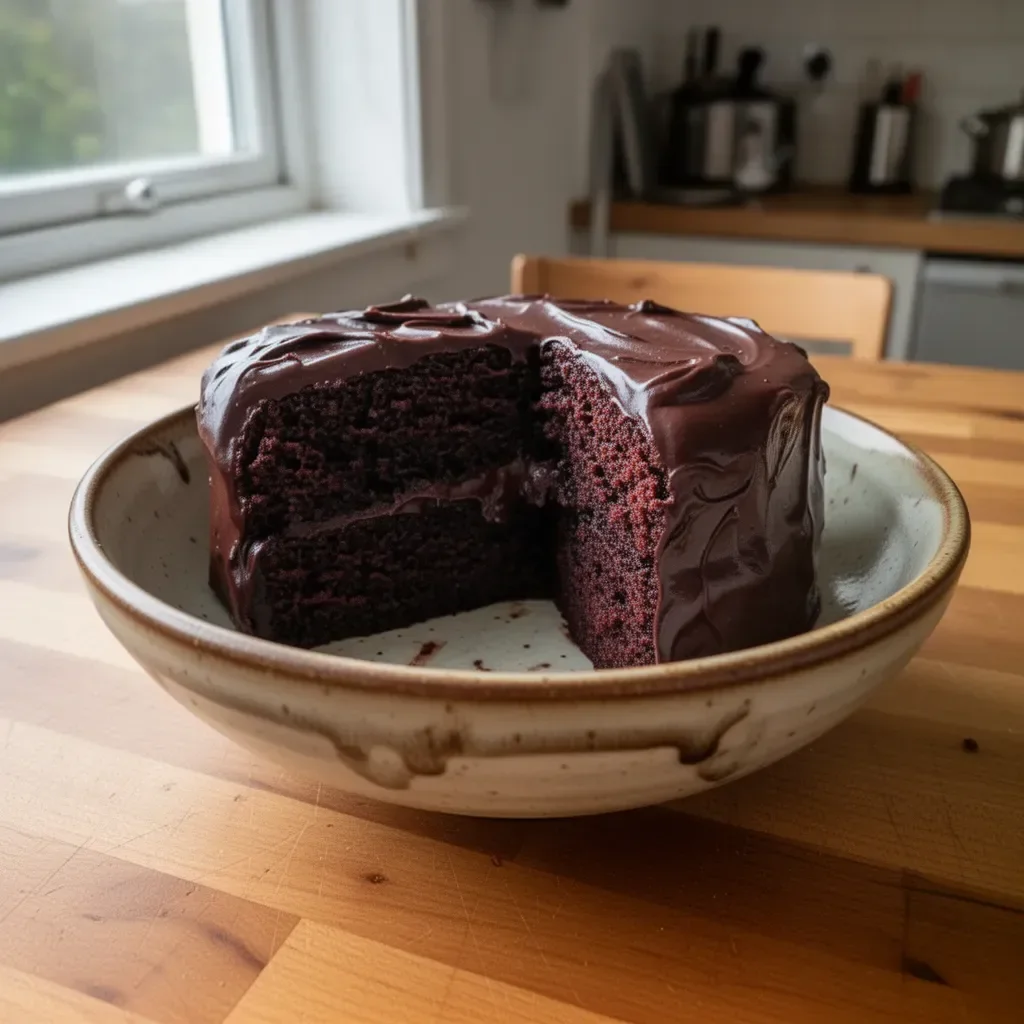
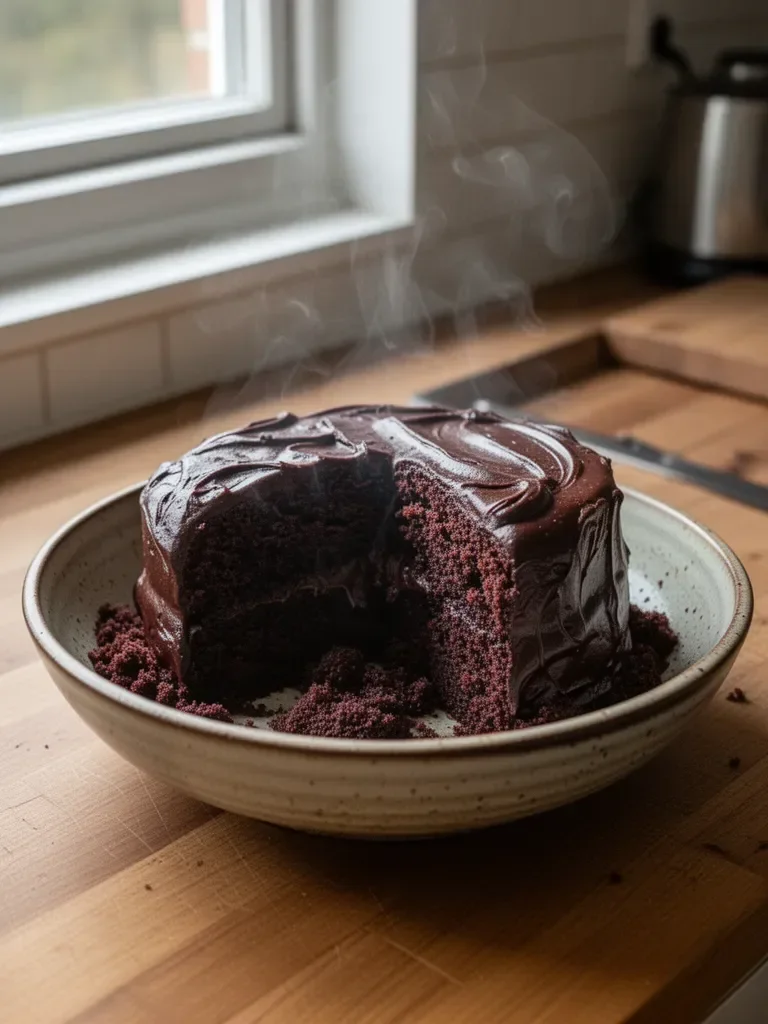
Matilda’s Chocolate Cake
I’m Della Lucia, and HealthyDinnerMeals was created from my belief that food should nourish both the body and the moments we share. My fondest memories come from simple homemade meals — not perfection, just comfort, connection, and care. Here, healthy eating stays approachable and satisfying, with recipes that fit real life: quick, flavorful, and balanced. Cooking has always been more than just a chore; it’s an expression of love. Matilda’s Chocolate Cake embodies that spirit, bringing together rich flavors and a delightful texture that comfort anyone who takes a slice.
This cake, inspired by timeless recipes, carries a deep, chocolatey flavor thanks to the combination of cocoa and sugar. It reminds me of birthdays celebrated with family and friends, laughter mingling with the sweet aroma of baking. Each layer of this cake brings a world of indulgence that transforms any simple occasion into a cherished memory. Whether you’re celebrating a special event or simply indulging in a cozy evening, Matilda’s Chocolate Cake delivers satisfaction in every bite.
Making this cake with loved ones creates a moment of connection that lasts far beyond the last slice. It’s about delighting in the process and enjoying the decadent results. When you want to pull together a dessert that impresses, Matilda’s Chocolate Cake stands tall with its deep flavors and rich texture. The warm layers paired with chocolate fudge frosting make it a go-to for anyone craving comfort in a dessert.
The Art of Matilda’s Chocolate Cake
Fundamentals
To craft the perfect Matilda’s Chocolate Cake, understanding the fundamental components is crucial. A blend of high-quality ingredients guarantees a rich, moist cake that leaves a lasting impression. You’ll focus on balance: the sweetness of the sugar with the richness of the cocoa, lifted by the baking powder and soda—this creates that signature rise and fluffiness. Familiarize yourself with the precise measurements. Each ingredient plays a role, and variations can affect the final product.
Preparation begins with ensuring you have everything on hand. Preheating the oven allows it to reach the optimal temperature for baking, which helps the cake rise evenly. Properly preparing your cake pans prevents sticking and ensures an effortless release from the pans once baked. Involving kids or friends in this process makes it a delightful group activity, turning a cake-baking session into cherished moments filled with laughter.
Preparation/Setup
Begin by gathering your ingredients and tools. You’ll need two 9-inch round cake pans, a mixing bowl, a whisk, and some measuring cups and spoons to ensure accuracy. Preheat the oven to 350°F (175°C) while you prepare your pans. Grease and flour each pan, creating a non-stick surface that guarantees a perfect release of your baked cake.
The double-checking of what’s needed ensures no last-minute scrambles. Measure your dry ingredients carefully: 1 ¾ cups of all-purpose flour, 1 ½ cups granulated sugar, ¾ cup unsweetened cocoa powder, 1 ½ teaspoons baking powder, 1 ½ teaspoons baking soda, and 1 teaspoon salt.
Next, gather your wet ingredients: two large eggs, one cup of whole milk, ½ cup of vegetable oil, and two teaspoons of vanilla extract. The boiling water, a unique twist in this recipe, will elevate the batter’s smoothness—make sure it’s ready to go when you need it.
Ingredients
- 1 ¾ cups all-purpose flour
- 1 ½ cups granulated sugar
- ¾ cup unsweetened cocoa powder
- 1 ½ teaspoons baking powder
- 1 ½ teaspoons baking soda
- 1 teaspoon salt
- 2 large eggs
- 1 cup whole milk
- ½ cup vegetable oil
- 2 teaspoons vanilla extract
- 1 cup boiling water
- 2 cups chocolate fudge frosting (for filling and topping)
Directions
-
Preheat your oven to 350°F (175°C). Grease and flour two 9-inch round cake pans thoroughly.
-
In a large mixing bowl, combine the flour, sugar, cocoa powder, baking powder, baking soda, and salt.
-
Add the eggs, milk, vegetable oil, and vanilla to the dry ingredients. Mix until everything comes together and is well combined.
-
Carefully stir in the boiling water until your batter is smooth. It may look thin, but that’s perfectly normal.
-
Divide the batter evenly between the prepared pans. This helps ensure an even bake.
-
Bake for 30 to 35 minutes, or until a toothpick inserted in the center comes out clean.
-
Allow the cakes to cool in the pans for 10 minutes. Then transfer them to wire racks to cool completely.
-
Once cooled, spread chocolate fudge frosting on the top of one layer, stack the second layer on top, then frost the top and sides of the cake.
-
Serve and enjoy!
The Techniques Behind Matilda’s Chocolate Cake
Technique
Perfecting Matilda’s Chocolate Cake relies on simple yet effective techniques. The method of mixing the ingredients matters. Start with the dry ingredients and mix them thoroughly to ensure even distribution of baking soda and powder. This step is vital for a consistent rise throughout the cake layers.
When incorporating the wet ingredients, mix until just combined; over-mixing could create a dense texture that doesn’t match the lightness you desire. Always add the boiling water last, as it helps dissolve any cocoa clumps and enhances the depth of flavor.
Tips/Tricks
Using high-quality cocoa powder elevates the cake’s taste significantly. Opting for a natural cocoa may yield different results than Dutch-processed cocoa. Consider taste-testing different brands to find one that resonates with your palate.
Temperature plays a pivotal role in baking. Room temperature eggs help the batter mix more evenly. Leave them out for a while before baking. Also, ensure the cake completely cools before frosting; this prevents the frosting from melting into the layers, ensuring a neat presentation.
Experimenting with various tools can be rewarding as well. Try different mixing speeds to see how they affect your batter’s texture. Hand-whisking adds a personal touch, but an electric mixer can save time and deliver consistent results.
Perfecting the Results of Matilda’s Chocolate Cake
Perfecting Results
Achieving the perfect texture in Matilda’s Chocolate Cake depends on practice and subtle adjustments. After cooling, if the layers seem too crumbly or too dry, think about the following factors: Was the flour measured correctly? Did the oven temperature remain consistent during baking?
For a fluffier cake, consider increasing the baking powder slightly or mixing the batter for a bit longer. A touch of sour cream or yogurt can add additional moisture, but don’t overdo it.
Troubleshooting/Variations
Baking can lead to unexpected results, but troubleshooting is part of the fun. If your cake domes too much, check if you over-mixed the batter, or reduce the baking powder a little next time.
For those who enjoy variations, consider adding chocolate chips right before pouring the batter into the pans for extra bursts of chocolate throughout. You might also add a layer of fruit, like raspberries or strawberries, between the cake layers for a delightful contrast in flavor.
If frosting alone isn’t enough, drizzle a rich chocolate ganache on top to turn your cake into an extravagant dessert.
Serving Matilda’s Chocolate Cake
Serving/Presentation
Presentation makes any dish more inviting. For Matilda’s Chocolate Cake, start with a clean serving platter. Use a serrated knife for slicing to ensure clean edges. Decorate the top with extra chocolate fudge frosting or a sprinkling of cocoa powder for visual appeal.
Fresh fruit or toasted nuts can also be lovely garnishes, adding a nice contrast to the dark, rich cake. Serving it with a dollop of whipped cream can elevate the dessert experience even more.
Pairings/Storage
Enjoy Matilda’s Chocolate Cake on its own or paired with a scoop of vanilla ice cream for a comforting contrast in flavors. Coffee or tea makes an excellent beverage companion, enhancing the cake’s deep chocolate notes.
Proper storage is essential for prolonging your cake’s freshness. Storing it in an airtight container at room temperature keeps it moist for several days. If you want it to last longer, refrigerate the cake, allowing it to sit for about 30 minutes at room temperature before serving to regain its texture.
This rich cake is perfect for any occasion. Whether it’s a celebration or a casual get-together, its warm, inviting flavors never fail to impress.
Matilda’s Chocolate Cake embodies comfort and connection through home baking. The process invites creativity while promising satisfaction, each slice revealing layers of chocolatey goodness that warms both the heart and soul. As you create and enjoy this cake, relish the moments spent in the kitchen and the joy it brings to your table. Treat yourself to this indulgent experience, celebrating the magic that homemade desserts can create.
Print
Matilda’s Chocolate Cake
- Prep Time: 20 minutes
- Cook Time: 35 minutes
- Total Time: 55 minutes
- Yield: 12 servings
- Category: Dessert
- Method: Baking
- Cuisine: American
- Diet: Vegetarian
Description
A rich and moist chocolate cake that embodies comfort and connection through home baking.
Ingredients
- 1 ¾ cups all-purpose flour
- 1 ½ cups granulated sugar
- ¾ cup unsweetened cocoa powder
- 1 ½ teaspoons baking powder
- 1 ½ teaspoons baking soda
- 1 teaspoon salt
- 2 large eggs
- 1 cup whole milk
- ½ cup vegetable oil
- 2 teaspoons vanilla extract
- 1 cup boiling water
- 2 cups chocolate fudge frosting (for filling and topping)
Instructions
- Preheat your oven to 350°F (175°C). Grease and flour two 9-inch round cake pans thoroughly.
- In a large mixing bowl, combine the flour, sugar, cocoa powder, baking powder, baking soda, and salt.
- Add the eggs, milk, vegetable oil, and vanilla to the dry ingredients. Mix until everything comes together and is well combined.
- Carefully stir in the boiling water until your batter is smooth. It may look thin, but that’s perfectly normal.
- Divide the batter evenly between the prepared pans. This helps ensure an even bake.
- Bake for 30 to 35 minutes, or until a toothpick inserted in the center comes out clean.
- Allow the cakes to cool in the pans for 10 minutes. Then transfer them to wire racks to cool completely.
- Once cooled, spread chocolate fudge frosting on the top of one layer, stack the second layer on top, then frost the top and sides of the cake.
- Serve and enjoy!
Notes
Using high-quality cocoa powder can significantly elevate the cake’s taste. Room temperature eggs help in evenly mixing the batter.