📑 Table of Contents ▶
- The Fundamentals of Vanilla Bean Frappe
- Fundamentals
- Preparation/Setup
- Directions
- Techniques for a Perfect Vanilla Bean Frappe
- Technique
- Tips/Tricks
- Perfecting Your Vanilla Bean Frappe
- Perfecting Results
- Troubleshooting/Variations
- Serving and Enjoying Your Vanilla Bean Frappe
- Serving/Presentation
- Pairings/Storage
DIY Vanilla Bean Frappe
I’m Della Lucia, and HealthyDinnerMeals was created from my belief that food should nourish both the body and the moments we share. My fondest memories come from simple homemade meals — not perfection, just comfort, connection, and care. Here, healthy eating stays approachable and satisfying, with recipes that fit real life: quick, flavorful, and balanced. Whether you’re cooking for yourself or loved ones, I hope these meals help you feel confident in the kitchen and inspired to enjoy every moment around the table.
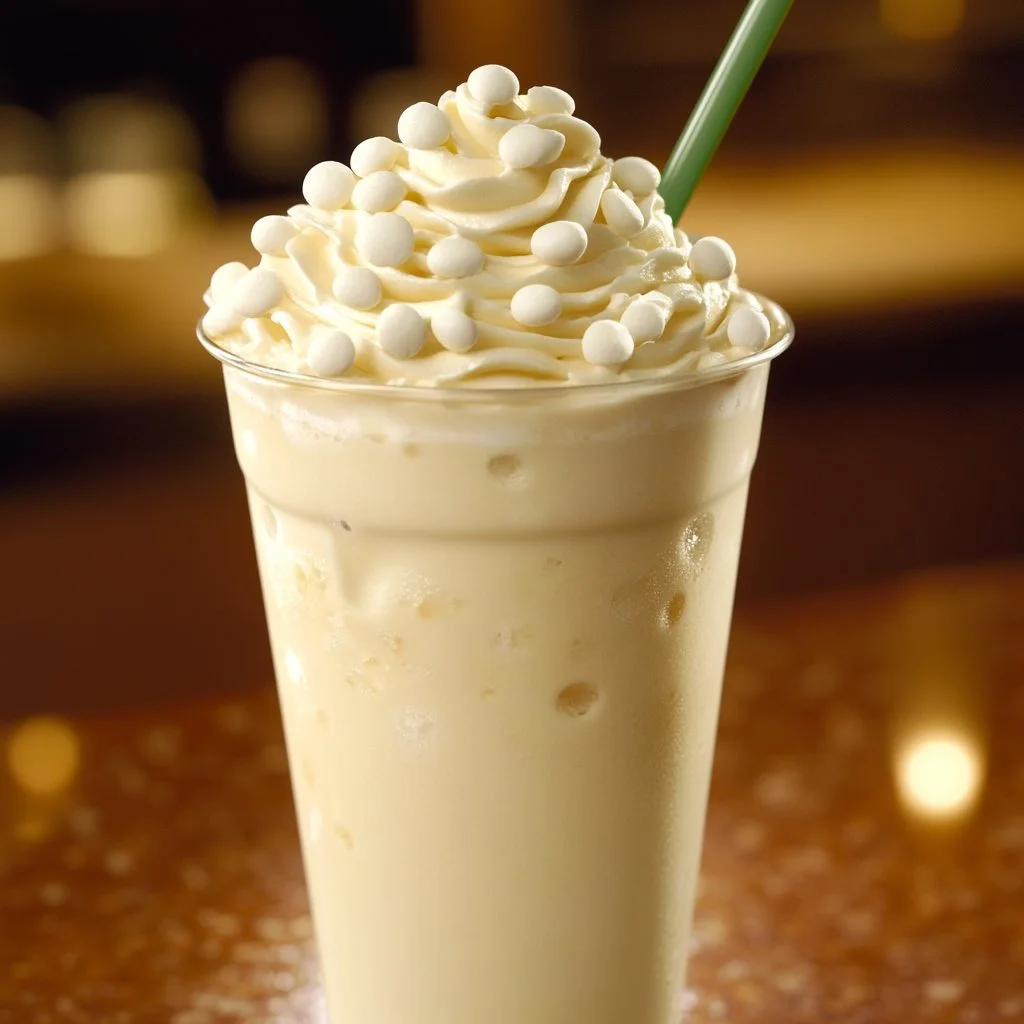
DIY Vanilla Bean Frappe serves as a delightful representation of comfort and creativity in the kitchen. There’s something intrinsically satisfying about blending some ingredients together to create a beautifully refreshing drink. Picture a hot summer afternoon, where an ice-cold treat can lift your spirits. This Vanilla Bean Frappe stands out with the gentle sweetness and fragrant aroma, making it instantly inviting.
The simplicity of the DIY Vanilla Bean Frappe allows anyone to indulge in its creamy goodness. Friends and family alike will appreciate the effort when you present this cool beverage. With just four simple ingredients, it becomes a fun project that enhances any gathering or quiet moment at home.
Prepare to explore the delightful aspects of this DIY Vanilla Bean Frappe that can warm hearts and cool down hot days. Turn on that blender, grab your milk, and let’s make this delightful drink!
The Fundamentals of Vanilla Bean Frappe
Fundamentals
Understanding the essentials of the DIY Vanilla Bean Frappe sets a solid foundation for mastering this delightful beverage. The creamy base combines milk or sweet cream with the sophisticated flavor of vanilla. This gives the drink its signature taste, transforming simple ingredients into a luscious experience.
Ice plays a vital role in bringing the frappe to life. Blending it with the milk infuses a smooth, icy texture, perfect for sipping. Using a quality sweetener will enhance the overall flavor, allowing you to customize the sweetness to your liking.
Preparation/Setup
Prepping for your vanilla bean frappe requires minimal effort and ingredients. Gather your ingredients beforehand to streamline the process. It helps to have an efficient blender capable of handling ice efficiently.
The setup focuses primarily on the vanilla bean itself. Cutting it open and scraping out the seeds releases its wonderful fragrance and flavor into your drink. Every step brings you closer to a delicious refreshment.
Ingredients
The necessities to whip up this dreamy DIY Vanilla Bean Frappe include:
- 2 cups milk or sweet cream
- 1 vanilla bean
- 2 tablespoons sweetener of choice (sugar, honey, or agave)
- 2 cups ice
These ingredients come together harmoniously to create a drink that’s rich yet refreshing. The quality of the vanilla bean significantly influences the overall taste, so choose one that’s aromatic and plump.
Directions
- Begin by cutting the vanilla bean in half and scraping out the seeds into the blender.
- Add milk and sweetener into the blender along with the ice.
- Blend on high speed until the mixture is smooth and creamy.
- Taste for sweetness, adjusting with more sweetener if necessary.
- Pour into large glasses, garnishing with any remaining vanilla pods or a sprinkle of cinnamon if desired.
Techniques for a Perfect Vanilla Bean Frappe
Technique
Mastering the technique requires blending at the right speed and duration. Start with high-speed blending to break down the ice thoroughly and emulsify the milk with the sweetener. Achieving the perfect consistency should take about 30 to 60 seconds.
The quality of the milk also matters. Whole milk provides a richer texture, while alternatives like almond or oat milk offer different flavor profiles. Experimenting with these can lead to unique interpretations of the vanilla bean frappe.
Tips/Tricks
To optimize your experience, consider chilling your glasses in advance. This way, the frappe maintains its frosty appeal longer. Using frozen milk cubes instead of regular ice improves texture and prevents dilution as you sip.
If you want to try variations, consider infusing the milk with spices like cinnamon or nutmeg before blending. This provides an added dimension to your classic vanilla bean frappe.
Aim for balance when adding sweeteners; start with less and adjust according to preference. Taste as you go, ensuring your drink achieves your ideal level of sweetness.
Perfecting Your Vanilla Bean Frappe
Perfecting Results
Perfecting your DIY Vanilla Bean Frappe involves repeating the process while making slight adjustments. Note how the ice blends and if the texture aligns with your expectations. Ideally, the beverage should be creamy without being overly thick or icy.
Document any changes in ingredients or techniques that lead to a preferable outcome. Finding the right combination may take a few attempts, but it’ll provide insights in your journey to create the ultimate frappe.
Troubleshooting/Variations
In case your frappe turns out thinner than desired, consider adding a bit more ice or blending less. If it feels too rich, opt for a lighter milk or decrease the sweetener.
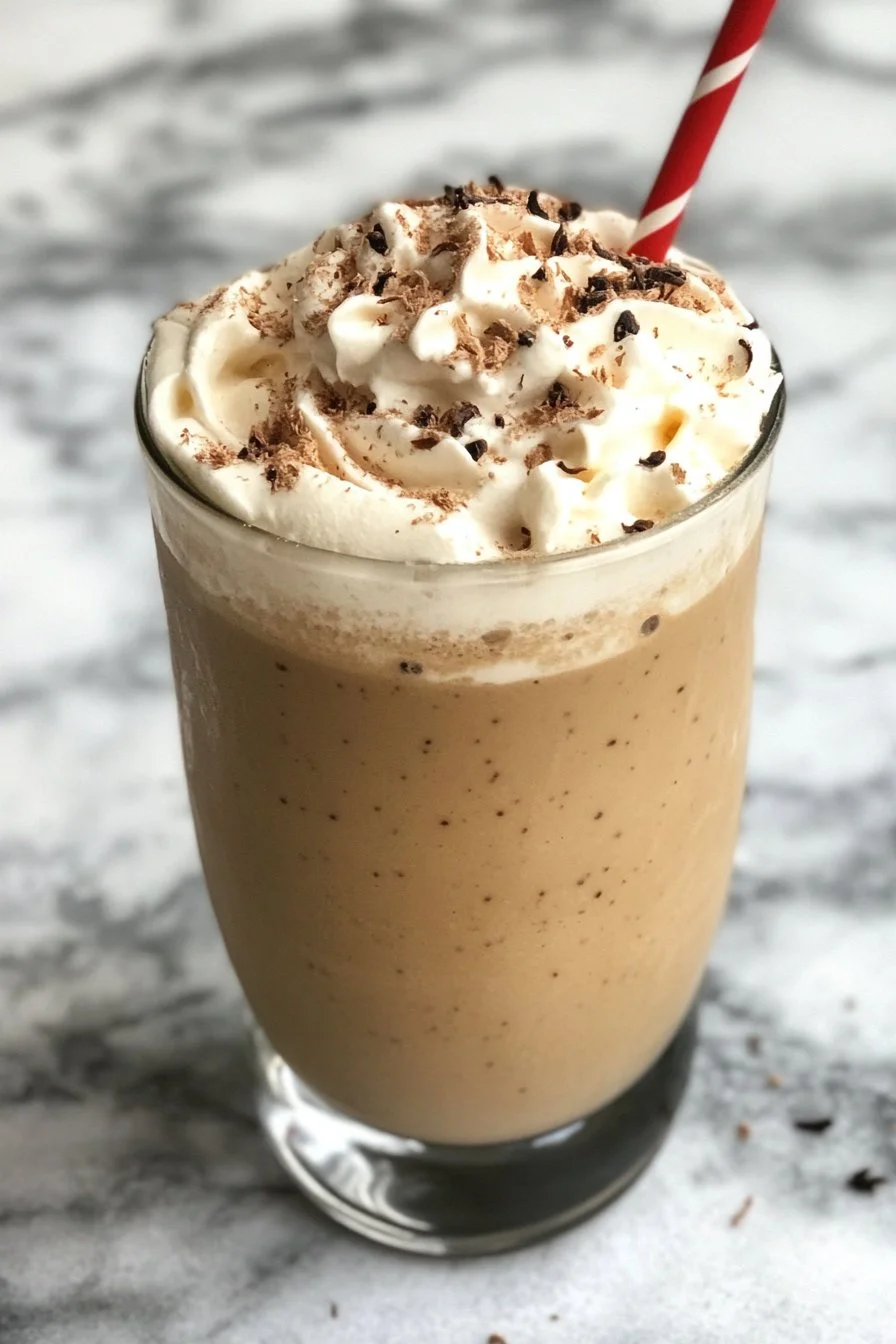
Variations can include adding cocoa powder for a chocolate vanilla bean frappe or incorporating fruit for twists like berry-infused versions. These additions can enhance flavors and provide refreshing alternatives.
Experiment confidently, knowing that the heart of this recipe remains rooted in the classic vanilla bean’s simplicity.
Serving and Enjoying Your Vanilla Bean Frappe
Serving/Presentation
When serving your DIY Vanilla Bean Frappe, opt for large, chilled glasses that showcase the rich, creamy texture. Garnishing adds a personal touch and elevates the drink’s presentation.
Adding a simple sprinkle of cinnamon or placing leftover vanilla pods on the rim gives your frappe that extra flair. Consider serving with reusable straws for a touch of elegance and eco-consciousness.
Pairings/Storage
Although the DIY Vanilla Bean Frappe is exquisite on its own, consider accompanying it with light snacks like fruit salad, cookies, or even granola bars for a well-rounded experience. These pair beautifully while keeping the focus on the frappe’s rich flavor profile.
Store any leftover frappe in a sealed container in the freezer for future indulgence. However, due to the ice content, expect a texture change when thawing, requiring a quick blend again for future enjoyment.
Unlocking the world of DIY Vanilla Bean Frappe opens doors to deliciousness and creativity. Mastering just a few essential techniques and remaining open to variations leads to delightful drinks that everyone can appreciate. Bask in the joy of blending, refreshing flavors, and bringing loved ones together around the table for this delightful treat. Enjoy the process, relish in the taste, and let each sip transport you to a moment of sheer indulgence.
Print
DIY Vanilla Bean Frappe
- Prep Time: 5 minutes
- Cook Time: 0 minutes
- Total Time: 5 minutes
- Yield: 2 servings
- Category: Beverage
- Method: Blending
- Cuisine: American
- Diet: Vegetarian
Description
A refreshing and creamy vanilla bean frappe that’s perfect for hot summer days.
Ingredients
- 2 cups milk or sweet cream
- 1 vanilla bean
- 2 tablespoons sweetener of choice (sugar, honey, or agave)
- 2 cups ice
Instructions
- Cut the vanilla bean in half and scrape out the seeds into the blender.
- Add milk and sweetener into the blender along with the ice.
- Blend on high speed until the mixture is smooth and creamy.
- Taste for sweetness, adjusting with more sweetener if necessary.
- Pour into large glasses, garnishing with any remaining vanilla pods or a sprinkle of cinnamon if desired.
Notes
Chill glasses in advance to maintain frosty appeal. Use frozen milk cubes instead of regular ice for better texture.