📑 Table of Contents ▶
- Chocolate Dessert Charcuterie Board
- Creating a Chocolate Dessert Charcuterie Board
- Fundamentals
- Preparation/setup
- Crafting a Unique Chocolate Spread
- Technique
- Tips/tricks
- Perfecting Your Chocolate Dessert Board
- Perfecting results
- Troubleshooting/variations
- Serving and Storing Your Chocolate Board
- Serving/presentation
- Pairings/storage
- Conclusion
- FAQs – Chocolate Dessert Charcuterie Board
I’m Della Lucia, and I’ve always believed that a home is built on the simple moments shared over good food. One of my favorite memories involves gathering around a cozy table with friends and family, indulging in a chocolate dessert charcuterie board. The combination of rich chocolate, fresh fruits, and delightful candies brings such joy to these gatherings.
Crafting a chocolate dessert charcuterie board became my go-to for any occasion, big or small. It’s an art that allows creativity to flow, a canvas of flavors and textures that delights everyone. The vibrant colors of strawberries and raspberries, paired with the decadence of chocolate ganache and truffles, create a feast for the senses.
This board is not just about satisfying a sweet tooth; it’s about creating moments that matter. The simple act of arranging chocolates, fruits, and nuts transforms everyday ingredients into a culinary masterpiece. It’s the perfect blend of ease and elegance, making any get-together feel special.
Print
Chocolate Dessert Charcuterie Board
- Prep Time: 30 minutes
- Cook Time: 0 minutes
- Total Time: 30 minutes
- Yield: 1 serving
- Category: Dessert
- Method: No Cooking Required
- Cuisine: International
Description
Indulge in our guide to creating a mouthwatering Chocolate Dessert Charcuterie Board. Learn how to assemble a decadent display of sweet treats that will impress any guest!
Ingredients
- chocolate ganache
- chocolate truffles
- 454 g strawberries (16 oz)
- 1 apple sliced thinly
- 12 brownie bites sub with your favorite cookies or candy
- 227 g nuts (pistachios, almonds, hazelnuts, etc.)
- 227 g chocolate covered raspberries sub with your favorite candy
- 227 g mini peanut butter cups sub with your favorite candies
- 113 g dark chocolate squares
- 113 g white chocolate squares
- 113 g raspberries
- almond dragees sub with your favorite candy
Instructions
- Craft the chocolate ganache and truffles (if you’re including them) up to 48 hours ahead. Ensure they reach room temperature prior to serving.
- Arrange the chocolate ganache and smaller elements like nuts and candies into bowls, then position these bowls on your board.
- Organize the rest of your board by encircling the bowls with larger items, arranging ingredients to create visual interest and a mix of textures and colors. Use smaller items like chocolate squares and candies to fill any empty spaces.
Notes
- Incorporate a variety of nuts like pistachios, almonds, and hazelnuts for diverse textures and flavors on your board.
- Use a mix of dark and white chocolate squares to create a visually striking contrast.
- Strategically arrange strawberries and raspberries for colorful and fresh additions to your dessert board.
Creating a Chocolate Dessert Charcuterie Board
Fundamentals
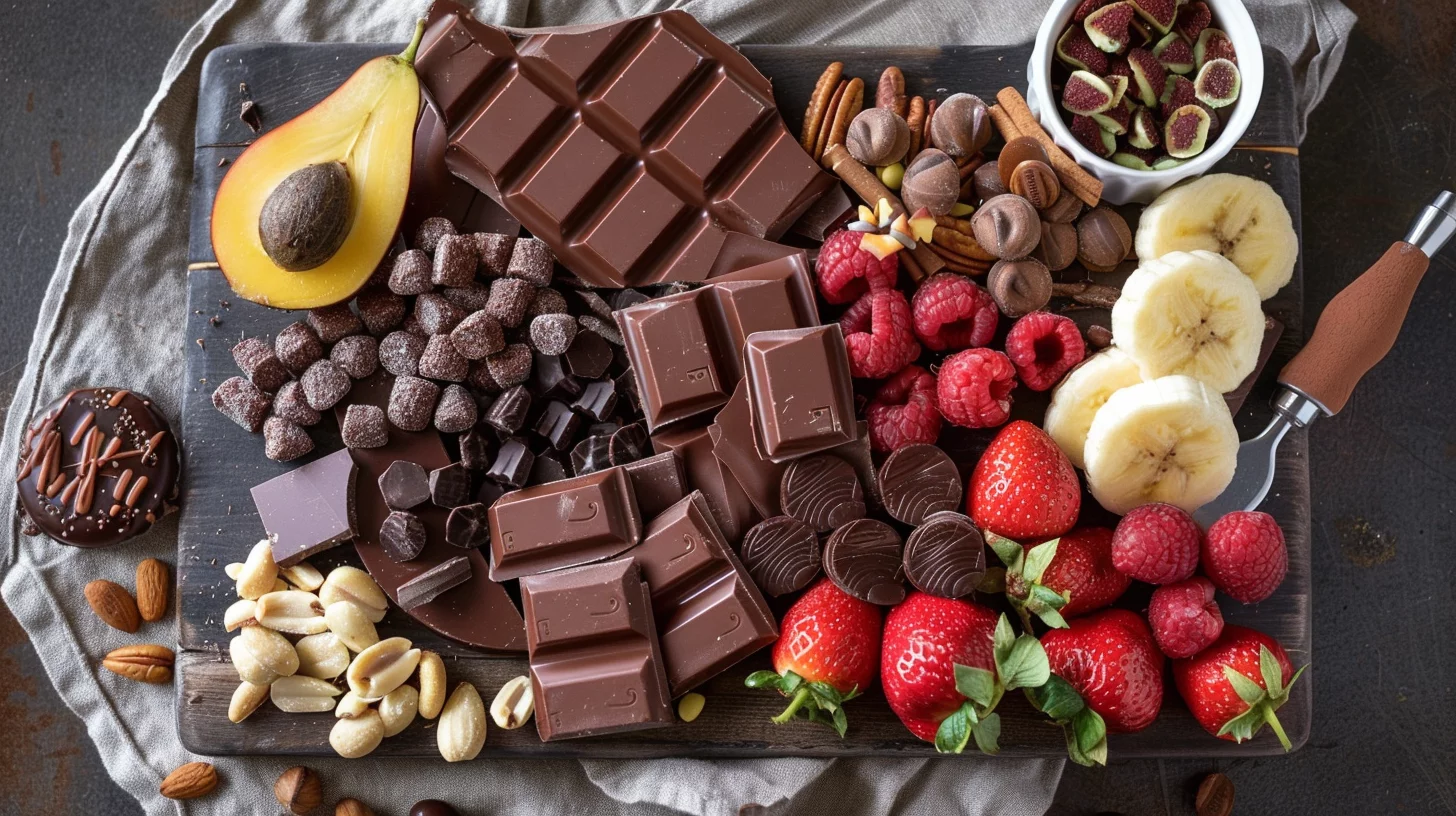
The foundation of a chocolate dessert charcuterie board lies in selecting high-quality ingredients that complement each other. Start with decadent chocolate ganache and truffles, which can be prepared up to 48 hours in advance. Allow them to reach room temperature before serving to ensure the best texture and flavor.
Incorporate a variety of textures and flavors. Use fresh strawberries and raspberries for their juicy sweetness, while apple slices add a crisp contrast. Choose an assortment of nuts like pistachios, almonds, or hazelnuts for a crunchy element. Sprinkle in mini peanut butter cups and chocolate-covered raspberries for a playful touch.
Preparation/setup
Begin by placing the chocolate ganache and smaller items such as nuts and candies into bowls. Arrange these bowls on your board as focal points. Surround them with larger items like brownie bites or your favorite cookies, creating a dynamic visual appeal.
Fill in any empty spaces with dark and white chocolate squares, ensuring every inch of the board offers a treat. The key is to balance colors and textures, making the board inviting and irresistible. Refer to this charcuterie board with homemade dips for more inspiration on creating stunning displays.
Crafting a Unique Chocolate Spread
Technique
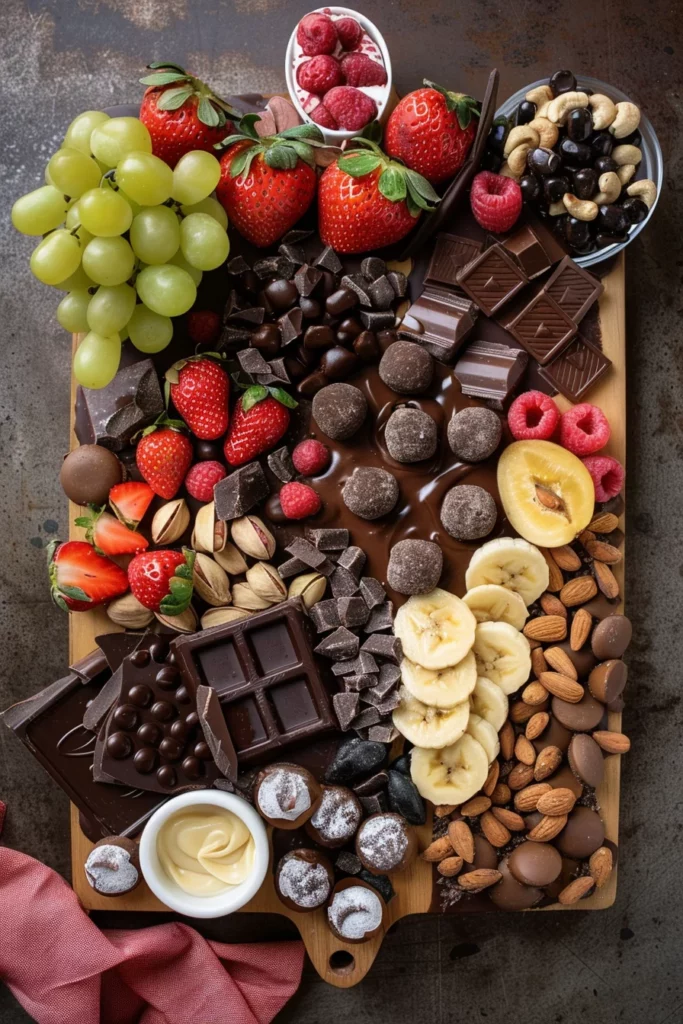
Creating a memorable chocolate dessert charcuterie board involves layering flavors and textures. Start by arranging the larger items first, like the cookies and fruit. Then add the bowls of ganache and nuts, ensuring they are evenly spaced out to provide a balanced look.
Use smaller items to fill gaps and add variety. The arrangement should feel organic and spontaneous, yet thoughtfully composed. Consider the rustic wooden charcuterie board spread for ideas on achieving a natural flow.
Chocolate Dessert Charcuterie Board
Tips/tricks
To elevate your board, incorporate unexpected elements like almond dragees or your favorite candies. Their unique shapes and colors can add an artistic flair. You can also play with presentation by using different levels, such as stands or trays, to create depth.
Chocolate squares can be arranged in patterns or stacked for a playful effect. Keep in mind that contrasting colors, like the white and dark chocolate, draw the eye and add sophistication. For additional tips, explore the sweet and savory dessert charcuterie board.
Perfecting Your Chocolate Dessert Board
Perfecting results
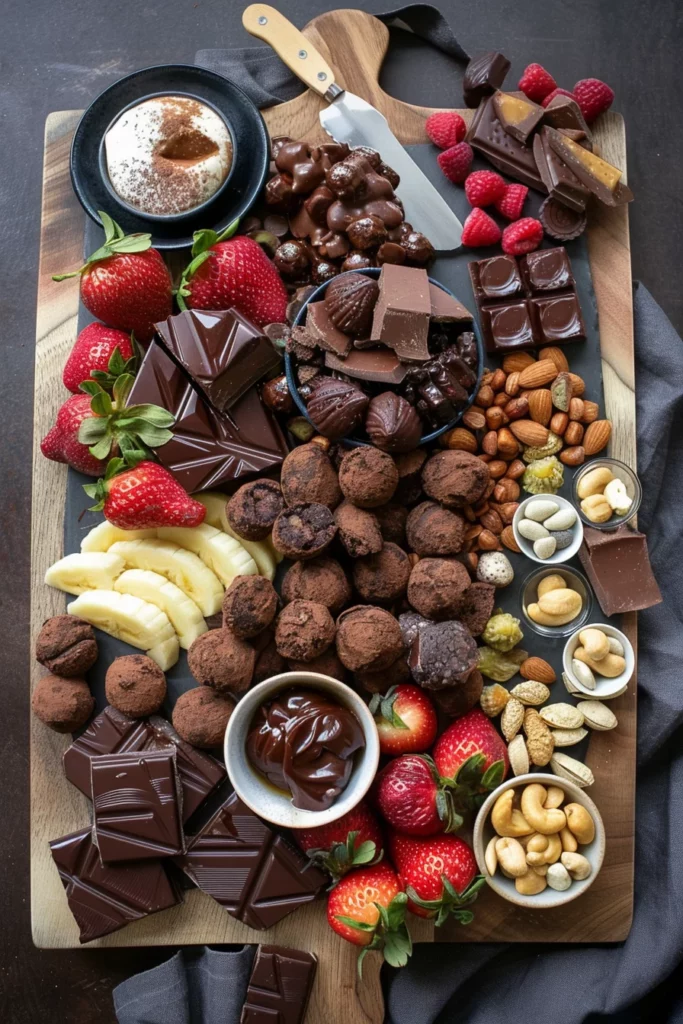
Achieving a perfect chocolate dessert charcuterie board requires attention to detail. Ensure all elements are fresh and at their peak flavor. Use a variety of shapes and sizes to keep the board visually interesting, and layer items to add dimension.
Consider the balance of flavors. Sweet elements should harmonize with the slight bitterness of dark chocolate squares, while the creamy ganache complements the tartness of raspberries. Check out chocolate desserts for more inspiration on flavor combinations.
Troubleshooting/variations
If your board feels too sweet, add more nuts or fruit to balance it out. If some areas look sparse, use smaller candies to fill those gaps. Experiment with different candy options and fruit selections to keep the board exciting and tailored to your preferences.
For those who enjoy experimenting, try substituting traditional elements with seasonal fruits or themed candies to match the occasion. Explore the game day charcuterie board for ideas on thematic variations.
Serving and Storing Your Chocolate Board
Serving/presentation
When serving your chocolate dessert charcuterie board, presentation is key. Use a large, flat surface like a wooden board or platter to display your creations. Arrange items thoughtfully, ensuring each element is easily accessible to guests.
Consider adding decorative touches like edible flowers or greenery to enhance the visual appeal. The goal is to create an inviting display that encourages guests to explore and enjoy. For more on presenting beautiful boards, visit elegant drinks and cheese charcuterie board.
Chocolate Dessert Charcuterie Board
Pairings/storage
Pair your board with complementary non-alcoholic beverages like sparkling water or herbal teas, which cleanse the palate and enhance the flavors. Store any leftovers in airtight containers to maintain freshness and prevent the chocolates from absorbing other flavors.
Keep the board in a cool, dry place away from direct sunlight to prevent melting. Proper storage ensures your chocolate dessert charcuterie board remains a delightful treat for future enjoyment.
Conclusion
Crafting a chocolate dessert charcuterie board is a journey in creativity and flavor. The combination of rich chocolates, fresh fruits, and assorted candies creates a symphony of tastes that delight the senses. This board serves as a centerpiece for gatherings, bringing joy and indulgence to any occasion.
By focusing on quality ingredients and thoughtful arrangement, you can create a board that is both visually stunning and delicious. It’s a versatile and inviting way to share sweet moments with loved ones, proving that the simplest ingredients can create the most memorable experiences.