📑 Table of Contents ▶
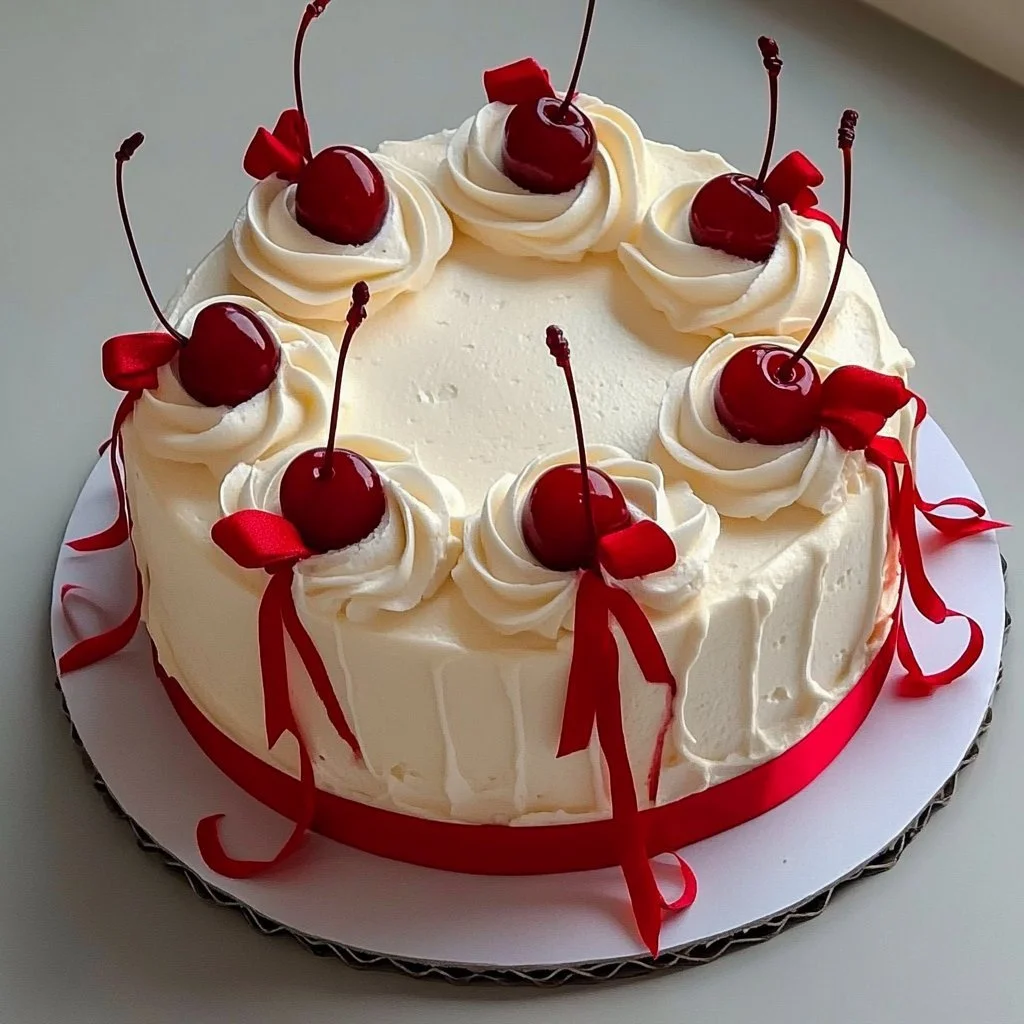
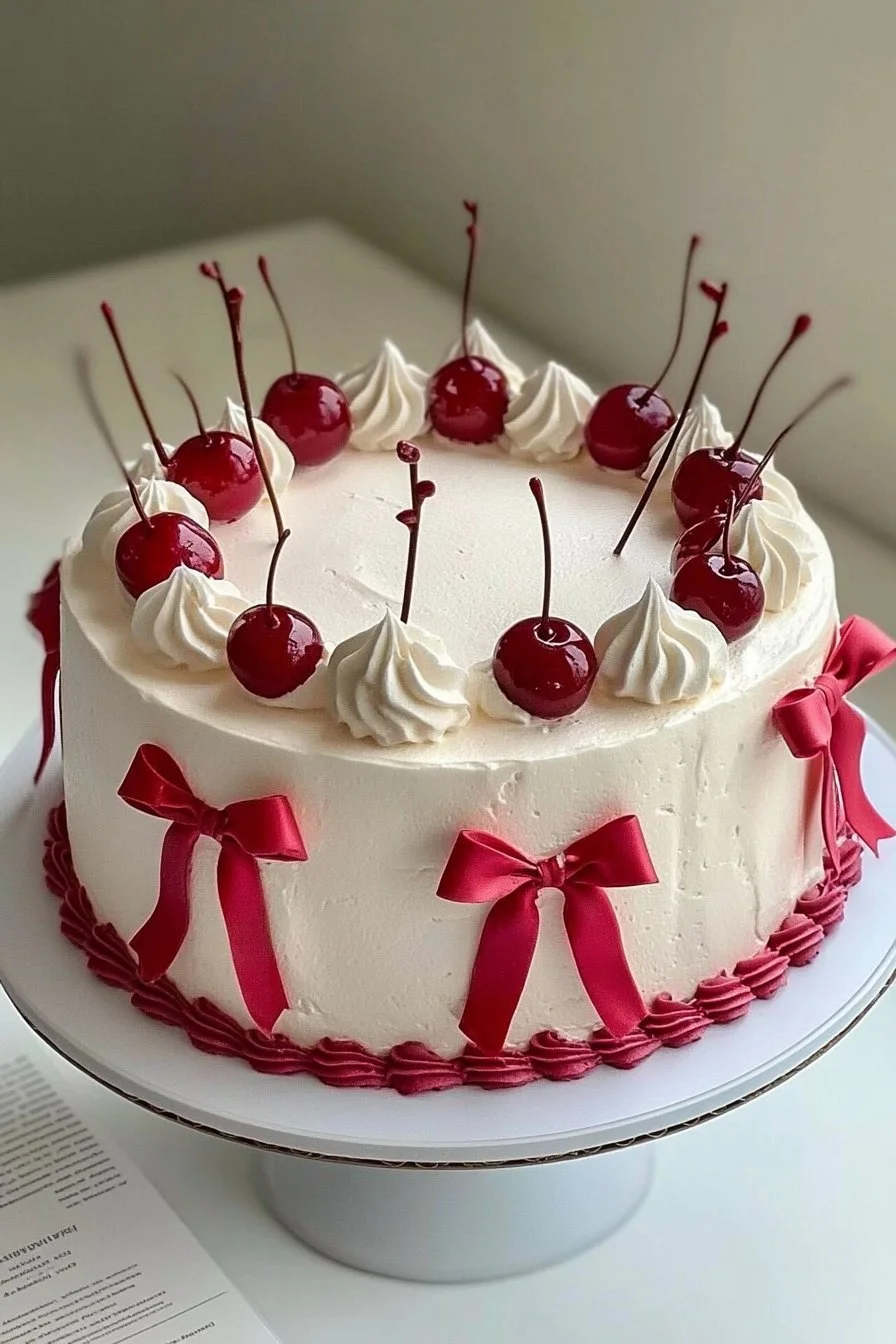
Cherry Bow Cake
I’m Della Lucia, and HealthyDinnerMeals was created from my belief that food should nourish both the body and the moments we share. My fondest memories come from simple homemade meals — not perfection, just comfort, connection, and care. Here, healthy eating stays approachable and satisfying, with recipes that fit real life: quick, flavorful, and balanced. Whether you’re cooking for yourself or loved ones, I hope these meals help you feel confident in the kitchen and inspired to enjoy every moment around the table.
Cherry Bow Cake evokes nostalgia for simple pleasures. This delightful cake combines rich chocolate with sweet cherry filling, making it a perfect dessert for any occasion. I remember the first time I baked a cherry cake; the aroma filled the house, and my family gathered around the kitchen, eager to taste. Each bite brought smiles and stories, proving that food connects us.
Creating Cherry Bow Cake invites creativity and joy. Just a few ingredients transform into a delicious treat. The cake’s combination of chocolate and cherry creates a flavor harmony that dances on the palate. It’s a sweet treat that not only delights the taste buds but also represents love and togetherness.
As you prepare to make Cherry Bow Cake, embrace the memories and connections that come with baking. This cake showcases how simple ingredients can create moments that last a lifetime. Let’s dive into the delicious steps to create this beautiful treat.
Cherry Bow Cake Recipe
Fundamentals
Making Cherry Bow Cake requires minimal effort and few ingredients. You only need to gather a box of chocolate cake mix, a can of cherry pie filling, three eggs, half a cup of oil, and a cup of water. Whipped cream elevates the cake to a decadent treat, and optional bow-shaped decorations add a playful touch.
Understanding these fundamentals helps you navigate the baking process with confidence. Chocolate cake mixes usually provide a reliable foundation, allowing for quick baking that doesn’t sacrifice flavor. The addition of cherry pie filling introduces moisture and sweetness, ensuring each bite bursts with flavor.
Preparation/setup
Start by preheating your oven to 350°F (175°C). Greasing and flouring a cake pan prevents sticking and guarantees a smooth release once baking is complete. Gather all your ingredients on the counter; having everything at your fingertips streamlines the process.
Choose a simple, round cake pan for an even bake. Alternatively, opt for a decorative pan to enhance presentation. Ensure all ingredients are at room temperature for optimal mixing. Measure accurately for the best results and follow the recipe steps closely.
Ingredients
Here’s a quick overview of the ingredients needed for Cherry Bow Cake:
- 1 box of chocolate cake mix
- 1 can of cherry pie filling
- 3 eggs
- 1/2 cup of oil
- 1 cup of water
- Whipped cream for topping
- Bow-shaped decorations (optional)
Each ingredient plays a crucial role. The chocolate cake mix forms the base, while the cherry pie filling adds a surprising twist. Eggs and oil contribute to the cake’s moistness, and water helps achieve the right batter consistency.
Directions
To make your Cherry Bow Cake, follow these directions:
- Preheat your oven to 350°F (175°C). Grease and flour a cake pan.
- In a large bowl, combine the cake mix, cherry pie filling, eggs, oil, and water. Mix until well combined.
- Pour the batter into the prepared cake pan.
- Bake for 30-35 minutes or until a toothpick inserted comes out clean.
- Let the cake cool completely.
- Once cooled, top with whipped cream and decorate with bow-shaped decorations and more cherry pie filling if desired.
Creative Techniques for Cherry Bow Cake
Technique
Baking can be both an art and a science. With Cherry Bow Cake, technique plays a vital role in achieving the perfect texture and flavor. Mixing the ingredients thoroughly ensures a consistent batter. It’s essential to incorporate air into the mixture, which helps the cake rise beautifully.
Consider using a hand mixer or stand mixer for better results. This equipment dramatically reduces effort and time and yields a fluffier batter. When combining dry and wet ingredients, mix just until they’re blended. Overmixing can lead to a denser cake.
Tips and Tricks
Creating a delightful Cherry Bow Cake comes with its own set of tips and tricks. Make sure to taste the batter before baking; it’s a great way to gauge the flavors. Additionally, you can customize the cake by adding chocolate chips or nuts to the batter for a unique twist.
If you want a richer flavor, consider using dark chocolate cake mix instead of regular. This change amplifies the chocolate experience and pairs beautifully with the cherry filling.
Perfecting Your Cherry Bow Cake
Perfecting Results
For stunning results, ensure that all baking necessities align. The oven should be preheated adequately before placing the cake inside. Use an oven thermometer to verify the proper temperature, as ovens can vary.
Watch the baking time closely. Every oven behaves differently, and checking for doneness with a toothpick is crucial. Insert the toothpick in the center; it should come out clean or with a few moist crumbs.
Troubleshooting and Variations
If something goes awry while baking your Cherry Bow Cake, don’t panic. Common issues include cakes sinking in the middle or becoming dry. If the cake sinks, the culprit might be an overmixed batter or excess moisture. To correct this, measure carefully and follow each step as instructed.
Feel free to experiment with different fillings. Swap the cherry pie filling for blueberry, raspberry, or even peach to create unique flavor combinations. Each variation will bring something new to the table, allowing you to enjoy this cake in multiple ways.
Serving and Presentation of Cherry Bow Cake
Serving Presentation
Presentation plays a significant role in how your Cherry Bow Cake is perceived. Allow the cake to cool completely before decorating. A chilled cake sets the whipped cream nicely, preventing it from melting.
Spread whipped cream on the top and sides of the cake for an elegant finish. Use a spatula to create swirls or peaks, adding visual interest. Place bow-shaped decorations at the top for a fun, festive touch.
Pairings and Storage
Serve Cherry Bow Cake with fresh fruit or a scoop of vanilla ice cream for an indulgent experience. These additions elevate the dessert while balancing the sweetness of the cake.
Store leftover cake in an airtight container in the refrigerator. It will stay fresh for up to four days, allowing you to enjoy it well beyond the first serving. If freezing, wrap the cake tightly in plastic wrap before storing it in a freezer-safe container. Thaw overnight in the refrigerator before serving.
Cherry Bow Cake embodies the joy of baking. Its simple ingredients blend to create a beautiful and flavorful experience. The journey of making this cake brings back heartfelt memories and creates new ones. Each slice represents the love put into its preparation, making it a perfect treat for any gathering. Enjoy the process, the flavors, and the moments shared with those who matter most.
Print
Cherry Bow Cake
- Prep Time: 15 minutes
- Cook Time: 35 minutes
- Total Time: 50 minutes
- Yield: 8 servings
- Category: Dessert
- Method: Baking
- Cuisine: American
- Diet: Vegetarian
Description
A delightful chocolate cake infused with sweet cherry filling, perfect for any occasion.
Ingredients
- 1 box of chocolate cake mix
- 1 can of cherry pie filling
- 3 eggs
- 1/2 cup of oil
- 1 cup of water
- Whipped cream for topping
- Bow-shaped decorations (optional)
Instructions
- Preheat your oven to 350°F (175°C). Grease and flour a cake pan.
- In a large bowl, combine the cake mix, cherry pie filling, eggs, oil, and water. Mix until well combined.
- Pour the batter into the prepared cake pan.
- Bake for 30-35 minutes or until a toothpick inserted comes out clean.
- Let the cake cool completely.
- Once cooled, top with whipped cream and decorate with bow-shaped decorations and more cherry pie filling if desired.
Notes
Consider using dark chocolate cake mix for a richer flavor. Store leftovers in an airtight container for up to four days.