
📑 Table of Contents ▶
- Homemade Granola Bars
- Mastering Homemade Granola Bars
- Fundamentals
- Preparation/Setup
- Enhancing Your Granola Bar Skills
- Technique
- Tips/Tricks
- Perfecting Your Granola Bars
- Perfecting Results
- Troubleshooting/Variations
- Serving and Storing Your Granola Bars
- Serving/Presentation
- Pairings/Storage
- Conclusion
- FAQs – Homemade Granola Bars
Growing up, my fondest memories often revolved around the kitchen, where the aroma of freshly baked treats would fill the air. The magic of turning simple ingredients into something special captivated me. Among those cherished moments was the delight of creating homemade granola bars with my family. These bars, rich in flavor and texture, became a staple snack that we eagerly anticipated.
Homemade granola bars have always held a special place in my heart. The process of mixing oats with creamy peanut butter and honey brought my family together in a way that few other activities did. The best part was knowing exactly what went into our snacks, making them not only delicious but also nourishing.
As life got busier, these granola bars became a go-to solution for quick and healthy snacking. Whether packed in lunchboxes or enjoyed as a mid-afternoon pick-me-up, their convenience and wholesome ingredients never failed to satisfy. This passion for simple, nutritious recipes led me to share my love for homemade granola bars with others.
In this article, I aim to guide you through the process of making your own delicious homemade granola bars. With just a handful of ingredients, you can create a snack that’s both satisfying and nourishing. Let’s dive into the fundamentals of this delightful treat and explore some techniques to perfect your granola bar-making skills.
Print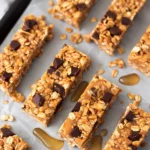
Homemade Granola Bars
- Prep Time: 15 minutes
- Cook Time: 0 minutes
- Total Time: 15 minutes
- Yield: 12 bars
- Category: Snack
- Method: No-Bake
- Cuisine: American
Description
Learn how to make delicious homemade granola bars from scratch with this easy recipe. Perfect for a quick and healthy snack on the go!
Ingredients
- 1 cup (240 ml) very smooth creamy natural peanut butter, or cashew butter
- 2/3 cup (160 ml) honey
- 1 teaspoon (5 ml) vanilla extract
- Heaping 1/2 teaspoon (3 ml) sea salt
- 2 1/2 cups (300 g) whole rolled oats
- 1/3 cup (80 ml) mini chocolate chips*
- 3 tablespoons (45 ml) pepitas, or crushed peanuts or cashews
Instructions
- Prepare an 8×8 baking dish by lining it with parchment paper.
- In a large mixing bowl, combine the peanut butter, honey, vanilla extract, and salt until the mixture is smooth.
- Incorporate the oats, chocolate chips, and pepitas (or chosen nuts) into the mixture. Initially, it may appear dry, but continue mixing until it comes together. Blend thoroughly and press the mixture firmly into the prepared dish.
- Use another piece of parchment paper along with the flat side of a measuring cup to even out the mixture.
- Refrigerate for no less than 1 hour before cutting into bars.
- Keep the bars stored in the refrigerator.
Notes
- Use smooth natural peanut butter or cashew butter for a creamy texture in the bars.
- Evenly distribute the mixture in the baking dish for consistent bars.
- Personalize with crushed peanuts or cashews for extra crunch. Swap mini chocolate chips with dried cranberries or raisins for a sweeter twist.
Mastering Homemade Granola Bars
Fundamentals
Creating homemade granola bars starts with understanding the basics. At the heart of these bars is a blend of wholesome ingredients that come together to create a nutritious snack. The primary components include natural peanut butter or cashew butter, honey, vanilla extract, sea salt, whole rolled oats, mini chocolate chips, and pepitas or nuts.
The choice of peanut butter or cashew butter provides a creamy texture and a rich flavor profile. Honey acts as a natural sweetener and binder, ensuring the bars hold their shape. Vanilla extract adds depth of flavor, while sea salt balances the sweetness.
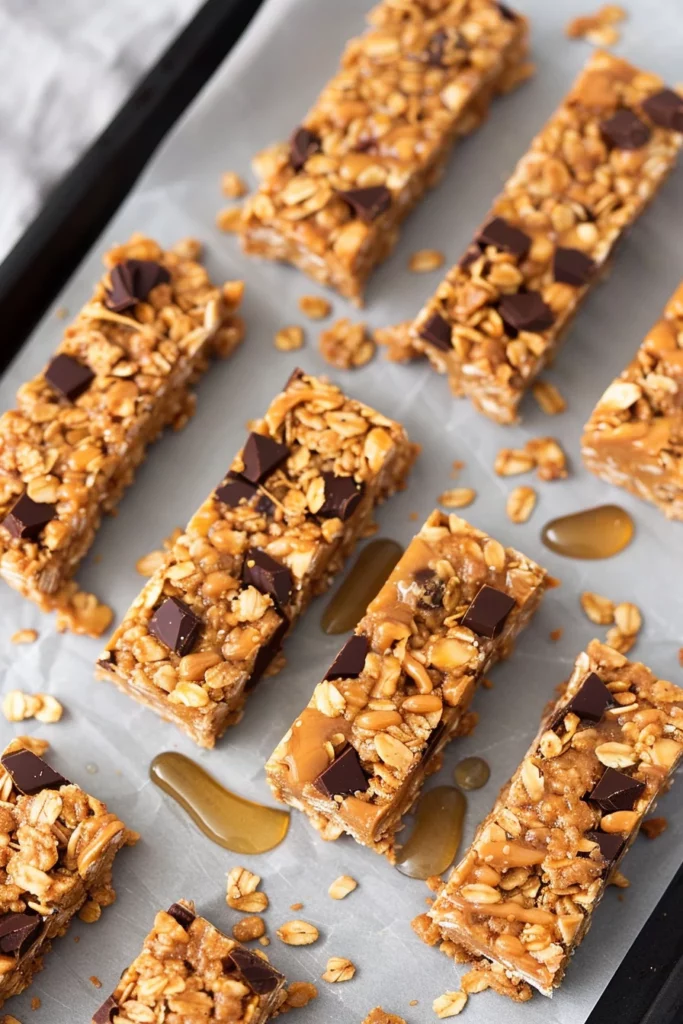
Whole rolled oats form the base, offering a hearty texture and nutritional benefits. Adding mini chocolate chips introduces a touch of indulgence, while pepitas or crushed nuts contribute crunch and additional nutrients. The combination of these ingredients results in a balanced and satisfying snack.
Preparation/Setup
To begin, prepare an 8×8 baking dish by lining it with parchment paper. This step is crucial for easy removal of the granola bars once they have set. In a large mixing bowl, combine the peanut butter, honey, vanilla extract, and sea salt. Stir until the mixture is smooth and well combined.
Next, incorporate the oats, chocolate chips, and pepitas into the mixture. Initially, it may seem dry, but continue mixing until the ingredients come together. The key is to ensure that the oats are evenly coated with the peanut butter and honey mixture.
Once the mixture is well combined, transfer it to the prepared baking dish. Use another piece of parchment paper along with the flat side of a measuring cup to press the mixture firmly into the dish. This step helps ensure that the bars hold their shape when cut.
Enhancing Your Granola Bar Skills
Technique
The technique plays a significant role in achieving the perfect homemade granola bars. When combining ingredients, focus on achieving a consistent texture. This ensures that each bar has an even distribution of flavors and ingredients.
Be patient during the mixing process. Initially, the mixture may appear crumbly, but with continued mixing, it will come together. The key is to ensure that the oats are well coated and that the ingredients are evenly distributed throughout the mixture.
Pressing the mixture firmly into the baking dish is another crucial step. This helps the bars hold their shape and prevents them from falling apart when cut. Use a flat surface, such as the back of a measuring cup, to apply even pressure across the entire mixture.

Homemade Granola Bars
Tips/Tricks
To enhance the flavor and texture of your granola bars, consider toasting the oats before mixing. This step adds a subtle nutty flavor that complements the other ingredients. Simply spread the oats on a baking sheet and toast them in the oven at 350°F (175°C) for about 10 minutes.
Experiment with different nuts and seeds to customize your bars. Pepitas are a great choice, but crushed peanuts or cashews can add a delightful crunch. You can also try adding dried fruits like raisins or cranberries for a touch of sweetness and chewiness.
For an extra touch of indulgence, drizzle melted dark chocolate over the bars once they have set. This adds a rich, luxurious finish that pairs beautifully with the nutty and sweet flavors of the bars.
Perfecting Your Granola Bars
Perfecting Results
Perfecting homemade granola bars involves attention to detail and a willingness to experiment. Start by ensuring that your ingredients are fresh and of high quality. This makes a significant difference in the final flavor and texture of the bars.
Monitor the consistency of the mixture as you incorporate the oats and other ingredients. If the mixture feels too dry, add a small amount of additional honey or nut butter until it reaches the desired consistency. Conversely, if it’s too sticky, add a few more oats.
Allow the bars sufficient time to set in the refrigerator. This step is crucial for achieving the right texture and firmness. Refrigerate the bars for no less than one hour before cutting them into individual portions.
Troubleshooting/Variations
If your bars crumble when cut, it may be due to insufficient mixing or pressing. Ensure that the mixture is well combined and firmly pressed into the dish. Adjust the amount of honey or nut butter to improve the binding if necessary.
Feel free to experiment with different flavor combinations. Swap out the chocolate chips for butterscotch chips or add a dash of cinnamon for a warm, spicy note. You can also explore savory variations by reducing the honey and adding herbs or spices.
For more inspiration, check out No Bake Oatmeal Protein Bars and Banana Peanut Butter Oatmeal Bars for delicious variations on this classic snack.
Serving and Storing Your Granola Bars
Serving/Presentation
When it comes to serving homemade granola bars, presentation can enhance the overall experience. Cut the bars into uniform squares or rectangles for a neat appearance. Consider wrapping individual bars in parchment paper for easy, on-the-go snacking.
Arrange the bars on a platter for a simple yet appealing display. Pair the bars with fresh fruit or yogurt for a balanced snack or breakfast option. These bars also make great additions to lunchboxes or picnic baskets, offering a healthy alternative to store-bought snacks.
Pairings/Storage
Store homemade granola bars in the refrigerator to maintain their freshness and texture. Place them in an airtight container with layers of parchment paper between each bar to prevent sticking. These bars can also be frozen for longer storage. Simply wrap them individually in parchment paper and place them in a freezer-safe bag.
Homemade Granola Bars
For additional recipe ideas that complement these bars, explore our Homemade Kale Chips and Homemade Granola Bars for more healthy snacking options.
Pair your granola bars with a refreshing smoothie or a cup of herbal tea for a delightful snack experience. The combination of flavors and textures creates a satisfying treat that can be enjoyed any time of day.
Conclusion
Creating homemade granola bars allows you to enjoy a nutritious and delicious snack that’s tailored to your preferences. By mastering the fundamentals and experimenting with different techniques, you can perfect your granola bar-making skills and create a snack that’s both satisfying and nourishing.
These bars offer versatility in flavor and texture, making them a great addition to any meal or snack time. With simple ingredients and a straightforward preparation process, homemade granola bars are a convenient and healthy option for busy lifestyles.
Explore different flavor combinations and techniques to find the perfect granola bar recipe for you. Whether enjoyed as a quick breakfast, a midday snack, or a treat to share with friends and family, homemade granola bars bring joy and nourishment to your kitchen.