📑 Table of Contents ▶
- Homemade Kale Chips
- Mastering Homemade Kale Chips
- Fundamentals
- Preparation/Setup
- Refining Your Kale Chip Technique
- Technique
- Tips/Tricks
- Perfecting Homemade Kale Chips
- Perfecting Results
- Troubleshooting/Variations
- Serving and Storing Homemade Kale Chips
- Serving/Presentation
- Pairings/Storage
- Conclusion
- FAQs – Homemade Kale Chips
I’m Della Lucia, and the journey of discovering homemade kale chips began on a quiet afternoon. I was in my kitchen, surrounded by the comforting aroma of fresh greens and garlic. This simple endeavor wasn’t about creating an elaborate dish; it was about finding joy in the basics. The process of making homemade kale chips quickly became a cherished ritual, blending the art of nourishment with the simplicity of everyday meals.
Homemade kale chips have transformed my understanding of healthy snacking. They are a delightful fusion of flavor and crunch that perfectly embodies the essence of real, approachable recipes. As I tossed the kale with olive oil and garlic, I realized the magic of homemade kale chips lies not just in its taste but in the care and intention behind each step.
There’s something incredibly satisfying about transforming a humble bunch of kale into a crispy, flavorful snack. The process is straightforward, yet it invites you to engage with the ingredients, to appreciate the transformation from fresh greens to crispy bites. Homemade kale chips have become a staple in my kitchen, a testament to the beauty of simple, wholesome recipes.
Healthy eating can be uncomplicated and enjoyable, and homemade kale chips are a perfect example. They fit seamlessly into busy routines, offering a nutritious snack without the fuss. Join me as we explore the fundamentals, techniques, and tips to perfect your own batch of homemade kale chips.
Print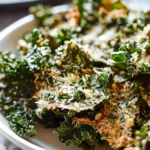
Homemade Kale Chips
- Prep Time: 15 minutes
- Cook Time: 25 minutes
- Total Time: 40 minutes
- Yield: 4 servings
- Category: Appetizer
- Method: Baking
- Cuisine: International
Description
Learn how to make delicious homemade kale chips that are crispy and healthy. Discover the perfect recipe for a guilt-free snack!
Ingredients
- – 2 bunches (500g) fresh kale
- – 5-6 cloves garlic, minced
- – sea salt, to taste
- – 3 teaspoons (15ml) olive oil
- – 1/4 cup (25g) freshly grated cheese
Instructions
- Remove the thick stems from the kale and cut it into pieces. Clean thoroughly. (I find a salad spinner is excellent for getting rid of all the moisture from the kale.) Ensure it is completely dry to help it become crispy during baking, rather than soggy from leftover water droplets.
- Put the kale into a big bowl. Mix it with olive oil, sea salt, and minced garlic.
- Spread the kale evenly on a large baking tray. For optimal results, avoid crowding the tray. (If needed, prepare in two separate batches.)
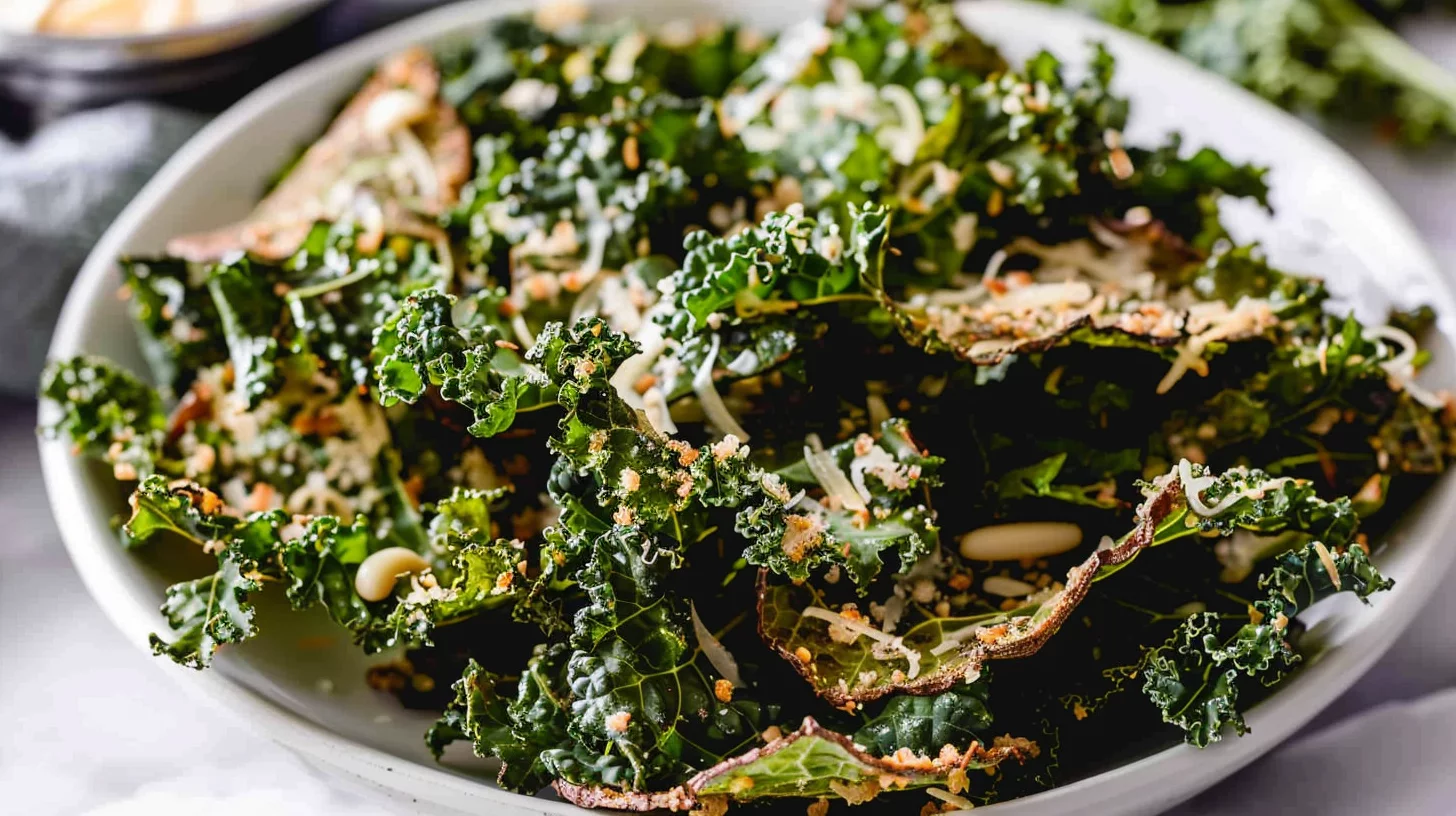
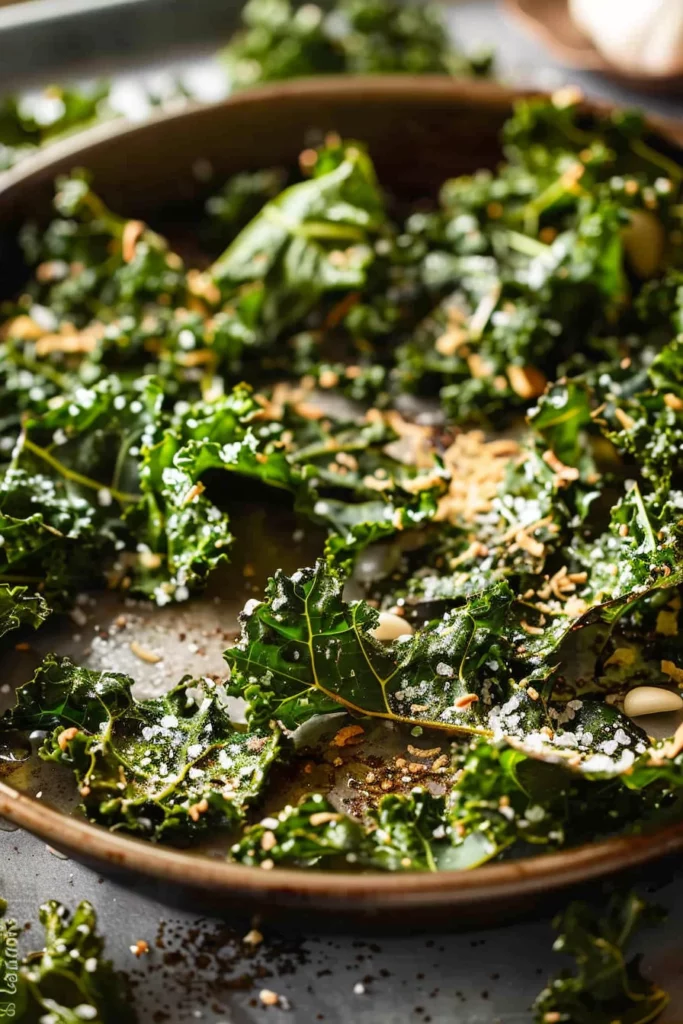
- Cook in the oven at 300 degrees F for 10 minutes, then turn the tray and continue baking for another 10-15 minutes, or until they are crisp. Let them sit on the baking tray for a few minutes to cool slightly, then add grated cheese on top.
- Enjoy while warm, or keep them in a sealed container for later.
Notes
- Remove tough kale stems for better texture when baked.
- Enhance flavor with high-quality olive oil.
- Add plenty of garlic for a delicious savory taste.
Mastering Homemade Kale Chips
Fundamentals
To create the perfect homemade kale chips, start by understanding the essentials. Fresh kale is the foundation of this recipe, bringing both flavor and nutrition to the table. Choose two bunches of fresh kale, ensuring they are vibrant and crisp. This ensures that your homemade kale chips will have the best texture and taste.
Garlic, a key ingredient, adds depth and aroma to your homemade kale chips. Mince 5-6 cloves finely to ensure even distribution. Sea salt enhances the natural flavors, allowing the taste of the kale and garlic to shine. Lastly, olive oil acts as a binding agent, helping the seasonings adhere to the kale leaves while promoting crispiness during baking.
Preparation/Setup
Begin by removing the thick stems from the kale, cutting the leaves into manageable pieces. Thoroughly clean the kale, using a salad spinner to remove excess moisture. Drying the kale completely is crucial; leftover water droplets can lead to soggy chips instead of the desired crispiness.
Once dry, place the kale in a large bowl. Add the olive oil, minced garlic, and sea salt, mixing well to ensure each leaf is evenly coated. This step is vital for achieving that perfect balance of flavor in your homemade kale chips.
Refining Your Kale Chip Technique
Technique
Spread the seasoned kale evenly on a large baking tray. Avoid overcrowding to ensure each piece has enough space to crisp up evenly. If necessary, prepare the kale chips in two separate batches. Bake at a low temperature of 300 degrees F, which allows the kale to dehydrate gradually, resulting in a perfectly crispy texture.
Homemade Kale Chips
After 10 minutes, turn the tray to promote even baking. Continue baking for another 10-15 minutes, monitoring closely to prevent burning. The kale chips should be crisp but not overly browned. Let them sit on the baking tray for a few minutes after removing them from the oven. This cooling period helps them set, enhancing their crunch.
Tips/Tricks
To achieve the best homemade kale chips, consider these tips. First, experiment with the thickness of your kale pieces. Thinner pieces tend to crisp faster, while thicker ones may retain a bit of chewiness. Adjust the baking time accordingly based on your preference for texture.
For an extra kick, try adding a sprinkle of chili flakes or a dash of smoked paprika to the seasoning mix. These additions can elevate the flavor profile of your homemade kale chips, providing a delightful contrast to the usual garlic and salt combination.
Perfecting Homemade Kale Chips
Perfecting Results
To achieve the ultimate homemade kale chips, attention to detail is key. Ensure the kale is completely dry before seasoning. Moisture is the enemy of crispiness, so take the time to dry your kale thoroughly. Also, consider the amount of oil used. Too much oil can lead to sogginess, while too little may result in uneven seasoning.
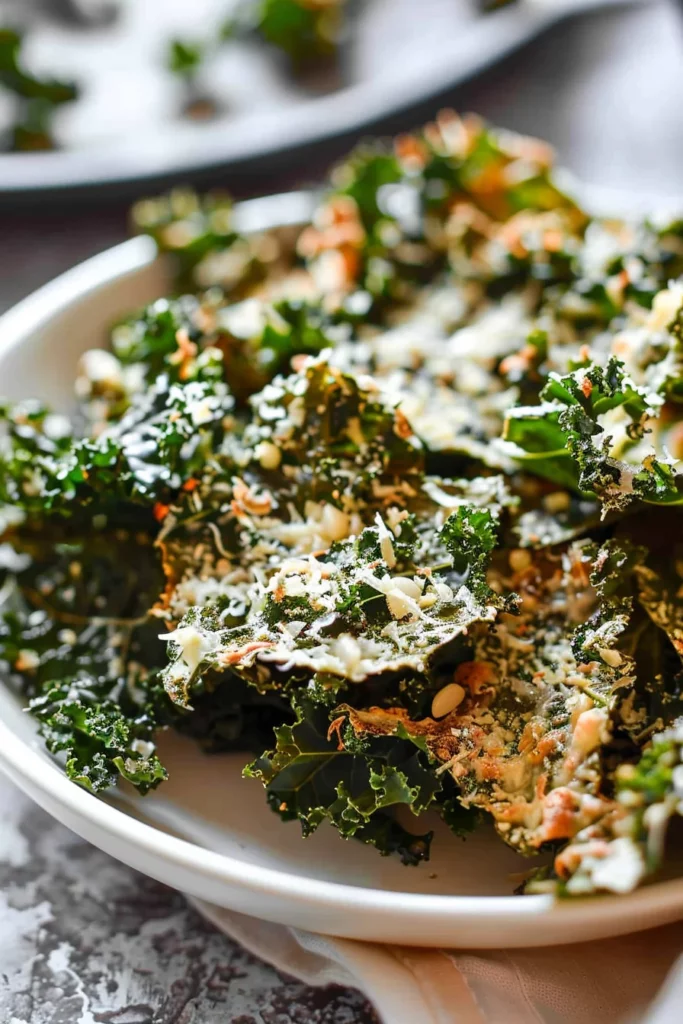
After baking, let the chips rest on the tray to cool slightly. This not only allows them to firm up but also makes them easier to handle. Finally, sprinkle freshly grated cheese over the warm chips. The heat from the chips will melt the cheese slightly, adding a rich, savory layer to your homemade kale chips.
Troubleshooting/Variations
If your homemade kale chips aren’t as crispy as desired, check the moisture content of the kale. Excess moisture can hinder crispiness, so ensure thorough drying. If the chips come out too dark, reduce the baking time or lower the oven temperature slightly to prevent burning.
For variation, consider trying different types of cheese or spices. Parmesan adds a sharp, nutty flavor, while a sprinkle of nutritional yeast provides a cheesy taste for those avoiding dairy. Experiment with flavor combinations to find your perfect homemade kale chips.
Serving and Storing Homemade Kale Chips
Serving/Presentation
Present your homemade kale chips in a large bowl or on a platter for easy sharing. They make a fantastic addition to any gathering, offering a healthy alternative to traditional snacks. The vibrant green color and enticing aroma make them an attractive centerpiece.
Pair your homemade kale chips with a variety of dips or enjoy them on their own. Their versatility makes them suitable for pairing with a variety of snacks. For more delicious options, explore our Crunchy Keto Tortilla Chips and Easy Keto Zucchini Chips.
Homemade Kale Chips
Pairings/Storage
Store any leftover homemade kale chips in an airtight container to maintain their crunch. Keep them at room temperature for up to a week. If they lose their crispiness, a quick reheat in the oven can restore their texture.
For more snack ideas, try our Baked Zucchini Chips with Parmesan or get creative with Homemade Lunchables for a fun twist on snack time.
Conclusion
Homemade kale chips offer a delightful blend of flavor and nutrition, embodying the simplicity of wholesome cooking. By focusing on the fundamentals, applying the right techniques, and experimenting with flavors, you can master the art of making these crispy snacks at home.
The strength of homemade kale chips lies in their versatility and ease of preparation. Whether enjoyed fresh from the oven or stored for later snacking, they bring a healthy, delicious option to any table. Embrace the joy of creating these simple yet satisfying treats, and let them inspire more kitchen adventures.