
📑 Table of Contents ▶
Venison Nuggets
I’m Della Lucia, and HealthyDinnerMeals was created from my belief that food should nourish both the body and the moments we share. My fondest memories come from simple homemade meals — not perfection, just comfort, connection, and care. Here, healthy eating stays approachable and satisfying, with recipes that fit real life: quick, flavorful, and balanced. Whether you’re cooking for yourself or loved ones, I hope these meals help you feel confident in the kitchen and inspired to enjoy every moment around the table.
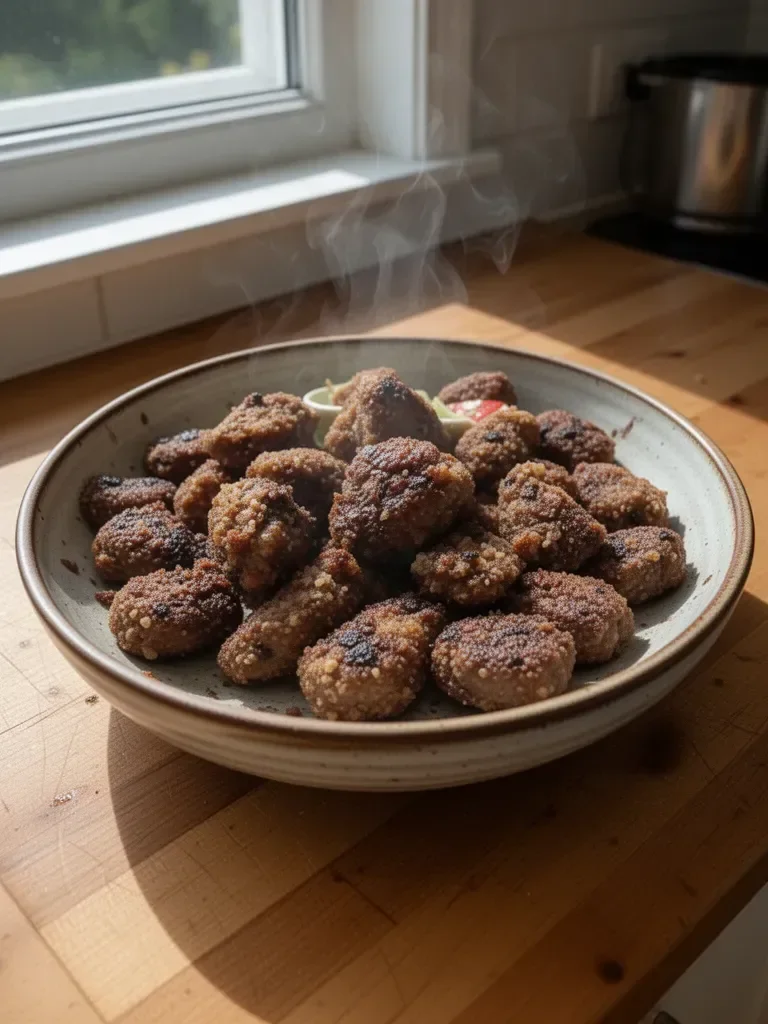
Imagine gathering with friends around a cozy fireplace, the scent of savory venison nuggets wafting through the air. The sound of laughter and cheerful conversations fills the room as you bite into the crispy, juicy nuggets. These delicious little bites offer a perfect blend of flavor and comfort, making them the ideal choice for any gathering.
Venison nuggets embody that inviting spirit of sharing and connection. With their tender interior and crunchy exterior, they become a favorite around the table. The process of making them brings joy, allowing you to bond with loved ones while creating something truly special. It’s about more than just food; it’s about the memories that you build around every dish.
Part 1 — Venison Nuggets
Fundamentals
Venison nuggets are a delightful twist on traditional fried foods. The process begins with bite-sized chunks of venison, marinated in buttermilk to enhance tenderness and flavor. This crucial step makes the meat moist and ready to absorb spices and coatings. Transforming these pieces into nuggets captures the essence of comfort food while allowing for a healthier approach.
These nuggets are perfect for gatherings or casual family dinners. They adapt seamlessly to various settings, making them suitable for both formal meals and laid-back get-togethers. Plus, the frying technique ensures that each nugget achieves a perfect golden-brown finish, providing visual appeal that draws people to the table.
Preparation/setup
Preparing venison nuggets requires attention to detail but forms an enjoyable process. Start by gathering your ingredients and tools. You will need two venison steaks, buttermilk, plain breadcrumbs, all-purpose flour, and a selection of spices.
Setting up your cooking space can make the process smoother. Have bowls ready for the buttermilk, seasoned flour, and breadcrumbs, ensuring everything is organized. Using a cast iron skillet will help ensure even cooking, leading to a crispy crust.
Ingredients
To make these venison nuggets, gather the following ingredients:
- 2 venison steaks (about 1 to 1¼ lb total, cut into bite-sized chunks)
- 1 cup buttermilk
- 1 cup plain breadcrumbs
- 1 cup all-purpose flour
- 1 teaspoon salt
- ½ teaspoon black pepper
- 1 teaspoon paprika
- ½ teaspoon garlic powder
- ½ teaspoon onion powder
- ¼ teaspoon cayenne pepper (optional)
- Lard (for frying, enough to fill your skillet about ½ inch deep)
Directions
- Pat the venison chunks dry with paper towels.
- Place the pieces in a bowl and pour the buttermilk over them, stirring to coat. Let sit for 30 minutes or refrigerate for up to overnight.
- In a shallow dish, combine the flour, salt, black pepper, paprika, garlic powder, onion powder, and cayenne pepper.
- Spread the breadcrumbs in another shallow dish.
- Remove the venison from the buttermilk, allowing excess to drip off. Coat each piece first in the seasoned flour, then press into the breadcrumbs until well-covered. Set them aside.
- Pour enough lard into a 10” cast iron skillet to reach about ½ inch deep. Heat over medium until it reaches about 350°F, or until a pinch of flour sizzles when dropped in.
- Fry the venison nuggets in batches, ensuring not to crowd the skillet. Cook for 3-5 minutes per side until golden and cooked through. Adjust heat as necessary to maintain a steady temperature.
- Transfer the cooked nuggets to a paper towel-lined plate and sprinkle with a little extra salt if desired. Serve hot with your favorite dipping sauces.
Part 2 — Venison Nugget Preparation Techniques
Technique
Perfecting the preparation of venison nuggets involves mastering a few key techniques. First, ensure the buttermilk fully coats the meat. This marination step not only imbues flavor but also tenderizes the venison, making each bite succulent.
When it comes to coating the nuggets, the seasoned flour and breadcrumbs play critical roles. Patricia, a veteran cook, often emphasizes the need to press the breadcrumbs into the meat. This ensures that when frying, they produce a delicious, crispy texture.
Tips/tricks
Here are some tips to enhance your venison nugget-making experience:
- Use Fresh Ingredients: Always opt for fresh herbs and spices. The flavors will significantly elevate the dish.
- Don’t Rush the Frying: Allow the oil to reach the right temperature before adding the nuggets. If the oil is too cold, the breading soaks up excess grease, making the nuggets soggy.
- Work in Batches: Fry the nuggets in small batches to maintain a consistent temperature. Overcrowding the skillet can lead to uneven cooking.
Part 3 — Elevating Your Venison Nuggets
Perfecting results
To perfect your venison nuggets, focus on frying them to the right golden-brown color. This visual cue indicates they have reached a desirable crispiness while ensuring that the meat cooks through fully. Consider using a meat thermometer to confirm that the internal temperature reaches at least 160°F for safe consumption.
Another factor is seasoning. Don’t hesitate to adjust your spice levels based on your flavor preferences. Some individuals love a bit more heat, while others prefer a milder taste. Experimenting with the spice blend allows you to create a version that speaks to your palate.
Troubleshooting/variations
If you encounter any issues with your nuggets, here are some troubleshooting tips:
- Soggy Nuggets: If the nuggets turn out soggy, your oil temperature may have been too low. Ensure the oil is hot enough before frying and monitor the temperature during cooking.
- Thick Breading: To achieve a lighter breading, remove excess flour before dipping into bread crumbs. This will help create a less dense coating and produce a better texture.
- Other Meats: If you’re looking to switch things up, consider using different meats. Chicken or turkey can be excellent alternatives for similar preparation.
Part 4 — Presentation and Enjoyment of Venison Nuggets
Serving/presentation
Presenting venison nuggets can enhance the overall dining experience. Serve them on a rustic wooden platter or a colorful ceramic plate to create an inviting display. Garnish with fresh herbs for a touch of color, and consider pairing with vibrant dipping sauces.
If you plan to serve these nuggets at a gathering, consider setting up a “nugget bar.” Provide multiple sauces such as ketchup, BBQ sauce, and honey mustard. This interactive approach encourages guests to personalize their experience.
Pairings/storage
Pair your delicious venison nuggets with various sides. Fresh salads, crispy veggies, or homemade fries complement the flavors well. Enjoy them fresh from the skillet for the best texture.
If you have leftovers, store them in an airtight container in the refrigerator for up to three days. To revive the crispiness, reheat them in the oven at 375°F for about 10-15 minutes. This method helps restore their appealing texture more than a microwave would.
Venison nuggets provide a wonderful opportunity to gather with loved ones and share hearty, delicious meals. They capture the joy of cooking while allowing for flexibility in flavor and presentation. Create lasting memories by indulging in these savory bites that evoke connection. Explore different variations and perfect this recipe to suit your taste, ensuring that every batch remains a satisfying experience.
Print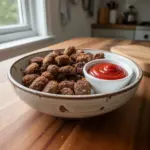
Venison Nuggets
- Prep Time: 30 minutes
- Cook Time: 20 minutes
- Total Time: 50 minutes
- Yield: 4 servings
- Category: Appetizer
- Method: Frying
- Cuisine: American
- Diet: Paleo
Description
Crispy, juicy venison nuggets that embody comfort and connection, perfect for gatherings.
Ingredients
- 2 venison steaks (about 1 to 1¼ lb total, cut into bite-sized chunks)
- 1 cup buttermilk
- 1 cup plain breadcrumbs
- 1 cup all-purpose flour
- 1 teaspoon salt
- ½ teaspoon black pepper
- 1 teaspoon paprika
- ½ teaspoon garlic powder
- ½ teaspoon onion powder
- ¼ teaspoon cayenne pepper (optional)
- Lard (for frying, enough to fill your skillet about ½ inch deep)
Instructions
- Pat the venison chunks dry with paper towels.
- Place the pieces in a bowl and pour the buttermilk over them, stirring to coat. Let sit for 30 minutes or refrigerate for up to overnight.
- In a shallow dish, combine the flour, salt, black pepper, paprika, garlic powder, onion powder, and cayenne pepper.
- Spread the breadcrumbs in another shallow dish.
- Remove the venison from the buttermilk, allowing excess to drip off. Coat each piece first in the seasoned flour, then press into the breadcrumbs until well-covered. Set them aside.
- Pour enough lard into a 10” cast iron skillet to reach about ½ inch deep. Heat over medium until it reaches about 350°F, or until a pinch of flour sizzles when dropped in.
- Fry the venison nuggets in batches, ensuring not to crowd the skillet. Cook for 3-5 minutes per side until golden and cooked through. Adjust heat as necessary to maintain a steady temperature.
- Transfer the cooked nuggets to a paper towel-lined plate and sprinkle with a little extra salt if desired. Serve hot with your favorite dipping sauces.
Notes
Serve with a variety of dipping sauces and fresh herbs for garnish. Store leftovers in an airtight container for up to three days.