📑 Table of Contents ▶
- The Science of Same Day Sourdough Bread
- Fundamentals
- Preparation/Setup
- Directions
- Mastering the Technique
- Technique
- Tips/Tricks
- Perfecting Your Sourdough Bread
- Perfecting Results
- Troubleshooting/Variations
- Serving and Storing Your Sourdough
- Serving/Presentation
- Pairings/Storage
- Conclusion
- Same Day Sourdough Bread
Same Day Sourdough Bread by Dinnertime
I’m Della Lucia, and HealthyDinnerMeals was created from my belief that food should nourish both the body and the moments we share. My fondest memories come from simple homemade meals — not perfection, just comfort, connection, and care. Here, healthy eating stays approachable and satisfying, with recipes that fit real life: quick, flavorful, and balanced. Whether you’re cooking for yourself or loved ones, I hope these meals help you feel confident in the kitchen and inspired to enjoy every moment around the table.
Baking sourdough bread offers a sense of accomplishment that many cherish. The magic of fermentation transforms simple ingredients into a flavorful masterpiece. But who wants to wait days for that? With the right approach, you can master same-day sourdough bread just in time for dinner. Imagine the aroma wafting through your kitchen while you prepare a meal for loved ones.
This recipe blends the art of sourdough with practicality. You can successfully create a delicious loaf ready by dinnertime. Utilizing a combination of high-quality bread flour and whole wheat flour helps achieve a delightful texture and flavor that appeals to everyone. The process involves just a few steps, but the results will amaze you.
Ready to dive into the delicious world of same-day sourdough bread? Let’s explore the fundamental aspects that make this simple recipe shine.
The Science of Same Day Sourdough Bread
Fundamentals
Understanding sourdough fermentation can enhance your bread-making journey. Sourdough relies on wild yeast and bacteria present in your starter. These elements do more than leaven the dough; they also create a depth of flavor and character in each loaf. Proper fermentation allows the dough to develop those rich, tangy notes that make sourdough so special.
Timing holds great significance in this process. Utilizing an active sourdough starter is crucial. Feeding it the night before ensures it’s at its peak the next morning. This simple act sets the stage for a successful bread-making experience, allowing the dough to rise beautifully.
Preparation/Setup
Before starting, ensure you gather all necessary tools and ingredients. Begin by measuring your flour and water for the dough. A large mixing bowl will help contain everything during the mixing process. Keep a bench scraper handy for folding and shaping. You might also want a banneton or proofing basket to shape your loaf correctly before baking.
The setup may seem minimal, but every tool plays a role in creating the perfect loaf. Take a moment to embrace the process as you prepare your workspace. Feeling organized will make the journey enjoyable.
Ingredients
Creating a successful same-day sourdough bread hinges on using the right ingredients. Here’s what you’ll need:
- 1/2 cup bread flour
- 1/2 cup whole wheat flour
- 1 1/2 cups water
- 450 g bread flour
- 10 g salt
- 100 g active sourdough starter
- 307 g water
Each ingredient contributes to the overall flavor and texture. The combination of different flours enhances the nutrient profile while adding complexity. You’ll find that measuring accurately is key to achieving desirable results.
Directions
- Feed your sourdough starter the night before.
- In the morning, mix the bread flour, whole wheat flour, water, and sourdough starter in a large bowl.
- Perform several sets of stretch and folds to strengthen the dough over the next hour.
- Let the dough rise for 4-5 hours during bulk fermentation, until it doubles in size.
- Shape the dough into a round or oval loaf.
- Allow the dough to rest for 30-45 minutes for final proof (optional).
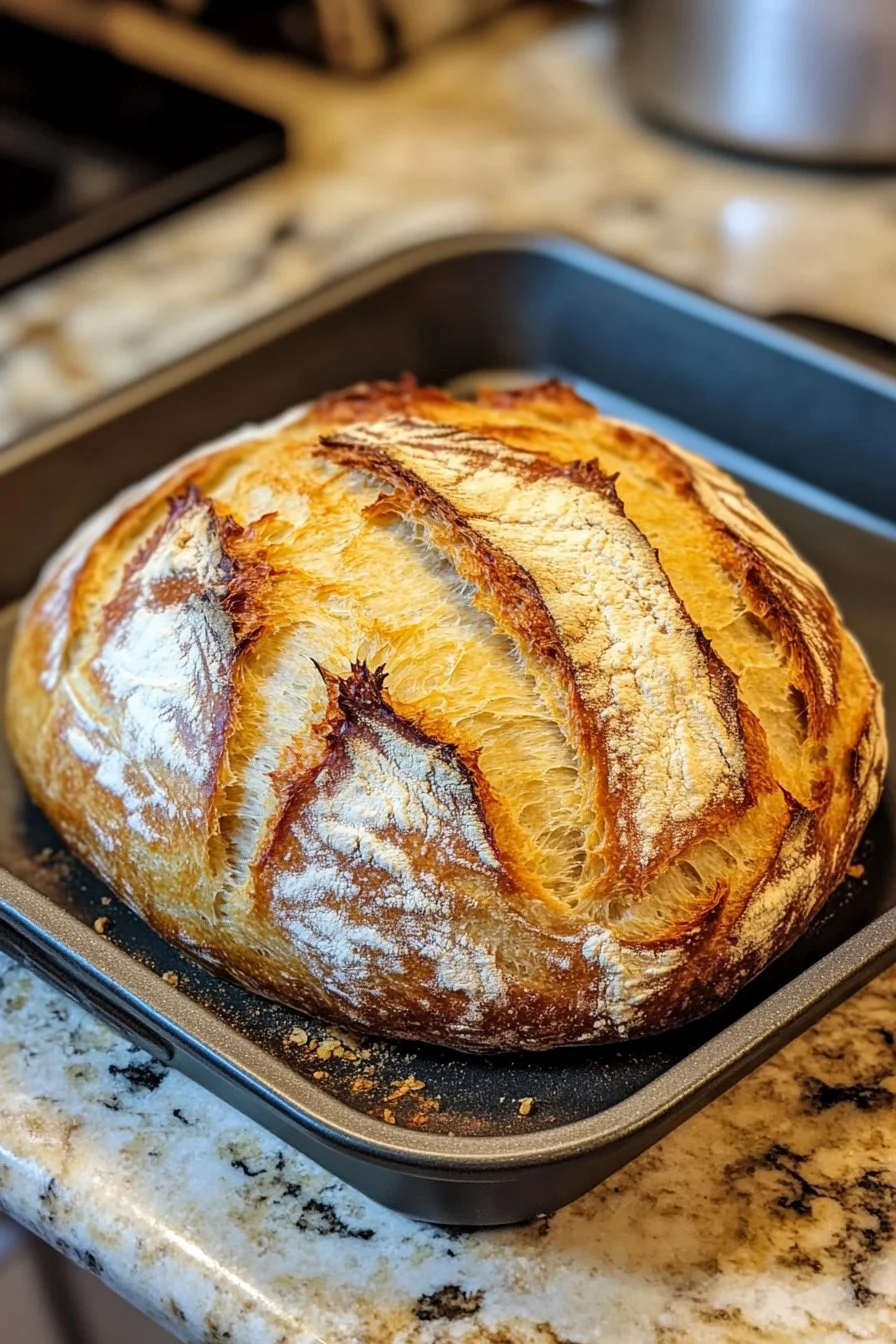
- Preheat the oven and bake the scored loaf.
The rhythm of kneading and shaping creates a satisfying experience. As the dough rises and transforms, anticipation builds for the final product. Enjoy the simplicity of this process, and let the results surprise you.
Mastering the Technique
Technique
The technique behind successful sourdough bread involves both art and science. Understanding gluten development plays a crucial role in achieving the desired texture. During the stretch and folds, you work the dough while allowing it to rest. This process promotes proper strength and enhances the bread’s structure.
Monitoring the dough during bulk fermentation is essential. Look for visual cues as it rises. The dough should expand, and bubbles may form near the surface. These indicators signal that fermentation is working beautifully.
Tips/Tricks
Several tips can enhance your sourdough bread-making adventure. First, maintain a consistent room temperature for optimal fermentation. If your kitchen is cold, consider placing the dough in a warm spot.
Secondly, make sure to utilize your active starter. Its health directly impacts your bread’s rise and flavor. If it seems sluggish, feed it with equal parts flour and water beforehand.
Lastly, practice patience. Allowing the dough to ferment sufficiently contributes to its final taste and structure. Keep track of each step, and with time, you’ll develop an even more intuitive understanding of how your dough behaves.
Perfecting Your Sourdough Bread
Perfecting Results
Perfecting your results comes down to understanding the subtle nuances of your ingredients and environment. Consider experimenting with different hydration levels. A wetter dough often produces a more open crumb structure, while a slightly stiffer dough may yield better shapes.
Pay attention to the dough’s consistency during shaping. If it feels slack or overly sticky, adjust with a light dusting of flour as you mold it into its final form. Each interaction helps the dough develop character.
Troubleshooting/Variations
Every baker encounters challenges, and sourdough is no exception. If your bread doesn’t rise adequately, check the activity of your starter. An inactive starter can lead to disappointing results. Revitalize it before your next baking adventure.
Another common issue involves dough sticking to surfaces. Sprinkling flour on your work surface can help, but be cautious not to overdo it. Too much flour can alter the dough’s balance, making it challenging to achieve the desired texture.
Consider embracing variations in your recipe too. Swap out the whole wheat flour for another type of flour, like spelt or rye, to introduce different flavors. Integrating seeds or nuts can enhance the nutrition and texture as well.
Serving and Storing Your Sourdough
Serving/Presentation
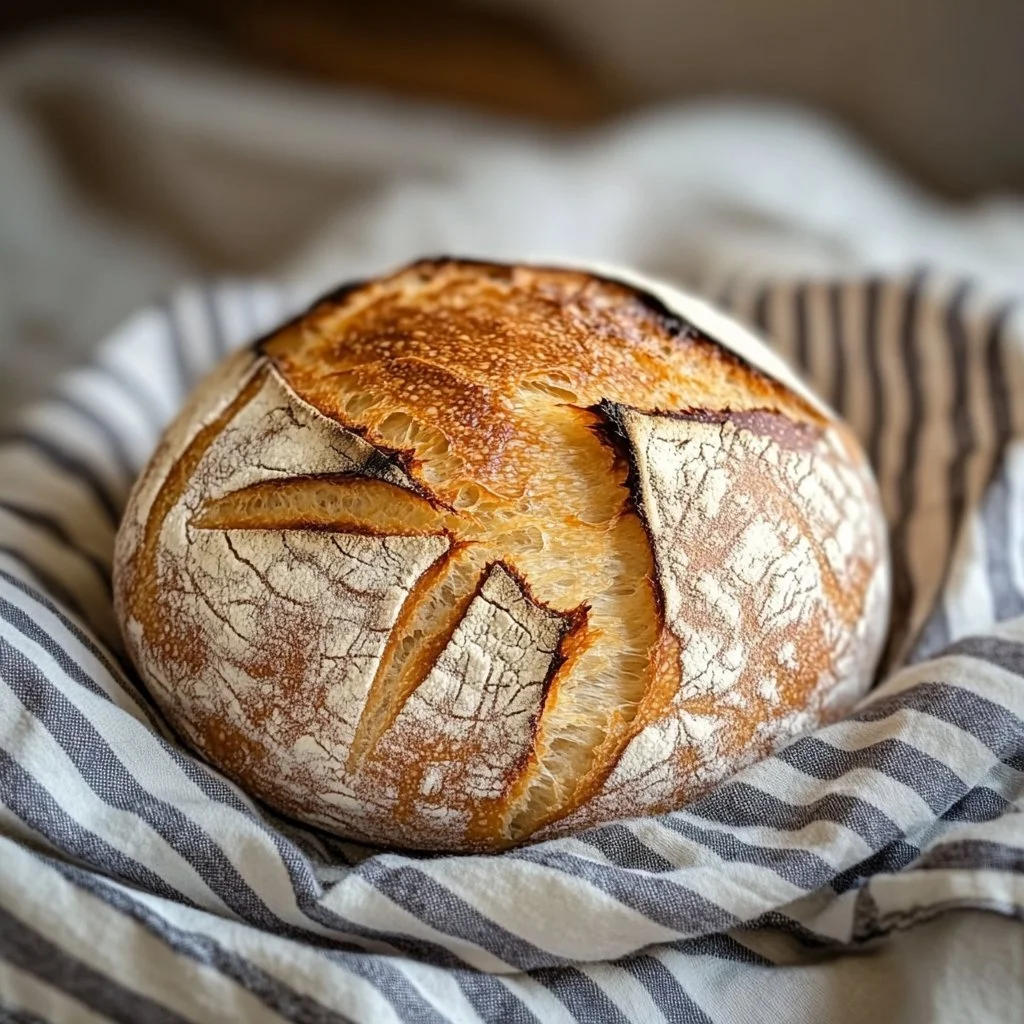
After pulling your beautiful loaf from the oven, allow it to cool on a wire rack. This step is vital as it helps the crumb set properly. Once cooled, slice into your masterpiece and reveal the delightful interior. Serve each slice with your favorite toppings, celebrating the simplicity of homemade sourdough.
Presentation matters, too. Consider how you place the loaf on the serving table. A rustic wooden board or cloth-wrapped basket brings warmth to the table and invites guests to dig in. The aroma of freshly baked bread adds to the experience, creating a lasting memory for everyone.
Pairings/Storage
While enjoying your sourdough, consider the flavors that complement it best. Fresh herbs, high-quality olive oil, or homemade spreads can elevate your meal. A simple combination of fresh tomato and basil pairs beautifully with a warm slice of bread. For a touch of sweetness, try butter and honey.
When it comes to storage, the goal is to maintain freshness. Store your bread in a cloth bag or bread box at room temperature. Avoid plastic bags, as they can create excess moisture and lead to sogginess. Enjoy your loaf within a few days for the best experience.
Conclusion
Same-day sourdough bread exemplifies the joy of creating something special in the kitchen. By following these steps, you can craft a loaf that stands as a centerpiece at your table. With a little practice and understanding, the art of bread-making becomes a delightful ritual that fosters connection and nourishment. Revel in the aroma, texture, and flavor of your sourdough creation, and continue exploring new variations and techniques to perfect your baking skills.
Print
Same Day Sourdough Bread
- Prep Time: 15 minutes
- Cook Time: 45 minutes
- Total Time: 60 minutes
- Yield: 1 loaf
- Category: Bread
- Method: Baking
- Cuisine: American
- Diet: Vegetarian
Description
Master the art of same-day sourdough bread with this practical recipe that results in a delicious loaf ready just in time for dinner.
Ingredients
- 1/2 cup bread flour
- 1/2 cup whole wheat flour
- 1 1/2 cups water
- 450 g bread flour
- 10 g salt
- 100 g active sourdough starter
- 307 g water
Instructions
- Feed your sourdough starter the night before.
- In the morning, mix the bread flour, whole wheat flour, water, and sourdough starter in a large bowl.
- Perform several sets of stretch and folds to strengthen the dough over the next hour.
- Let the dough rise for 4-5 hours during bulk fermentation, until it doubles in size.
- Shape the dough into a round or oval loaf.
- Allow the dough to rest for 30-45 minutes for final proof (optional).
- Preheat the oven and bake the scored loaf.
Notes
Maintain a consistent room temperature for optimal fermentation. Use an active starter for best results.