📑 Table of Contents ▶
- Pizza Sliders
- Crafting the Perfect Pizza Sliders
- Fundamentals
- Preparation/Setup
- Mastering Pizza Sliders: Techniques and Tips
- Technique
- Tips/Tricks
- Perfecting Pizza Sliders: Results and Variations
- Perfecting Results
- Troubleshooting/Variations
- Serving Pizza Sliders: Presentation and Storage
- Serving/Presentation
- Pairings/Storage
- Conclusion
- FAQs – Pizza Sliders
I’m Della Lucia, and my journey through the culinary world has always been about more than just cooking; it’s been about creating connections. The simple joys of life, like gathering around the table with loved ones, have always held the most significance for me. This is what inspired the creation of HealthyDinnerMeals, a space dedicated to recipes that bring people together.
When life feels busy, I find comfort in knowing that healthy eating can still be simple and enjoyable. My kitchen philosophy centers on crafting meals that are both nourishing and accessible, blending flavor and ease seamlessly. This has been my guiding light through countless meals and shared moments.
Pizza sliders are a perfect example of this ethos. These delightful snacks transform a classic favorite into a quick and satisfying meal that fits effortlessly into busy schedules. They embody the essence of what I strive to achieve with every recipe — simplicity, joy, and the magic of shared experiences.
I invite you to explore how you can make these pizza sliders a staple in your home, adding a touch of comfort and fun to your daily routine. Let’s dive into the world of pizza sliders, where every bite is a reminder of the beauty found in life’s simplest pleasures.
Print
Pizza Sliders
- Prep Time: 20 minutes
- Cook Time: 20 minutes
- Total Time: 40 minutes
- Yield: 12 servings
- Category: Appetizer
- Method: Baking
- Cuisine: Italian
Description
Learn how to make delicious pizza sliders with this easy recipe! Perfect for parties or a fun family dinner. Try our mouthwatering pizza sliders today.
Ingredients
- cooking spray
- 1 1/2 cups (170g) finely pre-shredded low-moisture part-skim mozzarella cheese
- 1 cup (100g) finely pre-shredded Italian cheese blend
- 1/4 cup (60 ml) finely chopped fresh basil
- 1/4 teaspoon (1 ml) black pepper
- 2 teaspoons (10 ml) dried Italian seasoning, divided
- 1 1/3 cups (315g) pizza sauce (from 1 [370g] jar)
- 2 tablespoons (30 ml) sun-dried tomato pesto
- 1 (12 count) package Hawaiian sweet rolls
- 3/4 cup (85g) thinly sliced beef pepperoni
- 2 tablespoons (30 ml) vegetable oil
- 1 tablespoon (15 ml) grated Parmesan cheese
- 3/4 teaspoon (4 ml) garlic powder
Instructions
- Gather all the necessary items. Heat the oven to 375°F (190°C). Line a baking sheet with parchment paper and place a cooling rack on top. Lightly coat the rack with cooking spray.
- In a small bowl, mix together the mozzarella, Italian cheese blend, basil, black pepper, and 1 ½ teaspoons of Italian seasoning until well blended. Set this mixture aside.
- In another small bowl, combine the pizza sauce with the sun-dried tomato pesto. Set this aside as well.
- Using a serrated knife, slice the entire package of rolls in half horizontally without detaching them. Place the lower half on the prepared baking sheet and keep the upper half aside.
- Spread half of the cheese mixture evenly over the bottom layer of rolls, then add half of the pepperoni slices and half of the sauce mixture on top. Repeat these layers once.
- Place in the oven and bake until the cheese is melted, approximately 15 minutes.
- While waiting, blend the vegetable oil, Parmesan cheese, garlic powder, and the remaining ½ teaspoon of Italian seasoning in a small pan. Heat over medium, stirring occasionally until the oil is melted, which should take 1 to 2 minutes. Set this aside.
- Take the rolls out of the oven and place the top half on them; brush the tops evenly with the oil mixture. Return to the oven and bake until the rolls turn golden brown and crispy, roughly 5 minutes.
- Cut the rolls apart and serve them right away. Enjoy! Recipe developed by Laura Kanya.
Notes
- Try incorporating sharp cheddar or smoked gouda in the cheese mixture for a more flavorful twist.
- Experiment with toppings like cooked sausage, bell peppers, or olives to customize the flavor to your liking.
- Evenly distribute the cheese and toppings to ensure every bite of these pizza sliders is delicious and satisfying.
Crafting the Perfect Pizza Sliders
Fundamentals
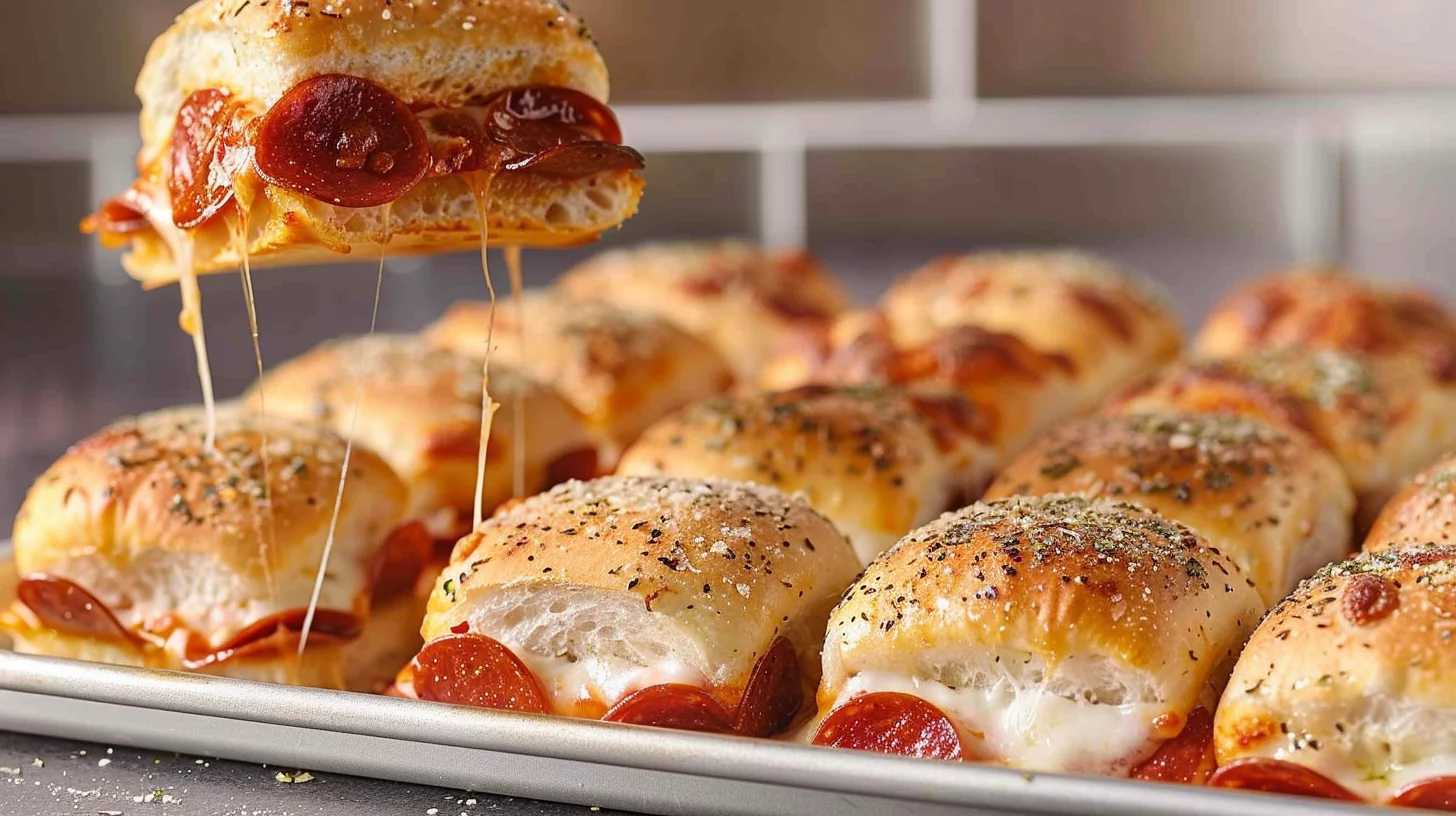
Creating pizza sliders begins with understanding their core components: the bread, the filling, and the seasoning. These elements come together to form a delightful, bite-sized version of a beloved classic. Using Hawaiian sweet rolls as the base adds a subtle sweetness, enhancing the savory notes of the cheese and pepperoni.
The blend of mozzarella and Italian cheese creates a creamy, gooey texture that is essential for any pizza-inspired dish. Incorporating a mix of pizza sauce and sun-dried tomato pesto elevates the flavor profile, adding depth and richness. This combination ensures each slider is packed with a taste that resonates with pizza lovers everywhere.
Preparation/Setup
Before starting, gather all your ingredients and prep your workspace. Preheat your oven to 375°F (190°C) and line a baking sheet with parchment paper. A cooling rack placed on top, lightly sprayed with cooking spray, will help achieve crispy rolls.
Mix the cheeses with fresh basil and black pepper for a flavorful filling. Slice the rolls horizontally, ensuring they remain connected, and prepare to layer them with cheese, sauce, and pepperoni. This preparation sets the stage for a seamless cooking process, leading to perfectly melted and crisp pizza sliders.
Mastering Pizza Sliders: Techniques and Tips
Technique
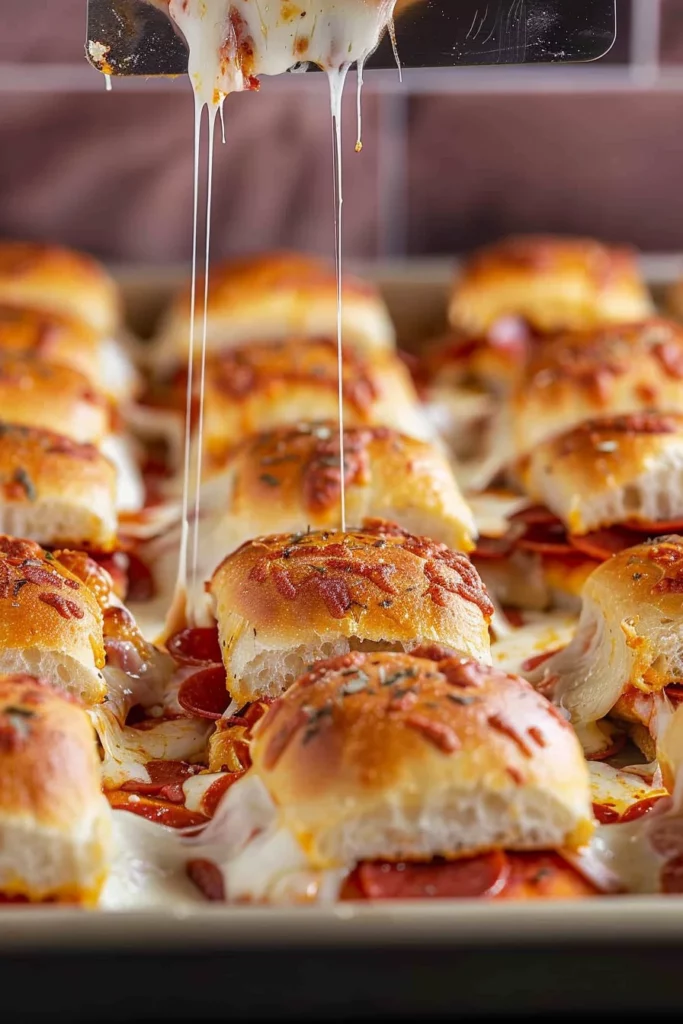
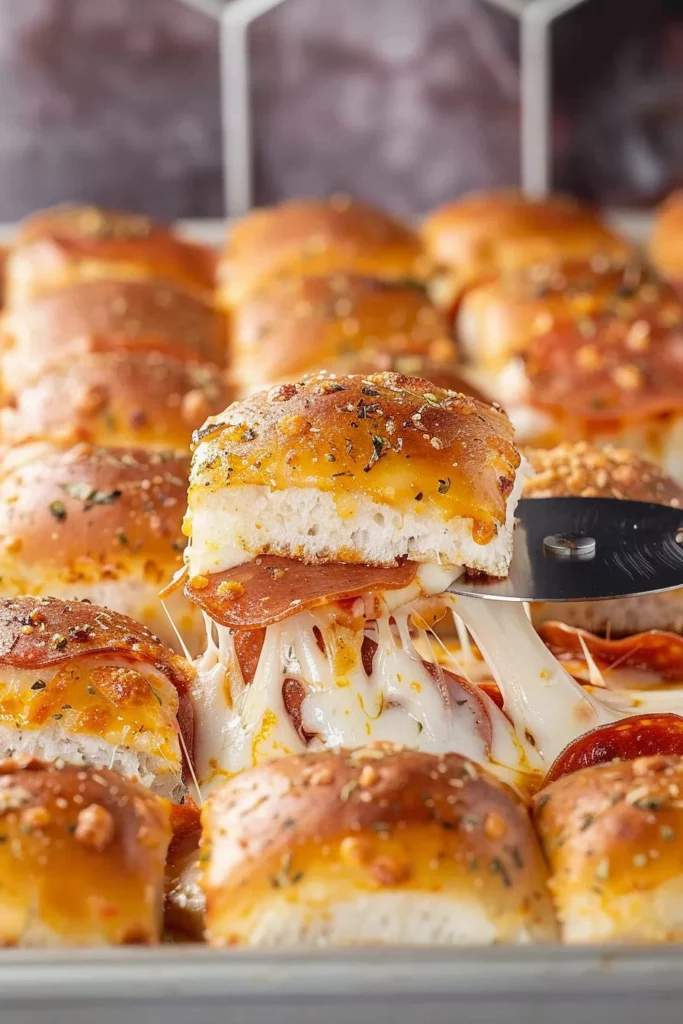
Layering is crucial in crafting pizza sliders. Begin with a generous spread of the cheese mixture on the bottom layer of rolls, followed by pepperoni and sauce. Repeat to ensure each bite is layered with flavor. This method ensures that the layers melt and meld together, creating a perfect balance of gooey cheese and zesty sauce.
Pizza Sliders
Bake the sliders until the cheese melts, ensuring the flavors meld into a harmonious blend. Use a brush to apply a delicious mix of vegetable oil, Parmesan cheese, garlic powder, and Italian seasoning on top before returning them to the oven. This final touch ensures a golden, flavorful crust.
Tips/Tricks
For the best results, allow the sliders to rest for a minute after baking. This helps the flavors settle, making each bite more cohesive. To enhance the texture, consider using a cooling rack to ensure even airflow, which helps achieve a crispy bottom.
If you’re looking to experiment, try a variation with different fillings, such as a white sauce using white garlic pizza sauce. This can add a rich, creamy twist to your sliders, appealing to those who enjoy a classic white pizza.
Perfecting Pizza Sliders: Results and Variations
Perfecting Results
Achieving the perfect pizza slider involves attention to detail in every step. From choosing the right ingredients to executing each layer with precision, every action contributes to the final product. The goal is a slider that is crispy on the outside, with a luscious, gooey center that delivers the essence of pizza in every bite.
Consider experimenting with different cheese blends or adding vegetables for a twist. A variation like the better-than-pizza vegetable casserole offers inspiration for incorporating more veggies into your pizza sliders. This approach not only adds flavor but also boosts nutritional value.
Troubleshooting/Variations
Should your sliders turn out soggy, consider adjusting the oven temperature or baking time. Ensuring the oven is preheated properly can also make a significant difference. If you encounter challenges with layering, use a spoon to evenly distribute the sauce and cheese for consistent coverage.
For a creative spin, try making pizza roll-ups, which provide a portable, fun variation on the classic slider. This option is perfect for those who enjoy a hand-held treat with all the delightful flavors of pizza.
Serving Pizza Sliders: Presentation and Storage
Serving/Presentation
Present your pizza sliders on a platter with a garnish of fresh basil for a pop of color. Serve them hot, ensuring each slider is cut cleanly and evenly. This attention to presentation adds to the dining experience, making each bite as visually appealing as it is delicious.
Accompany your sliders with a fresh salad or a fruit pizza for a well-rounded meal. This pairing not only complements the flavors but also adds a refreshing contrast, making your meal both satisfying and complete.
Pizza Sliders
Pairings/Storage
For best results, enjoy your pizza sliders fresh from the oven. However, if you have leftovers, store them in an airtight container and reheat in the oven to preserve their crispiness. Avoid microwaving, as this can lead to a soggy texture.
For a delightful twist on game day or gatherings, consider serving alongside sous vide beef sliders. This combination offers a variety of flavors that cater to diverse palates, ensuring your event is a culinary success.
Conclusion
Pizza sliders are a delightful way to enjoy the beloved flavors of pizza in a compact, convenient form. By focusing on quality ingredients and thoughtful preparation, you can create sliders that are both delicious and satisfying. The versatile nature of these sliders allows for endless customization, ensuring they remain a favorite in any home.
The simplicity and ease of pizza sliders make them a go-to option for busy nights, casual gatherings, or even as a fun family cooking activity. Their ability to bring people together over shared meals highlights their true value — creating moments of joy and connection through food.