📑 Table of Contents ▶
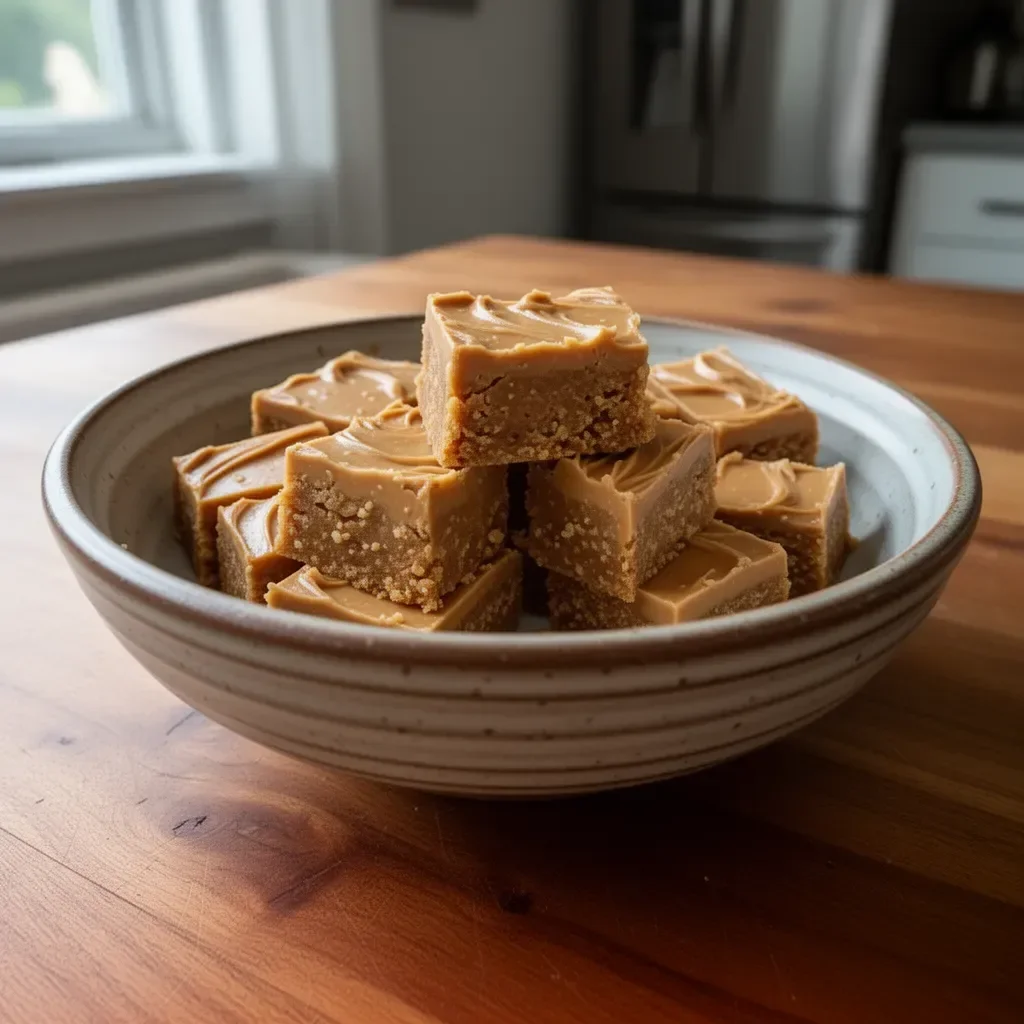
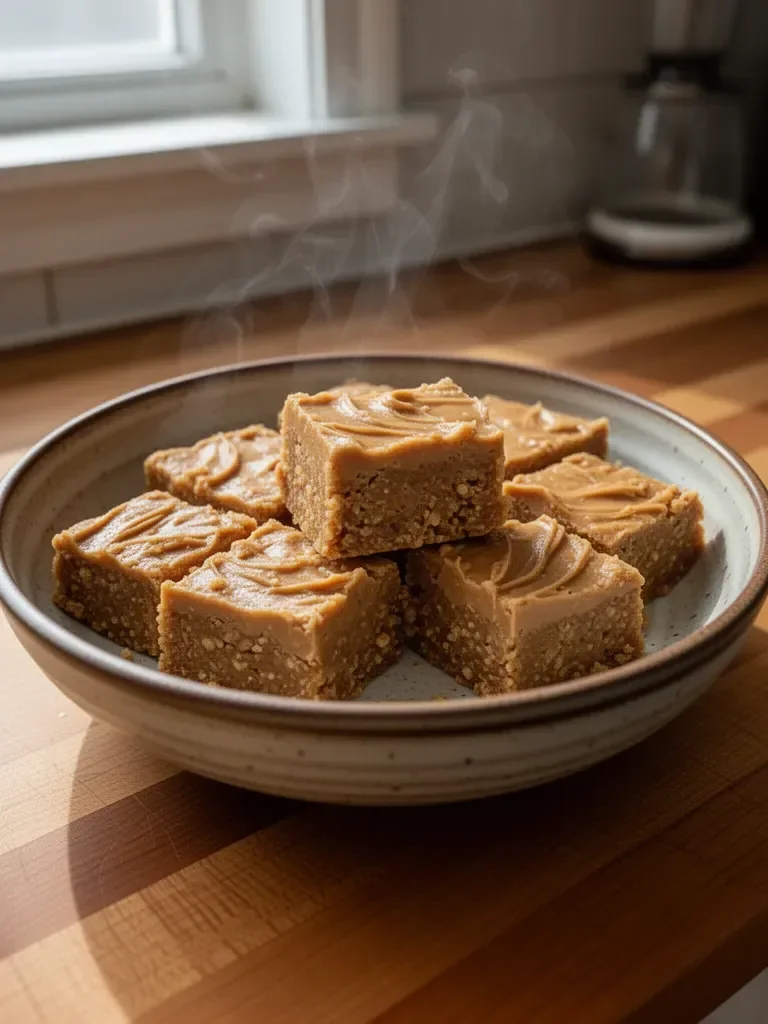
Peanut Butter Lunch Lady Bars
Memories come alive in the kitchen, especially when it comes to peanut butter lunch lady bars. I remember bustling around my childhood kitchen, the sweet aroma of baked goods wafting through the air. When my mother whipped up a batch of these bars, the excitement in the house was palpable. Friends and family gathered, each eager to grab a slice of that rich, gooey goodness topped with creamy frosting.
These bars aren’t just treats; they hold sentimental value. They embody simple joys and cherished connections. Each square brings a taste of childhood nostalgia back to life, offering comfort after a long day. These peanut butter lunch lady bars find their way into lunchboxes, dessert spread, and coffee breaks, making them an all-around crowd-pleaser.
Creating these bars follows a straightforward process, making them perfect for both novice bakers and seasoned pros. The combination of peanut butter, oats, and a touch of sweetness comes together effortlessly, creating a delightful experience for everyone who takes a bite. With their chewy texture and creamy frosting, these bars offer comfort and satisfaction that transcends generations.
Peanut Butter Lunch Lady Bars: The Basics
Fundamentals
Selecting the right ingredients plays a role in achieving the perfect peanut butter lunch lady bars. Whether you’re a fan of creamy or crunchy peanut butter, sticking to quality ingredients makes a significant difference. Ensure your butter is softened and your sugars are fresh for the best results. The combination of granulated and brown sugars adds depth to the sweetness, perfectly complementing the peanut butter flavor.
Knowing how to set up your kitchen helps streamline the baking process. Gather all your ingredients before you start, and preheat your oven to 350°F (175°C). Preparing your pan is crucial—grease a 10×15-inch jelly roll pan or line it with parchment paper. This small step saves frustration later and guarantees even baking.
Ingredients
You will need the following ingredients to make lovely peanut butter lunch lady bars:
- 1 cup (2 sticks) unsalted butter, softened
- 1 cup creamy peanut butter
- 1 cup granulated sugar
- 1 cup packed light brown sugar
- 2 large eggs
- 1 teaspoon pure vanilla extract
- 2 cups all-purpose flour
- 1 teaspoon baking soda
- ½ teaspoon salt
- 2 cups quick oats
For the frosting, gather:
- ½ cup creamy peanut butter
- 4 tablespoons unsalted butter, softened
- 2 teaspoons vanilla extract
- 2 cups powdered sugar
- 3–4 tablespoons milk (as needed)
Directions
- Preheat your oven to 350°F (175°C) and grease a 10×15-inch jelly roll pan or line it with parchment paper.
- In a large bowl, cream together the softened butter, peanut butter, granulated sugar, and brown sugar until smooth and fluffy.
- Gradually add in the eggs, mixing well after each addition, then stir in the vanilla.
- In a separate bowl, whisk together the flour, baking soda, and salt. Gradually add this mixture to the wet ingredients, stirring until just combined.
- Fold in the quick oats.
- Spread the batter evenly in the prepared pan and bake for 20–22 minutes, until the edges are golden brown and a toothpick inserted in the center comes out clean.
- Remove from the oven and let cool completely in the pan.
- For the frosting, cream together the ½ cup creamy peanut butter and 4 tablespoons softened unsalted butter until smooth, then add the 2 teaspoons vanilla extract and mix. Gradually add the powdered sugar and enough milk to achieve your desired consistency.
- Once the bars have cooled, spread the frosting evenly on top, then slice into squares for serving.
Mastering Peanut Butter Lunch Lady Bars
Technique
Baking peanut butter lunch lady bars needs a few essential techniques. Mix your ingredients well but avoid overmixing. Overmixing can lead to denser bars, losing that desired chewy texture. When adding the dry ingredients, do this gradually for better incorporation, which helps in creating a lighter end product.
Don’t rush the cooling process. Allow the bars to cool completely in the pan before adding the frosting. This ensures the frosting adheres well and retains its creamy texture. Use an offset spatula to spread the frosting smoothly on top of the bars. The right tools make the job easier!
Tips and Tricks
Experimenting with these bars can yield delightful results. Consider adding chocolate chips or nuts to the batter for extra texture. A pinch of cinnamon or a sprinkle of sea salt on top of the frosting can elevate the flavor profile even further. Keep things interesting by swapping out some quick oats for granola or coconut flakes.
Always store your bars in an airtight container to maintain freshness. They can last for about a week on the counter or even longer if refrigerated. Cut them into squares for easy sharing and enjoy the camaraderie these bars inspire at your gatherings.
Perfecting Peanut Butter Lunch Lady Bars
Achieving Ideal Results
Achieving the perfect batch of peanut butter lunch lady bars requires attention to detail. Ensure your butter is at room temperature before beginning. It should give way easily when pressed, ensuring a creamy blend with the peanut butter. The right balance of soft, creamy ingredients creates a batter that rises beautifully during baking.
Take note of your baking time. Everyone’s oven varies slightly, so keep an eye on the edges of the bars. They’ll begin to turn a golden brown, and a toothpick inserted in the center should come out clean. Allowing them to cool completely enhances their flavor and makes them easier to cut.
Troubleshooting and Variations
Common issues in baking include bars that turn out too dry or overly soft. If they dry out, consider reducing the baking time slightly during your next attempt. On the other hand, if they remain too soft, ensure accurate measuring of the flour, as too little can prevent proper structure.
You can switch up these bars to suit different preferences. Replace peanut butter with almond or sunbutter for variations. Both provide a unique, nutty flavor and texture. Personalizing the bars makes them more enjoyable for various tastes.
Presenting Peanut Butter Lunch Lady Bars
Serving Suggestions
Serving peanut butter lunch lady bars becomes a fun, creative affair. Present the sliced bars on a colorful platter, garnishing with chopped nuts or drizzles of chocolate for an eye-catching platter. Pair them with a glass of cold milk or a steaming cup of coffee for a delightful experience.
These bars are perfect for lunches, snacks, or dessert at gatherings. They’re easy to transport, making them an excellent choice for potlucks or picnics. Enjoy these bars straight from the pan, or chill them for a cool treat on hot days.
Storage Solutions
Proper storage ensures your peanut butter lunch lady bars remain fresh and delicious. The bars maintain their quality when stored in an airtight container at room temperature. If you want to extend their life further, refrigerate them. They taste wonderful chilled!
Consider wrapping individual squares in plastic wrap for easy grab-and-go snacks. This simple step prevents the bars from drying out and allows for quick access whenever cravings hit. Enjoying these bars becomes effortless with such thoughtfulness in storage.
The richness of peanut butter lunch lady bars satisfies on multiple levels, appealing to our senses and nostalgia alike. Each bite tells a story, intertwining comfort with flavor in a delightful way that invites everyone to the table.
Print
Peanut Butter Lunch Lady Bars
- Prep Time: 15 minutes
- Cook Time: 22 minutes
- Total Time: 37 minutes
- Yield: 24 servings
- Category: Dessert
- Method: Baking
- Cuisine: American
- Diet: Vegetarian
Description
Delicious, chewy peanut butter bars topped with creamy frosting, perfect for any occasion.
Ingredients
- 1 cup (2 sticks) unsalted butter, softened
- 1 cup creamy peanut butter
- 1 cup granulated sugar
- 1 cup packed light brown sugar
- 2 large eggs
- 1 teaspoon pure vanilla extract
- 2 cups all-purpose flour
- 1 teaspoon baking soda
- ½ teaspoon salt
- 2 cups quick oats
- For the frosting:
- ½ cup creamy peanut butter
- 4 tablespoons unsalted butter, softened
- 2 teaspoons vanilla extract
- 2 cups powdered sugar
- 3–4 tablespoons milk (as needed)
Instructions
- Preheat your oven to 350°F (175°C) and grease a 10×15-inch jelly roll pan or line it with parchment paper.
- Cream together the softened butter, peanut butter, granulated sugar, and brown sugar until smooth and fluffy.
- Add the eggs gradually, mixing well after each addition, then stir in the vanilla.
- Whisk together the flour, baking soda, and salt in a separate bowl. Gradually add this mixture to the wet ingredients, stirring until just combined.
- Fold in the quick oats.
- Spread the batter evenly in the prepared pan and bake for 20–22 minutes, until the edges are golden brown and a toothpick inserted in the center comes out clean.
- Remove from the oven and let cool completely in the pan.
- For the frosting, cream together the ½ cup creamy peanut butter and 4 tablespoons softened unsalted butter until smooth, then mix in the 2 teaspoons vanilla extract. Gradually add the powdered sugar and enough milk to achieve your desired consistency.
- Once the bars have cooled, spread the frosting evenly on top, then slice into squares for serving.
Notes
Consider adding chocolate chips or nuts to the batter for extra texture. Store bars in an airtight container to maintain freshness.