
📑 Table of Contents ▶
No Knead Gluten Free Bread
I’m Della Lucia, and HealthyDinnerMeals was created from my belief that food should nourish both the body and the moments we share. My fondest memories come from simple homemade meals — not perfection, just comfort, connection, and care. Here, healthy eating stays approachable and satisfying, with recipes that fit real life: quick, flavorful, and balanced. Whether you’re cooking for yourself or loved ones, I hope these meals help you feel confident in the kitchen and inspired to enjoy every moment around the table.
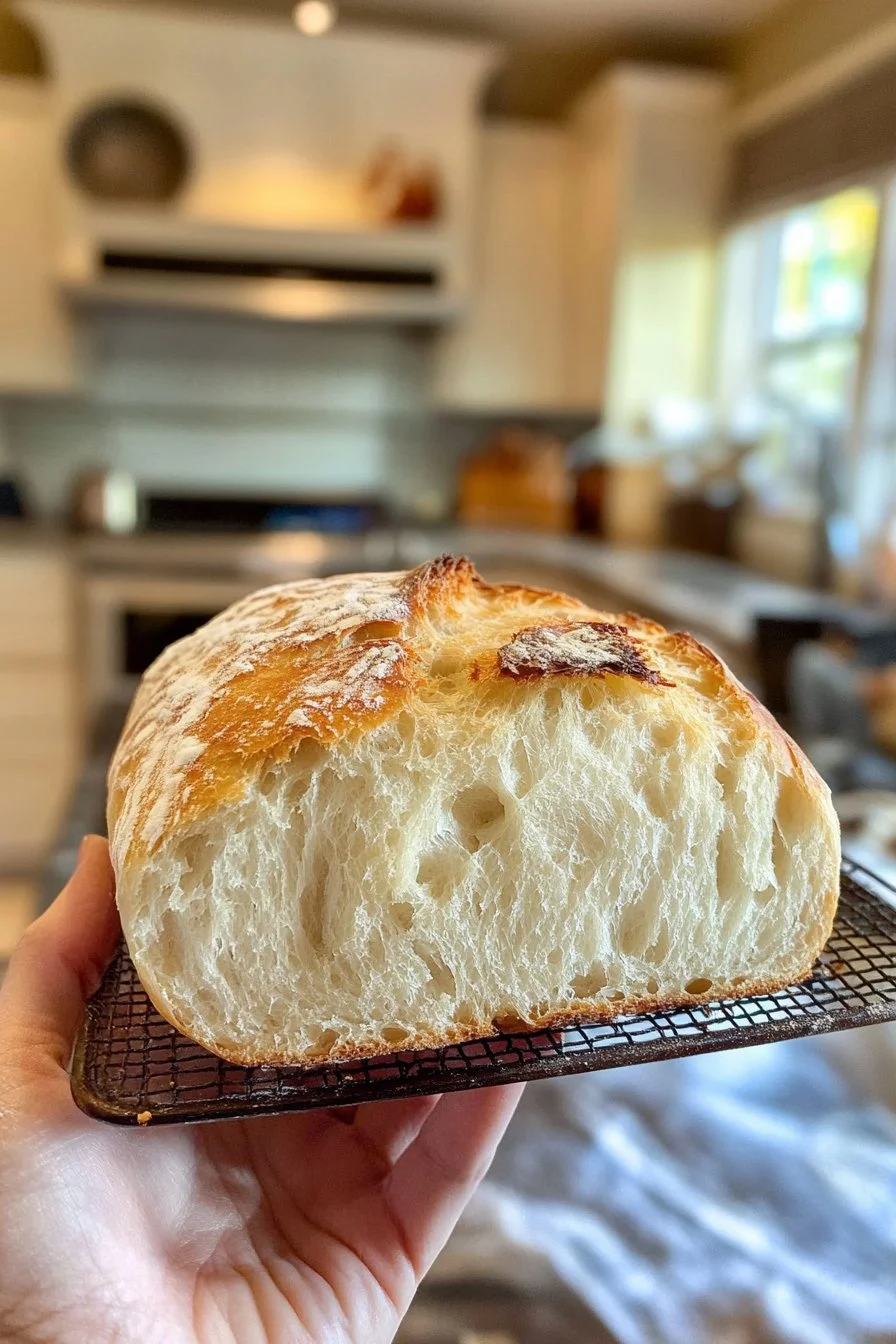
There’s something magical about the aroma of freshly baked bread wafting through the kitchen. The process can feel intimidating, but with no knead gluten free bread, you can bring that warm comfort into your home without the stress. Imagine slicing into a loaf with a beautiful crust and a soft, airy interior, all while keeping it gluten-free.
This recipe involves minimal effort and maximizes flavor, making it perfect for anyone, whether you live a gluten-free lifestyle or simply crave homemade bread. The no knead method takes away the heavy labor of traditional bread-making and replaces it with a little patience and the right ingredients.
Part 1 — No Knead Gluten Free Bread
Fundamentals
No knead gluten free bread relies on a simple combination of gluten-free flour blend, salt, yeast, and warm water. This combination allows for the yeast to ferment, creating a delightfully airy texture. The gluten-free flour blend typically contains rice, tapioca, and potato starch, which help mimic the properties of traditional wheat flour without gluten.
The beauty of this bread lies in the fermentation process. Allowing the dough to rest for 12–18 hours not only enhances the flavor but also contributes to its texture. The longer the dough sits, the better the bread will turn out.
Preparation/setup
Begin by gathering all your ingredients. Measure out 3 cups of gluten-free flour blend and 1½ teaspoons of salt, then place them in a large mixing bowl. In a separate bowl, dissolve 1 teaspoon of active dry yeast in 1½ cups of warm water (at about 110°F/43°C). Let the mixture sit for 5–10 minutes until it becomes foamy, indicating that the yeast is alive and ready to work its magic.
After your yeast mixture has activated, it’s time to combine the wet and dry ingredients. Pour the yeast mixture into the flour and salt mixture, stirring until a sticky dough forms. This dough will appear different from traditional dough, but that’s perfectly fine.
Ingredients
For this no knead gluten free bread, you’ll need:
- 3 cups gluten-free flour blend (with rice, tapioca, and potato starch)
- 1½ teaspoons salt
- 1 teaspoon active dry yeast
- 1½ cups warm water (at 110°F/43°C)
You may also choose to add optional ingredients like 1 tablespoon of olive oil, herbs, seeds, or sweeteners to elevate the flavor profile of your bread.
Directions
- In a large bowl, mix the gluten-free flour blend and salt.
- In a separate bowl, dissolve the active dry yeast in the warm water and let it sit for 5–10 minutes until foamy.
- Combine the wet and dry ingredients, mixing until a sticky dough forms.
- Cover the bowl with plastic wrap and let it rest at room temperature for 12–18 hours.
- Preheat the oven to 450°F (232°C) with a Dutch oven inside.
- Shape the dough into a round ball on parchment paper.
- Carefully transfer the dough into the hot Dutch oven. Cover and bake for 30 minutes.
- Uncover and bake for an additional 15–20 minutes until the crust is golden brown.
- Cool on a wire rack for at least 1 hour before slicing.
Part 2 — No Knead Gluten Free Bread Techniques
Technique
The no knead technique helps develop flavors without the physical effort of kneading. During the long resting period, gluten-free flours hydrate and expand, allowing the yeast to produce gas that helps the bread rise. This technique also permits the flavors to mature, resulting in a richer taste.
Always remember to preheat your Dutch oven. A hot pot is essential to create steam, which contributes to a beautiful crust. This method traps moisture in the pot, allowing the bread to rise properly and form that crust we all love.
Tips/tricks
Use a combination of gluten-free flours if you want to experiment with different textures. Some people prefer adding almond or coconut flour for a unique flavor. Make sure to monitor the hydration of your dough. If your dough seems too dry, feel free to add a little more warm water, as gluten-free dough often requires more liquid.
Don’t skip the resting period! This step vastly improves the dough’s flavor and texture, so be patient. Plan ahead, and you’ll be rewarded with a delightful loaf that’s worth the wait.
Part 3 — Perfecting No Knead Gluten Free Bread
Perfecting results
The key to perfecting your no knead gluten-free bread involves closely watching the dough as it rises. If you notice that your dough isn’t rising well during the resting period, it could be due to inactive yeast. Always check the expiration date on your yeast and make sure the water isn’t too hot, as that can kill the yeast.
Once baked, let the bread cool completely on a wire rack. Cutting into it while still hot can make the interior gummy. Allowing it to cool enhances the texture and flavor, ensuring you enjoy the full benefits of your hard work.
Troubleshooting/variations
If your bread turns out denser than expected, consider adjusting the hydration. Gluten-free flours often need extra moisture. For an even lighter loaf, you can incorporate some beaten egg whites into the dough.
If you prefer something with more flavor, experiment with adding spices or herbs directly into the dough. Rosemary, thyme, or garlic powder can elevate your loaf to new heights, making it more than just a basic bread recipe.
Part 4 — Enjoying Your No Knead Gluten Free Bread
Serving/presentation
Slice your no knead gluten free bread and present it on a beautiful cutting board. Its lovely golden brown crust will invite everyone to enjoy it. Whether it’s served with a spread of butter, fresh jams, or just plain, this bread is sure to be a hit.
Feel free to pair this hearty loaf with soups or salads, where its texture can complement your meals. It also lends itself well to sandwiches or as a base for bruschetta, making it a versatile addition to your meal repertoire.
Pairings/storage
While this bread shines on its own, consider savory spreads or dips to accompany it. A classic olive tapenade or a rich hummus can elevate your dining experience. Store any leftover bread in an airtight container at room temperature for up to three days, or refrigerate for up to a week.
For longer storage, slice the bread and freeze it in airtight bags. This way, you can always enjoy a slice of homemade goodness without needing to wait for it to rise again.
Conclusion
Creating no knead gluten free bread brings together simplicity and satisfaction. You’ll find that the process is forgiving and the results are rewarding. This recipe uses only a few basic ingredients to produce a loaf with outstanding flavor and texture, reflecting comfort and tradition in every slice. As you savor your homemade bread around the table, remember the moments of connection and nourishment it brings. Enjoy baking, sharing, and creating delightful memories.
Print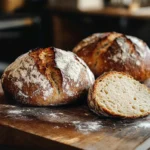
No Knead Gluten Free Bread
- Prep Time: 15 minutes
- Cook Time: 45 minutes
- Total Time: 60 minutes
- Yield: 1 loaf
- Category: Bread
- Method: Baking
- Cuisine: Gluten-Free
- Diet: Gluten-Free
Description
A simple and satisfying no knead gluten free bread that offers a beautiful crust and airy interior without the stress of traditional bread making.
Ingredients
- 3 cups gluten-free flour blend (with rice, tapioca, and potato starch)
- 1½ teaspoons salt
- 1 teaspoon active dry yeast
- 1½ cups warm water (at 110°F/43°C)
- Optional: 1 tablespoon olive oil, herbs, seeds, or sweeteners
Instructions
- In a large bowl, mix the gluten-free flour blend and salt.
- In a separate bowl, dissolve the active dry yeast in the warm water and let it sit for 5–10 minutes until foamy.
- Combine the wet and dry ingredients, mixing until a sticky dough forms.
- Cover the bowl with plastic wrap and let it rest at room temperature for 12–18 hours.
- Preheat the oven to 450°F (232°C) with a Dutch oven inside.
- Shape the dough into a round ball on parchment paper.
- Carefully transfer the dough into the hot Dutch oven. Cover and bake for 30 minutes.
- Uncover and bake for an additional 15–20 minutes until the crust is golden brown.
- Cool on a wire rack for at least 1 hour before slicing.
Notes
Do not skip the resting period as it enhances the flavor and texture of the bread. Experiment with different gluten-free flours for unique results.