📑 Table of Contents ▶
- Making Your Favorite Easy Sandwich Bread
- Fundamentals
- Preparation/setup
- Directions
- Enhancing the Process of Making Your Favorite Sandwich Bread
- Technique
- Tips/tricks
- Refining Your Favorite Easy Sandwich Bread
- Perfecting results
- Troubleshooting/variations
- Final Touches for Your Favorite Easy Sandwich Bread
- Serving/presentation
- Pairings/storage
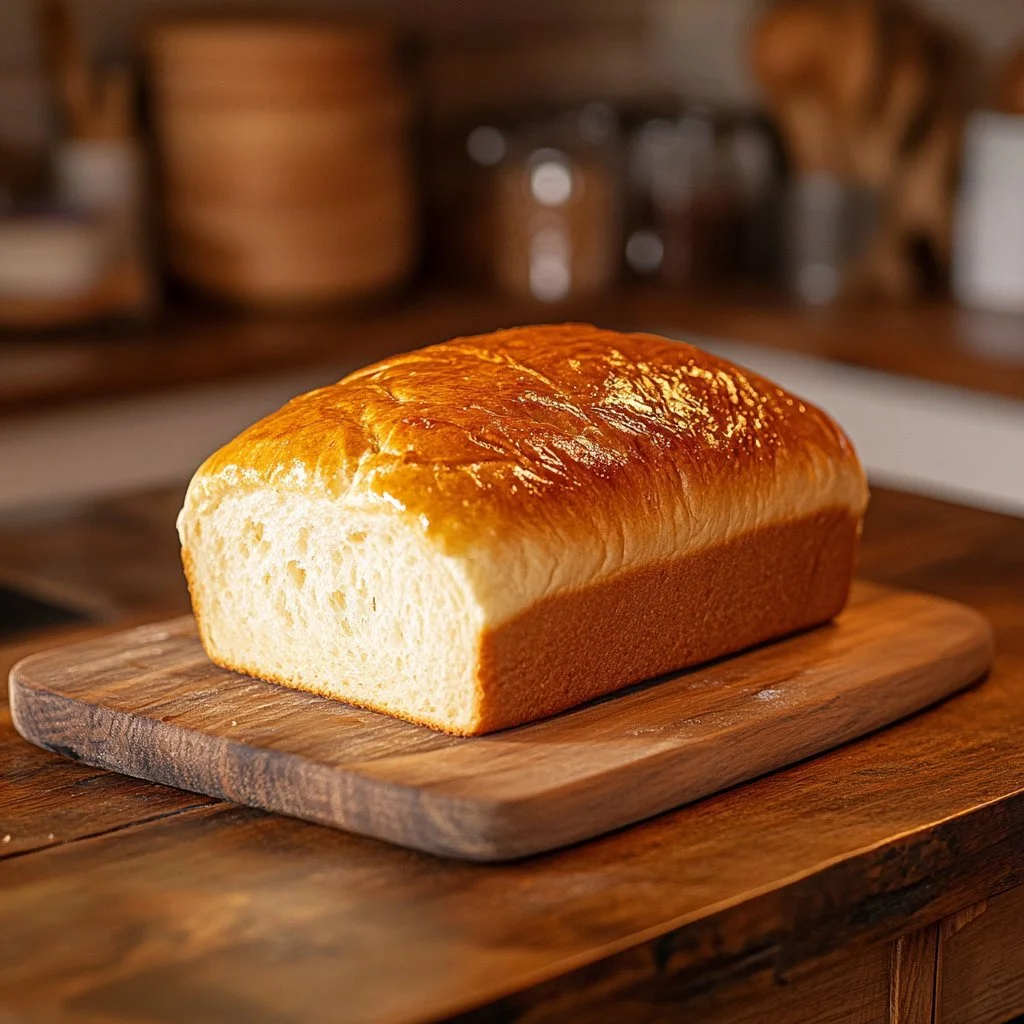
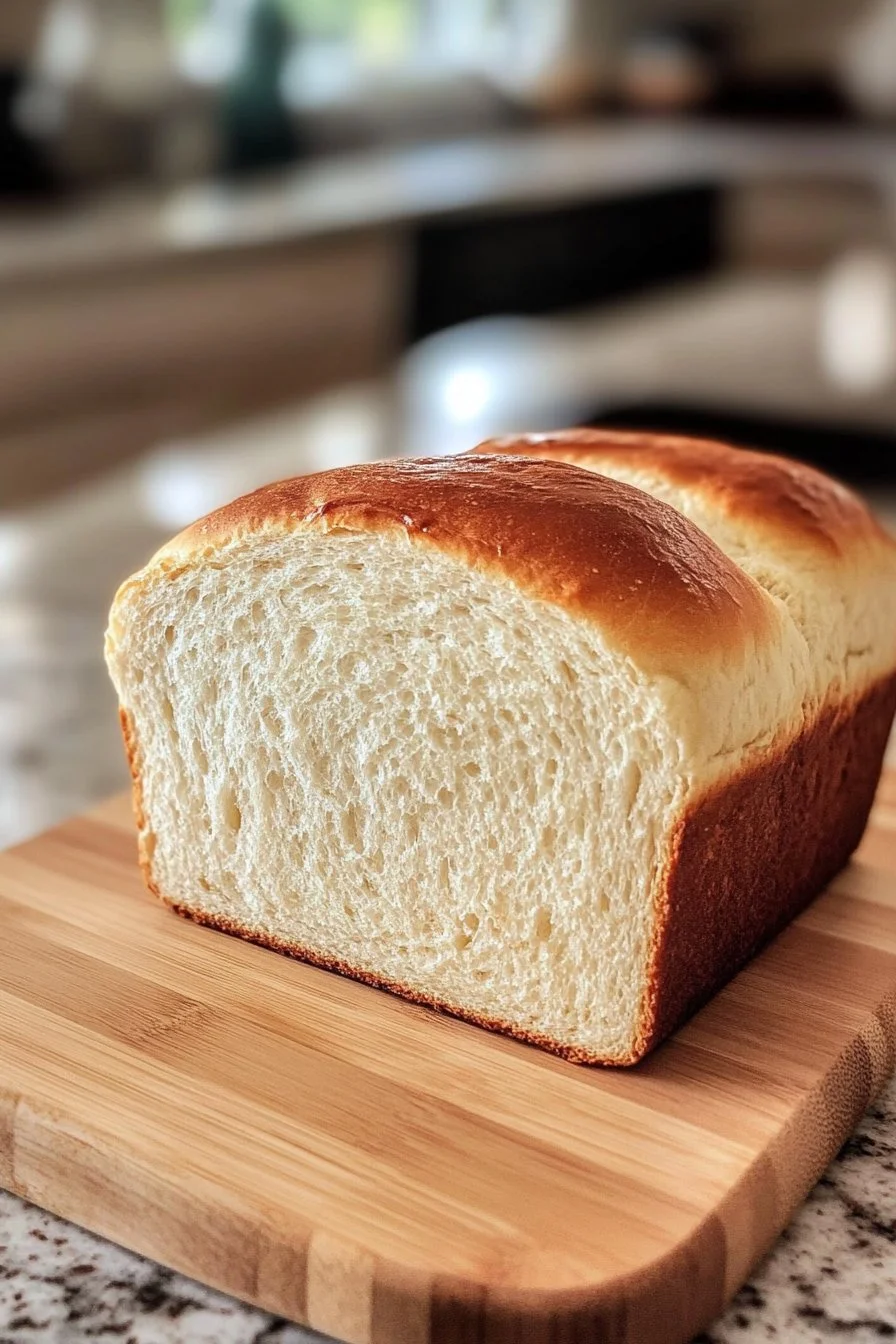
My Favorite Easy Sandwich Bread
I’m Della Lucia, and HealthyDinnerMeals was created from my belief that food should nourish both the body and the moments we share. My fondest memories come from simple homemade meals—not perfection, just comfort, connection, and care. Here, healthy eating stays approachable and satisfying, with recipes that fit real life: quick, flavorful, and balanced. Whether you’re cooking for yourself or loved ones, I hope these meals help you feel confident in the kitchen and inspired to enjoy every moment around the table.
There’s something utterly comforting about homemade bread, especially when it comes to crafting the perfect sandwich. I remember my first attempt at baking bread—how the whole house filled with that warm, yeasty fragrance. It was a moment of pure joy, unveiling a golden loaf that would become the foundation for countless delicious sandwiches. My favorite easy sandwich bread is straightforward, using only a handful of ingredients, and delivers a flavor that outshines any store-bought option.
What makes this bread so special? It’s all about the texture and flavor. You want a loaf that holds its shape yet has a slight chew within, perfect for sandwiches piled high with your favorite fillings. This recipe uses dried active yeast which creates that chewy, airy crumb we love in homemade bread. And the best part? You only need about 20 minutes of hands-on time. The rest is letting the dough work its magic, rising until it’s ready to be shaped into something delicious.
Whether you’re preparing a classic turkey and cheese sandwich or a veggie masterpiece, this homemade bread elevates the meal to new heights. Let’s dive into the process of making your favorite easy sandwich bread!
Making Your Favorite Easy Sandwich Bread
Fundamentals
Baking bread at home combines science and art. The first step includes activating the yeast with lukewarm water and sugar. It’s crucial to use lukewarm water as it helps the yeast thrive, creating air pockets in the dough. You’ll notice the yeast bubbling and frothing after just a few minutes, indicating that it’s alive and ready to work.
Flour and salt come next, forming the structure of the bread. You’ll want to use all-purpose flour for this recipe, giving the loaf a tender, fluffy crumb. The kneading process develops gluten, which gives the bread its delightful chewiness.
Preparation/setup
Gather all your ingredients: lukewarm water, dried active yeast, sugar, all-purpose flour, salt, and softened butter. You’ll need a large bowl or a stand mixer for mixing and kneading the dough. A damp kitchen towel will help keep the dough warm during its rise.
Start by combining the lukewarm water, yeast, and sugar in a bowl. Stir gently and let the mixture sit for 5-10 minutes until it’s frothy. This activation lets the yeast bloom beautifully, which is essential for a fluffy loaf.
Ingredients
For your easy sandwich bread, you will need:
- 3/4 cup lukewarm water
- 1 1/4 teaspoons dried active yeast
- 1.5 teaspoons sugar
- 2 3/4 cups all-purpose flour
- 1 teaspoon salt
- 3 tablespoons softened butter
These essential ingredients come together to create a simple yet delightful loaf.
Directions
- In a small bowl, combine the lukewarm water, yeast, and sugar. Stir the mixture and let it sit in a draft-free place for 5-10 minutes until it becomes frothy.
- In a large bowl or stand mixer, mix together the flour, salt, and the yeast mixture.
- Knead the dough at low speed for 2-3 minutes, then switch to medium speed for 8-9 minutes until you have a smooth, slightly sticky dough.
- Transfer the dough into a lightly greased bowl. Cover it with a damp kitchen towel and allow it to rise for about 1.5 hours or until it has doubled in size.
- Gently take the dough out of the bowl on a work surface and degas it while shaping it into a rough rectangle (around 12" x 8").
- Fold the top third of the rectangle over the bottom and then fold the bottom third to create layers.
- Roll out the dough into a larger rectangle, approximately 16" x 8".
- Roll the dough tightly and crimp the edges to seal securely.
- Place the shaped dough in a lightly greased 8" x 4" loaf pan.
- Cover once more with a damp kitchen towel and let it rise for 35-45 minutes until puffy.
- While the dough rises, preheat your oven to 250 C.
- Bake the risen loaf at 180 C for 30-35 minutes, until the top turns golden brown and sounds hollow when tapped.
- Allow the bread to cool for 2-3 hours before slicing.
Enhancing the Process of Making Your Favorite Sandwich Bread
Technique
Kneading is an essential step in bread making. It develops gluten, which gives bread its structure. Knead the dough until it becomes smooth and slightly sticky. If you feel it’s too sticky, you can add a tiny bit of flour, but be cautious—adding too much will result in dense bread.
Shaping the loaf correctly ensures an even rise and beautiful presentation. After the first rise, degas the dough to remove excess air. Shaping it into a rectangle makes it easy to fold, creating those lovely layers that help with the final texture.
Tips/tricks
Achieving perfect bread every time is all about understanding your dough. The dough may feel slightly sticky, but resist the urge to add too much extra flour. It should feel elastic and smooth when it’s properly kneaded.
Humidity and temperature impact the dough’s rising time. In a warm environment, the dough will rise quicker. If you’re in a cooler setting, it may take longer, so be patient and let it rise until it doubles in size.
Refining Your Favorite Easy Sandwich Bread
Perfecting results
Bread baking is all about practice. The more you work with your dough, the better you’ll understand its behavior. Keep a close eye on the color and sound of the bread while baking. A golden-brown color with a hollow sound when tapped indicates it’s done.
Experiment with different flours, such as whole wheat or bread flour, for varied flavors and textures. While this recipe uses all-purpose flour for its tender crumb, other flours can add depth and heartiness.
Troubleshooting/variations
If you find your bread is dense, double-check your yeast. Old or expired yeast may not activate properly, resulting in a flat loaf. Ensure your liquid temperature is ideal—too hot can kill the yeast, while too cold might not activate it.
If you’d like to add flavors, consider incorporating herbs or spices into your dough. Garlic powder or dried herbs can enhance the flavor without altering the structure.
Final Touches for Your Favorite Easy Sandwich Bread
Serving/presentation
Once your bread cools completely, slice it evenly. A serrated knife works best for clean cuts. Present your sandwiches with fresh ingredients to fulfill your craving for a delightful lunch or snack. This bread serves as a perfect base for any filling you can imagine.
Pairings/storage
Store this easy sandwich bread in an airtight container or a bread bag to maintain its freshness. It lasts about 3-4 days at room temperature, or you can freeze it for longer storage. Simply slice the loaf and keep it in a zip-top bag. When ready to enjoy, toast or warm individual slices as needed.
Let this homemade sandwich bread be the foundation of many happy meals and cherished moments around the table. Whether you top it with classic fillings or pile on your favorites, this bread elevates every sandwich to something special.