
📑 Table of Contents ▶
Espresso Ice Cream with Dark Chocolate Swirls
I’m Della Lucia, and HealthyDinnerMeals was created from my belief that food should nourish both the body and the moments we share. My fondest memories come from simple homemade meals — not perfection, just comfort, connection, and care. Here, healthy eating stays approachable and satisfying, with recipes that fit real life: quick, flavorful, and balanced. Whether you’re cooking for yourself or loved ones, I hope these meals help you feel confident in the kitchen and inspired to enjoy every moment around the table.
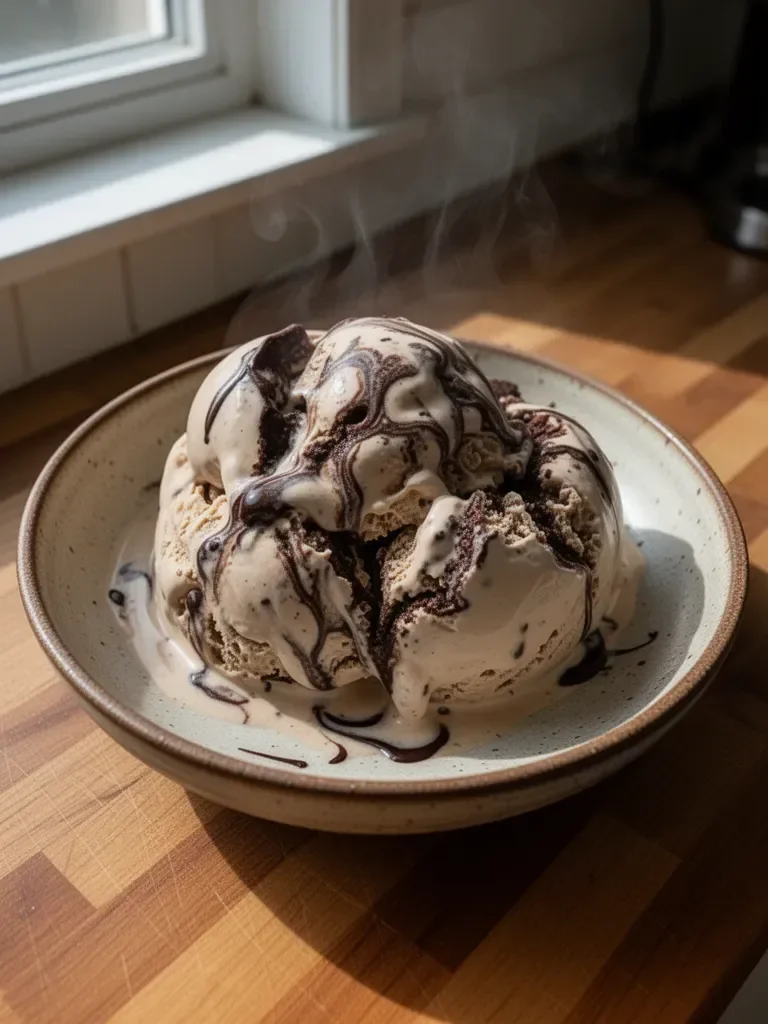
Espresso ice cream brings the rich, bold flavors of coffee into a sweet, creamy delight. Think of a warm summer day where nothing feels better than a scoop of this decadent treat. The combination of espresso and dark chocolate swirls creates a luxurious dessert that satisfies the senses. Each spoonful delivers a heavenly balance of coffee intensity and chocolate indulgence.
Making espresso ice cream involves simple steps but yields extraordinary results. With just a few high-quality ingredients, you create a dessert that not only impresses your family but also becomes the highlight of any gathering. This luscious dessert will surely become a staple in your kitchen, celebrated for its flavor and ease.
Espresso Ice Cream Creation
Fundamentals
Espresso ice cream revolves around a few crucial ingredients: whole milk, heavy cream, sugar, and, of course, espresso beans. Understanding how these ingredients work together enhances both flavor and texture. Whole milk provides the base, while heavy cream adds richness and a creamy mouthfeel that elevates each bite.
Dark roast espresso beans offer a robust flavor that pairs beautifully with the chocolate. The interplay between these ingredients creates an indulgent dessert that feels sophisticated yet comforting. Each part of the process transforms these fundamental elements into a delicious ice cream experience.
Preparation/setup
Begin by preparing your workspace. Gather all your ingredients and necessary tools, such as a heavy-bottomed saucepan, mixing bowls, a whisk, and an ice cream maker. Having everything organized streamlines the process, saving you from scrambling later on.
Making the cornstarch slurry beforehand is essential for achieving the perfect ice cream base. Set that aside as you blend the cream cheese and sea salt into a smooth mixture. Getting everything ready means you can focus on creating your treat without distractions.
Ingredients
Before diving into cooking, let’s review the ingredients you’ll need:
- 2 1/2 cups whole milk
- 1 1/2 cups heavy cream
- 1/2 cup sugar
- 3 tablespoons corn syrup
- 5 teaspoons cornstarch
- 3 tablespoons cream cheese
- 1/8 teaspoon fine sea salt
- 1/4 cup dark roast espresso beans (coarsely ground)
- 1/4 cup Kahlúa
- 4 ounces good quality dark chocolate
- 2 1/2 tablespoons coconut oil
These ingredients combine to create a creamy and flavorful espresso ice cream that beguiles coffee lovers and chocolate enthusiasts alike.
Directions
- Start by making a cornstarch slurry. Combine the cornstarch with 2 tablespoons of milk in a small bowl and set it aside.
- In a large mixing bowl, beat the cream cheese and sea salt until smooth, ensuring it blends well with the other flavors.
- In a heavy-bottomed saucepan, combine the remaining whole milk, heavy cream, sugar, and corn syrup. Bring this mixture to a boil over medium-high heat, stirring occasionally to avoid burning.
- Once the mixture reaches a boil, reduce to a low boil and cook for 4 minutes, allowing the flavors to meld beautifully.
- Remove the mixture from heat and stir in the coarsely ground espresso beans. Let it steep for 5 minutes, allowing the coffee flavor to infuse thoroughly.
- Strain the mixture through a fine mesh sieve into a clean bowl, discarding the solids for a smooth texture.
- Whisk in the cornstarch slurry, then return the mixture to heat. Whisk continuously until it thickens, which should take about a minute.
- Combine about 1/2 cup of the hot mixture with the cream cheese mixture until smooth, and then mix back into the saucepan.
- Stir in the Kahlúa, then cover the saucepan and refrigerate for at least 4 hours or overnight to let the flavors deepen and the mixture cool.
- When ready to assemble, melt the dark chocolate and coconut oil together until smooth.
- Use your preferred method to assemble the ice cream, creating enticing layers of chocolate throughout.
- Serve in bowls, optionally garnishing with coffee beans or chocolate shavings for that extra flair.
Enjoying the Perfect Scoop of Espresso Ice Cream
Technique
Making espresso ice cream requires employing the right techniques to ensure a creamy and flavorful result. The key lies in the infusion process. Allowing the espresso beans to steep in the hot mixture releases their deep flavors without leaving any gritty residue. Straining afterward guarantees a silky texture, essential for ice cream.
Also, maintaining the right temperature during the cooking process helps prevent burning. Stirring regularly while the mixture is boiling ensures even heating and a well-blended flavor profile. Mastering these techniques transforms your ice cream-making from a simple task into an art form.
Tips/tricks
Consistency is vital when creating ice cream. Regularly whisking the mixture helps air get incorporated, adding to a lighter texture. If you don’t have an ice cream maker, consider using a metal bowl. Place it in the freezer and stir every 30 minutes until it reaches the desired consistency.
Experiment with the amount of Kahlúa added. For an extra kick of flavor, feel free to increase it slightly. This liqueur enhances the coffee notes, creating an even more enticing dessert. Remember to use high-quality chocolate, as it makes a significant difference in the final taste of your espresso ice cream.
Mastering Your Espresso Ice Cream
Perfecting results
Perfecting the texture of your ice cream depends on the balance of ingredients. The heavy cream contributes to the luscious mouthfeel, while the cornstarch adds stability. Getting just the right amount of these elements can turn a simple recipe into a rich, velvety dessert.
If you prefer a less sweet option, consider reducing the sugar slightly. The espresso already carries inherent richness, making every bite flavorful even with less sweetness. The dark chocolate can also be adjusted to your liking, allowing you to customize the chocolate ratio based on personal preference.
Troubleshooting/variations
Sometimes, making ice cream can present challenges, but addressing them early leads to better results. If your ice cream turns out icy, that often means it didn’t churn for long enough or that it wasn’t stored properly. Ensure your mixture is well-chilled before churning, as it helps the ice cream solidify evenly.
Variations can elevate your ice cream experience. Consider adding a sprinkle of sea salt on top before serving for a contrasting crunch. You can also try different flavored liqueurs as substitutes to infuse exciting new tastes into your espresso ice cream.
Serving Your Espresso Ice Cream
Serving/presentation
The presentation of your espresso ice cream can turn a simple dessert into a show-stopping feature at any gathering. Consider serving it in elegant bowls topped with dark chocolate shavings or a few coffee beans for an eye-catching finishing touch. Drizzling melted chocolate over the scoops adds a visual and delicious element that everyone will love.
Serving with fresh whipped cream can elevate the taste and create a fluffy texture that complements the dense ice cream well. You can even create an ice cream sundae by layering different flavors, so every scoop offers something new and exciting.
Pairings/storage
Pair this espresso ice cream with delicious toppings such as almond slices, crushed hazelnuts, or even a sprinkle of cocoa powder. The nutty flavors work beautifully with the coffee essence and chocolate.
When it comes to storage, ensure you seal your ice cream well in an airtight container. This prevents freezer burn and helps maintain a creamy texture. Generally, your espresso ice cream can last for up to two weeks in the freezer, but trust me, it’s unlikely to last that long with how delightful it is!
Espresso ice cream with dark chocolate swirls captures the essence of indulgence in every creamy bite. By using high-quality ingredients and mastering a few straightforward techniques, you create a dessert that resonates with both comfort and sophistication.
Whether enjoyed as a special treat on a warm day or a cherished dessert at gatherings, this recipe serves as a reminder of the joy that home-cooked delights bring to our lives. Embrace the flavors and let this irresistible dessert inspire countless moments around the table.
Print
Espresso Ice Cream with Dark Chocolate Swirls
- Prep Time: 20 minutes
- Cook Time: 10 minutes
- Total Time: 240 minutes
- Yield: 8 servings
- Category: Dessert
- Method: Churning
- Cuisine: Italian
- Diet: Vegetarian
Description
Indulge in this rich and creamy espresso ice cream with dark chocolate swirls, perfect for warm days or special gatherings.
Ingredients
- 2 1/2 cups whole milk
- 1 1/2 cups heavy cream
- 1/2 cup sugar
- 3 tablespoons corn syrup
- 5 teaspoons cornstarch
- 3 tablespoons cream cheese
- 1/8 teaspoon fine sea salt
- 1/4 cup dark roast espresso beans (coarsely ground)
- 1/4 cup Kahlúa
- 4 ounces good quality dark chocolate
- 2 1/2 tablespoons coconut oil
Instructions
- Start by making a cornstarch slurry. Combine the cornstarch with 2 tablespoons of milk in a small bowl and set it aside.
- In a large mixing bowl, beat the cream cheese and sea salt until smooth.
- In a heavy-bottomed saucepan, combine the remaining whole milk, heavy cream, sugar, and corn syrup. Bring this mixture to a boil over medium-high heat, stirring occasionally.
- Once the mixture reaches a boil, reduce to a low boil and cook for 4 minutes.
- Remove the mixture from heat and stir in the coarsely ground espresso beans. Let it steep for 5 minutes.
- Strain the mixture through a fine mesh sieve into a clean bowl, discarding the solids.
- Whisk in the cornstarch slurry, then return the mixture to heat. Whisk continuously until it thickens, about a minute.
- Combine about 1/2 cup of the hot mixture with the cream cheese mixture until smooth, then mix back into the saucepan.
- Stir in the Kahlúa, cover, and refrigerate for at least 4 hours or overnight.
- When ready to assemble, melt the dark chocolate and coconut oil together until smooth.
- Use your preferred method to assemble the ice cream, creating enticing layers of chocolate throughout.
- Serve in bowls, optionally garnishing with coffee beans or chocolate shavings.
Notes
Use high-quality chocolate for the best flavor. For a lighter texture, incorporate air by whisking regularly.