
📑 Table of Contents ▶
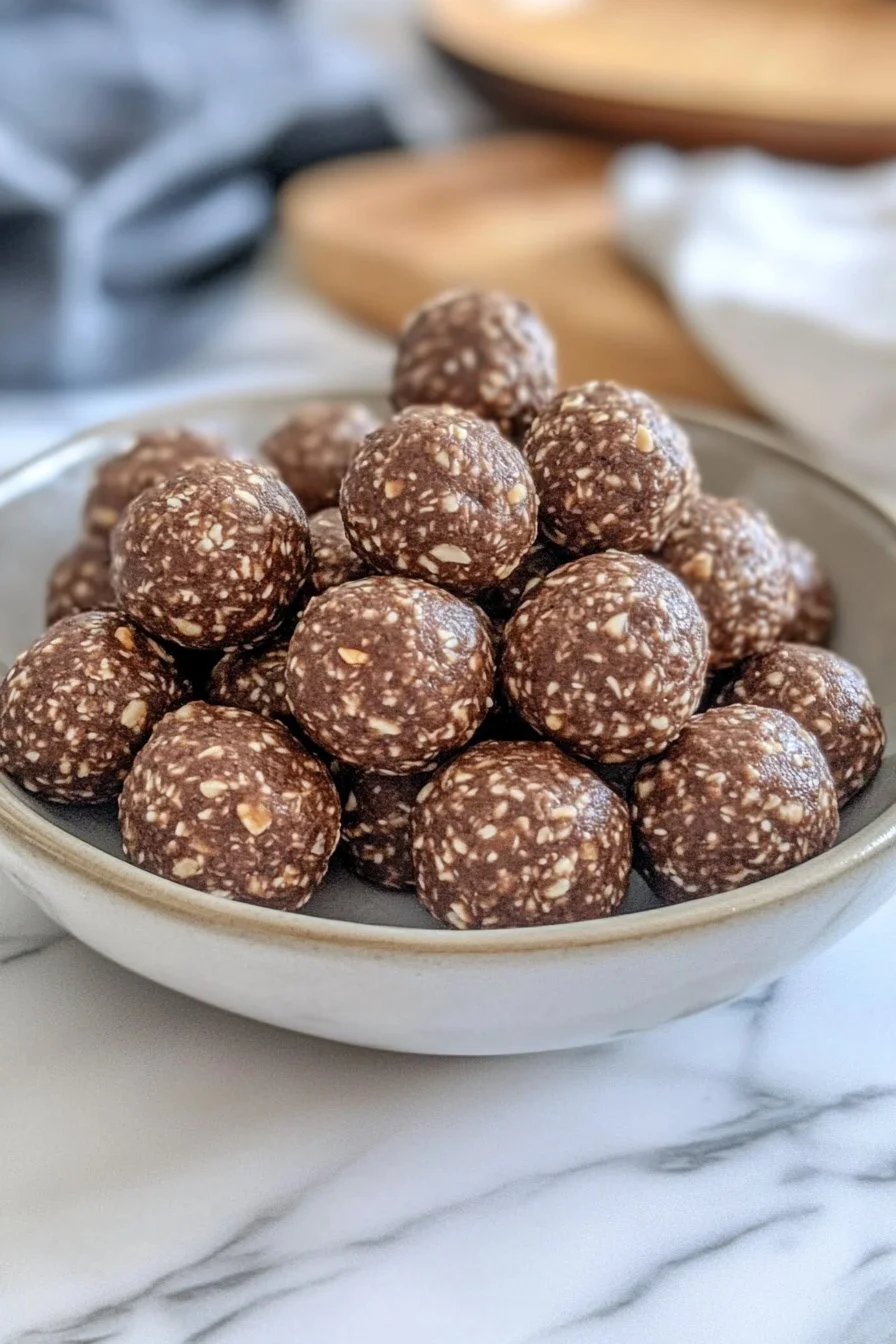
Easy No-Bake Chocolate Peanut Butter Protein Balls
I’m Della Lucia, and HealthyDinnerMeals was created from my belief that food should nourish both the body and the moments we share. My fondest memories come from simple homemade meals — not perfection, just comfort, connection, and care. Here, healthy eating stays approachable and satisfying, with recipes that fit real life: quick, flavorful, and balanced. Whether you’re cooking for yourself or loved ones, I hope these meals help you feel confident in the kitchen and inspired to enjoy every moment around the table.
When I think about easy snacks that deliver both flavor and energy, no-bake chocolate peanut butter protein balls come to mind. These little treats bring back memories of childhood, where simple ingredients transformed into something delightful. The combination of peanut butter and chocolate never fails to please, making it a hit for both kids and adults.
Making these protein balls is a straightforward process. With just a few healthy ingredients, you can whip up a batch in no time. They serve as a perfect bite-sized option for those busy afternoons or a post-workout boost.
Let’s dive into how to create these easy no-bake chocolate peanut butter protein balls that will become a staple in your kitchen.
No-Bake Chocolate Peanut Butter Protein Balls
Fundamentals
No-bake chocolate peanut butter protein balls offer a delicious way to integrate nutrition into your snacks. With an appealing blend of flavors and textures, they not only satisfy cravings but also provide beneficial nutrients. The beauty of these protein balls lies in their simplicity. You only need a handful of ingredients that you might already have in your pantry.
The primary stars of this recipe are quick oats, peanut butter, honey, and chocolate protein powder. The oats provide fiber and will keep you feeling full, while peanut butter contributes healthy fats and protein. Honey adds a touch of natural sweetness without the need for refined sugars, and chocolate protein powder amps up the protein content, making it ideal for post-workout recovery.
Preparation/setup
Gather all your ingredients before you begin. Ensure you have a medium-large mixing bowl and a sturdy spoon or spatula for efficient mixing. Chilling the mixture is crucial as it helps the protein balls firm up, making them easier to roll into shape.
It helps to prepare your workspace for maximum efficiency. Clear a counter or an area where you can mix and roll out the chocolate peanut butter protein balls. Having everything within reach streamlines the process and allows you to enjoy making these snacks without interruption.
Ingredients
To create no-bake chocolate peanut butter protein balls, you will need the following ingredients:
- 2 1/4 cups quick oats
- 1 cup peanut butter
- 1/2 cup honey
- 1/2 cup mini chocolate chips
- 2/3 cup chocolate protein powder
- 2 tablespoons water
These ingredients blend beautifully and provide a great balance of nutrients while satisfying your sweet tooth.
Directions
- In a medium-large mixing bowl, add the oats, peanut butter, honey, mini chocolate chips, chocolate protein powder, and water.
- Use a large sturdy spoon or spatula to mix all the ingredients together until they are well combined.
- If the mixture appears dry, add another tablespoon of water, mixing thoroughly.
- Transfer the mixture to the fridge and chill for about 30 minutes or until it firms up slightly.
- Once chilled, remove from the fridge and roll the mixture into 1-inch balls.
- Store in an airtight container in the fridge.
Techniques for Success
Technique
Creating perfect no-bake chocolate peanut butter protein balls comes down to mastering the mixing technique. Ensure you mix all the ingredients until completely combined. This helps to achieve a consistent texture throughout the protein balls, so each bite is equally delicious.
Rolling the balls may require a little practice. Make sure your hands are slightly damp to prevent the mixture from sticking. This simple trick can save you from a messy kitchen and ensure a smooth rolling process.
Tips/Tricks
Experimenting with the recipe can yield exciting variations. For instance, you can swap out chocolate chips for dried fruit or nuts for added texture. Always taste your mixture; if you desire more sweetness, consider adding a touch more honey.
You can also adjust the amount of protein powder to suit your individual needs. If you’re looking for a more decadent chocolate flavor, a little extra chocolate protein powder can do the trick without compromising the balance.
Perfecting Your Protein Balls
Perfecting results
To perfect your no-bake chocolate peanut butter protein balls, focus on achieving the right consistency. Following the instructions on the amount of water is vital; too much can result in a sticky mess, while too little can make rolling difficult. Adjust as needed to find the sweet spot that works for you.
Chilling the mixture long enough aids in getting the right texture. If your protein balls are too crumbly, you may have under-mixed or not added enough moisture. Conversely, if they’re too sticky, chill them longer in the fridge.
Troubleshooting/variations
If your protein balls tend to break apart or don’t hold their shape well, consider adding a binding agent. A bit more peanut butter or a teaspoon of coconut oil can help improve their cohesiveness.
There’s also room to personalize these protein balls. Some enjoy a hint of cinnamon or vanilla extract for added flavor. You can even swap the peanut butter for almond or sunflower seed butter to suit dietary preferences.
Serving and Storage
Serving/presentation
Present your no-bake chocolate peanut butter protein balls in a fun way. Use small cupcake liners to separate each ball if you’re serving them at a gathering. Arrange them on a platter with fresh fruit for an appealing presentation.
These protein balls can complement a variety of snacks or meals, offering versatility in how you incorporate them into your day. Enjoy them after a workout, as an afternoon pick-me-up, or as a dessert substitute.
Pairings/storage
No-bake chocolate peanut butter protein balls pair well with a variety of healthy snacks. Consider serving them alongside fruit like apple slices or banana. Pair them with a glass of almond milk or a smoothie for a nutritious snack.
Store your homemade protein balls in an airtight container in the refrigerator. They typically last about a week. For longer storage, you can also freeze them for up to three months. Just make sure to separate layers with parchment paper to prevent sticking.
Conclusion
No-bake chocolate peanut butter protein balls serve as a quick and nutritious snack option that delights the taste buds and fuels your body. Their simple preparation and the ability to personalize them make these treats a perfect addition to your kitchen routine. Enjoy creating and sharing these little bites of joy with family and friends, turning each snack moment into a delicious memory.
Print
Easy No-Bake Chocolate Peanut Butter Protein Balls
- Prep Time: 15 minutes
- Cook Time: 0 minutes
- Total Time: 45 minutes
- Yield: 12 servings
- Category: Snack
- Method: No-Bake
- Cuisine: American
- Diet: Gluten-Free
Description
Nutritious and delicious no-bake protein balls made with peanut butter, oats, honey, and chocolate for a perfect snack.
Ingredients
- 2 1/4 cups quick oats
- 1 cup peanut butter
- 1/2 cup honey
- 1/2 cup mini chocolate chips
- 2/3 cup chocolate protein powder
- 2 tablespoons water
Instructions
- In a medium-large mixing bowl, add the oats, peanut butter, honey, mini chocolate chips, chocolate protein powder, and water.
- Use a large sturdy spoon or spatula to mix all the ingredients together until well combined.
- If the mixture appears dry, add another tablespoon of water, mixing thoroughly.
- Transfer the mixture to the fridge and chill for about 30 minutes or until it firms up slightly.
- Once chilled, remove from the fridge and roll the mixture into 1-inch balls.
- Store in an airtight container in the fridge.
Notes
Experiment with different mix-ins like dried fruits or nuts, and adjust sweetness by adding more honey if desired.