📑 Table of Contents ▶
Easy Gluten-Free Sourdough Starter
I’m Della Lucia, and HealthyDinnerMeals was created from my belief that food should nourish both the body and the moments we share. My fondest memories come from simple homemade meals — not perfection, just comfort, connection, and care. Here, healthy eating stays approachable and satisfying, with recipes that fit real life: quick, flavorful, and balanced. Whether you’re cooking for yourself or loved ones, I hope these meals help you feel confident in the kitchen and inspired to enjoy every moment around the table.
Creating a sourdough starter at home can feel daunting, but with gluten-free options, it becomes an exciting journey. Using brown rice flour, almond flour, and buckwheat flour creates unique flavors while remaining accessible for everyone. Watching your mixture bubble and rise brings a sense of accomplishment that resonates with every home cook.
This easy gluten-free sourdough starter uses minimal ingredients and just a bit of time. You’ll find joy in nurturing something that evolves daily, leading to delicious baked goods. As you embark on this culinary adventure, remember that each step builds a connection to the food you create.
The sourdough starter will soon become a cherished element of your kitchen, transforming staples into extraordinary meals.
Easy Gluten-Free Sourdough Starter
Fundamentals
Creating a sourdough starter is a wonderfully enriching experience. This method allows you to bring life into a mixture of gluten-free flours. Most importantly, you only need a handful of ingredients and a little patience.
To create your starter, focus on three gluten-free flours: brown rice, almond, and buckwheat. Each flour contributes distinct flavors and textures to your sourdough. The combination of these flours provides a robust base for fermentation, ensuring a successful outcome.
Fermentation relies on wild yeast and lactic acid bacteria, which develop through a nurturing process. Over a span of days, you will witness the transformation of your mixture, leading to bubbles and a delightful sour aroma. Embrace the process as your starter evolves and improves each day until it reaches perfect readiness for baking.
Preparation/setup
Begin by gathering your materials. You will need a clean jar, half a cup of gluten-free flour, and half a cup of filtered water. Make sure all your utensils are clean to prevent unwanted bacteria and contamination.
In a clean jar, mix half a cup of one of your chosen gluten-free flours with half a cup of filtered water. Stir the mixture thoroughly until it’s smooth and there are no lumps remaining. This combination establishes the foundation for your sourdough starter.
Now, cover the jar with a breathable cloth or a loosely fitted lid. This step is essential, as it allows air to circulate while preventing dust or insects from entering. Place the jar in a warm, draft-free area at room temperature. Allow the mixture to sit undisturbed for 24 hours, setting the stage for fermentation.
Ingredients
- ½ cup brown rice flour
- ½ cup almond flour
- ½ cup buckwheat flour
- ½ cup filtered water
Directions
- Combine half a cup of gluten-free flour with half a cup of filtered water in a clean jar. Stir well until smooth.
- Cover the jar with a breathable cloth or loose lid. Let it sit at room temperature for 24 hours.
- Each day, discard half of the mixture, and feed it by adding another half cup of flour and half cup of water. Stir vigorously to introduce air.
- After about five to seven days, bubbles should form, indicating that the fermentation process is underway. When it doubles in size and smells pleasantly sour, your starter is ready for baking.
Developing Your Easy Gluten-Free Sourdough Starter
Technique
Once you establish your sourdough starter, developing it into a reliable baking companion becomes your next goal. Pay attention to the signs of fermentation. In the initial days, it might seem like nothing is happening, but patience plays a significant role in this process.
During the feeding process, always introduce new air into the mixture by stirring vigorously. This movement encourages the growth of beneficial organisms while helping the mixture become bubbly and light.
Using diverse gluten-free flours in your starter allows for unique flavor profiles in your baked goods. Each flour brings its own character to the mix, permitting creativity in your cooking.
Tips/tricks
Consistency is key when feeding your starter. Ensure you feed it daily with equal parts flour and water for optimal results. If you’re unable to maintain this schedule, you can refrigerate your starter after it becomes bubbly. Just remember to let it come back to room temperature and feed it before you plan to bake.
If your starter doesn’t appear bubbly after five to seven days, it may need a few more days to develop. Each environment is unique, and warmth can greatly influence the fermentation speed. A warm kitchen will often yield quicker results than a cooler space.
Adjust your feeding schedule based on how often you bake. If you find yourself baking frequently, a daily feeding routine will keep your starter in thriving condition.
Perfecting Your Easy Gluten-Free Sourdough Starter
Troubleshooting/variations
While creating your starter, some bumps may arise. You might notice a layer of liquid forming on top of the mixture, known as "hooch." This liquid is harmless and indicates that your starter is hungry. Just pour it off and continue with your feeding routine.
If your starter develops an off smell or shows signs of mold, it’s best to discard it. Start fresh to ensure your baking remains safe and enjoyable.
You can also experiment with different gluten-free flour combinations as you progress. Each flour brings distinct flavors and textures, allowing you to customize your starter to your liking.
For instance, incorporating some chickpea flour or tapioca flour can introduce unique taste notes. Don’t hesitate to explore and create a starter that suits your preferences while keeping the foundational principles intact.
Serving/presentation
Once your starter is active and bubbly, it’s ready to be a part of your culinary creations. Use it immediately for bread, pancakes, or any baked goods that call for a sourdough flavor. The options are broad, so let your imagination guide you!
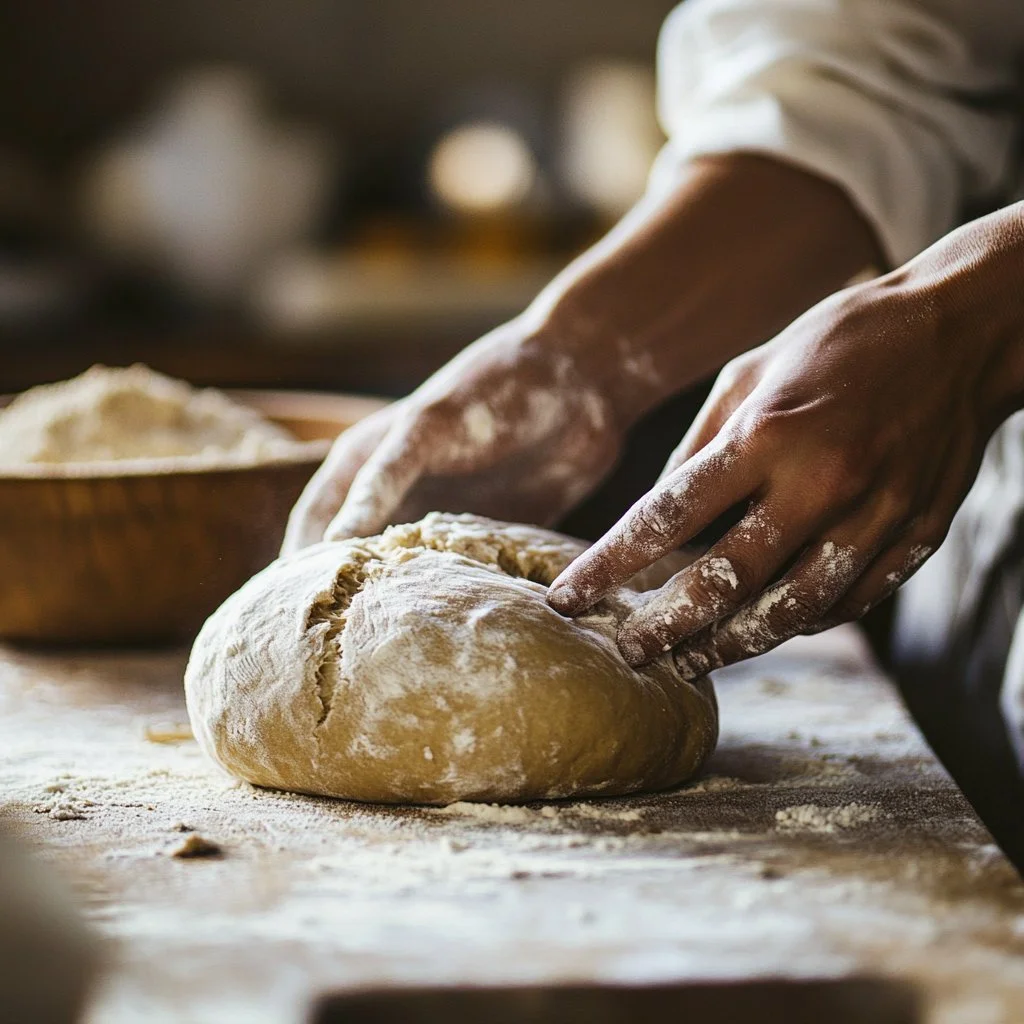
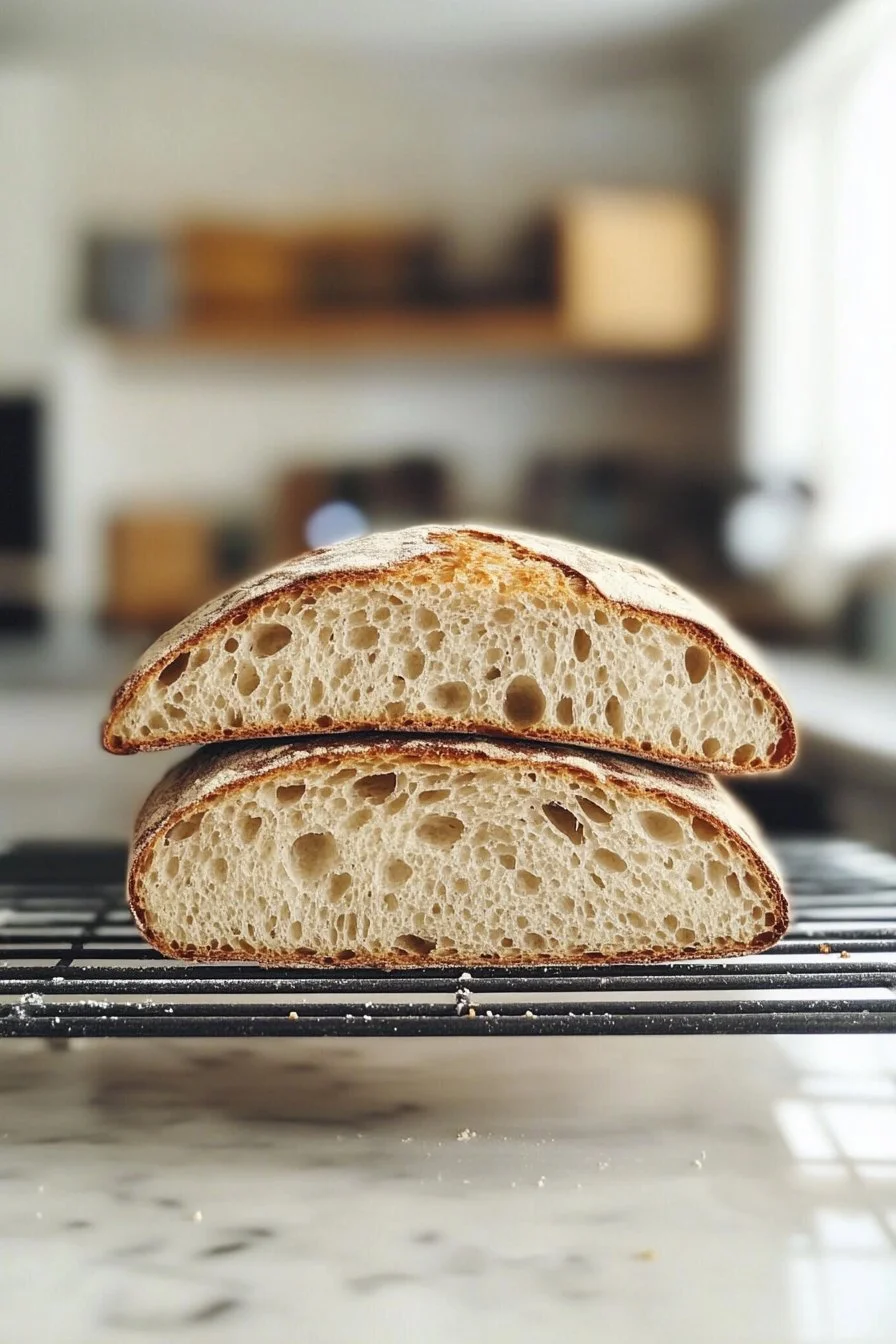
When using your gluten-free sourdough starter, consider crafting rustic loaves. The beautiful crust and soft interior of these breads will impress family and friends. Use the starter as a base for flavorful bagels or fluffy doughnuts, creating a delightful breakfast treat.
Pairings/storage
After enjoying your baking adventure, you need to focus on storing your starter properly. First, refrigerate your starter if you plan to take a break from baking. Ensure that you give it a good feeding before placing it in the fridge.
When you’re ready to use it again, take it out and allow it to come to room temperature. Feed it and let it sit for several hours. Feeding provides the necessary energy for it to be robust before any baking sessions.
Always store your starter in a clean jar. This allows you to observe any changes clearly. Keeping a loosely fitted lid allows air circulation, essential for the fermentation process.
Conclusion
Creating your easy gluten-free sourdough starter becomes a gratifying journey filled with excitement. Witnessing the transformation of simple ingredients into a bubbly, aromatic mixture fuels a sense of accomplishment. This starter opens doors to countless baking possibilities while providing an engaging experience in the kitchen.
Embrace the patience required, and enjoy tending to your starter each day. Its development fosters a unique bond between you and the art of baking. Keep experimenting, nourishing your starter, and ultimately delighting in the spoils of your creations while gathering loved ones around the table for memorable meals.
Print
Easy Gluten-Free Sourdough Starter
- Prep Time: 5 minutes
- Cook Time: 0 minutes
- Total Time: 10 minutes (plus fermentation time)
- Yield: 1 sourdough starter
- Category: Baking
- Method: Fermentation
- Cuisine: Gluten-Free
- Diet: Vegan
Description
Create a delightful gluten-free sourdough starter using brown rice flour, almond flour, and buckwheat flour. Nurture your mixture daily for delicious baked goods.
Ingredients
- ½ cup brown rice flour
- ½ cup almond flour
- ½ cup buckwheat flour
- ½ cup filtered water
Instructions
- In a clean jar, mix ½ cup of gluten-free flour with ½ cup of filtered water. Stir until smooth.
- Cover the jar with a breathable cloth or loose lid and let it sit at room temperature for 24 hours.
- Each day, discard half of the mixture, and feed it with another ½ cup of flour and ½ cup of water. Stir vigorously to introduce air.
- After about 5 to 7 days, look for bubbles and a pleasant sour smell; this indicates your starter is ready for baking.
Notes
For optimal results, feed your starter daily with equal parts flour and water. If not baking often, refrigerate it after it becomes bubbly.