📑 Table of Contents ▶
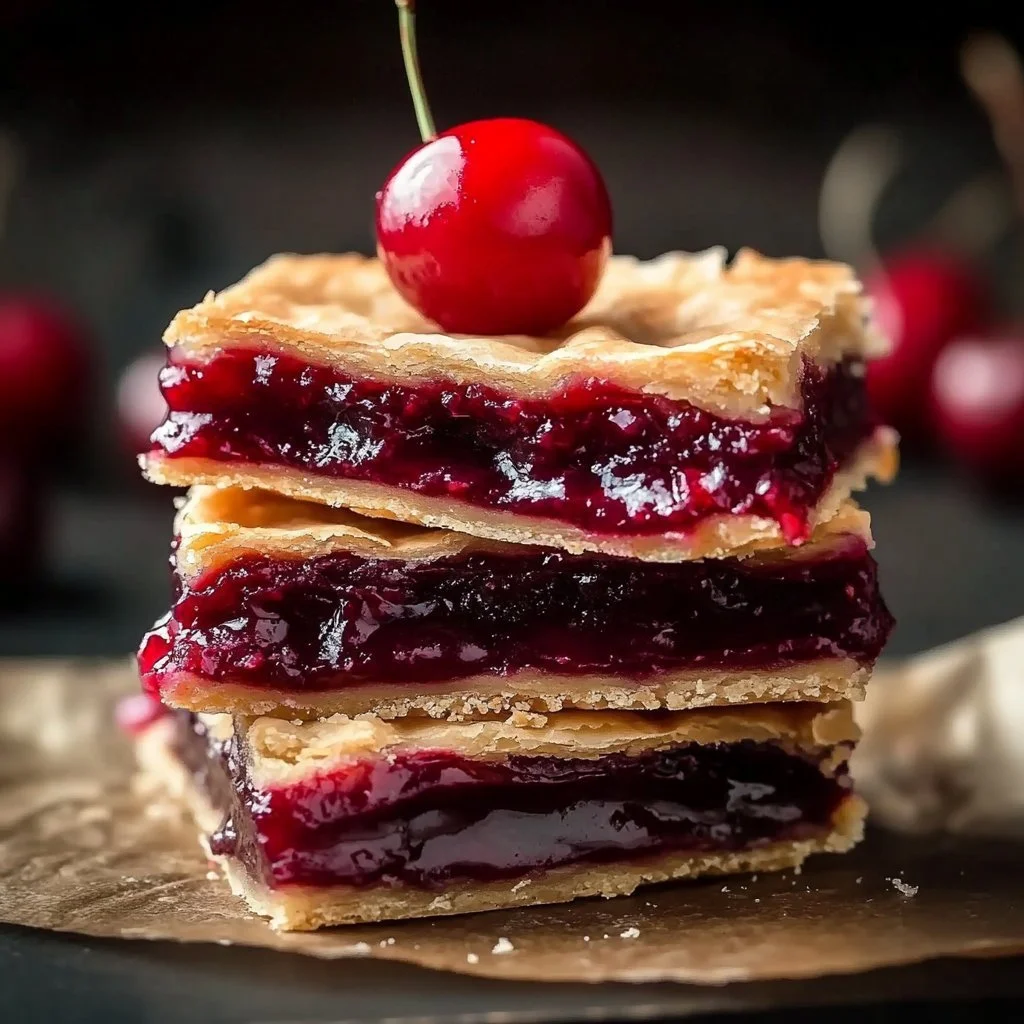
Easy Cherry Pie Bars
Homemade desserts often carry the sweetest memories, and cherry pie bars hold a special place in my heart. I vividly remember enjoying these delightful treats during family gatherings, where each bite sparked laughter and stories. The balance of the buttery crust and the sweet cherry filling creates a nostalgic experience that many cherish.
The simplicity of these easy cherry pie bars makes them perfect for any occasion. Whether you’re baking for a picnic or a cozy evening at home, the combination of flavors creates a warm and inviting dessert that everyone loves. Each layer draws you in, and the glaze overhead makes tiny taste buds dance with delight.
Embracing comfort through food, these cherry pie bars connect families just like the cherished dinners I appreciate. Preparing this recipe calls to your inner baker, encouraging you to create a dessert that brings joy and satisfaction. So, let’s dive into the delightful world of easy cherry pie bars and explore how you can create your own memories around the table.
Easy Cherry Pie Bars
Fundamentals
Creating easy cherry pie bars begins with understanding the fundamental elements of the recipe. This dessert involves a buttery crust paired with sweet cherry filling, which results in a perfectly satisfying treat. The dough is simple, consisting of just a few ingredients that come together beautifully.
You’ll craft the bars by layering the dough and cherry filling, followed by a drizzle of glaze that ties everything together. The entire process celebrates simplicity, allowing even novice bakers to succeed.
Preparation/setup
Start your baking adventure by preheating your oven to 350°F (175°C). This step ensures a consistent baking temperature that produces perfectly golden bars. While your oven heats, prepare your baking pan. Grease it to prevent sticking and make for easy removal when it’s time to serve.
Gather all your ingredients before you begin, as this ensures a smooth and enjoyable baking experience. Take your time to measure accurately, as precision leads to delicious results. Having everything laid out will give you confidence as you mix, layer, and ultimately indulge in your homemade cherry pie bars.
Ingredients
To create these delicious cherry pie bars, you need the following ingredients:
- 1 cup softened butter
- 1 cup sugar
- 2 large eggs, at room temperature
- 1 tsp almond extract
- 1 tsp vanilla extract
- 2 ½ cups all-purpose flour
- ½ tsp salt
- 1 (21 oz) can premium cherry pie filling
- 1 cup confectioners’ sugar (for glaze)
- 1 tsp almond extract (for glaze)
- ½ tsp vanilla (for glaze)
- Milk as needed (for glaze)
Gathering these ingredients sets the stage for your baking success.
Directions
Now that you have everything ready, follow these steps to create your easy cherry pie bars:
-
Preheat your oven to 350°F (175°C).
-
Cream the softened butter and sugar together until light and fluffy.
-
Add the eggs, almond extract, and vanilla extract to the mixture, blending well.
-
Sift together the flour and salt, then gradually incorporate into the wet mixture.
-
Press half of the dough into the prepared baking pan, creating a base layer.
-
Spread the cherry filling evenly over the dough.
-
Dollop the remaining dough on top of the cherry filling.
-
Bake for 35–40 minutes, or until golden brown.
-
Allow the dessert to cool completely before drizzling with glaze.
Crafting Cherry Pie Bars
Technique
Understanding the technique behind these easy cherry pie bars is essential for achieving the best results. Begin with a room temperature butter. This ensures easy creaming with sugar, resulting in a light and airy mixture, which is fundamental for the texture of your bars.
When layering, take care to distribute the cherry filling evenly across the bottom crust. This allows every bite to burst with flavor. Dolloping the remaining dough on top creates an aesthetically pleasing and rustic look. As they bake, the top layer will develop a golden crust that complements the sweetness of the filling.
Tips/tricks
To elevate your cherry pie bars, consider these tips. For a richer flavor, feel free to experiment with extracts. Almond and vanilla work harmoniously, but you can also try adding a hint of lemon or a few drops of maple syrup for a unique twist.
Ensure that you do not overmix the dough once you add the flour. Mixing just until combined preserves the flaky texture that everyone loves. Also, be patient and allow these bars to cool completely before drizzling with glaze. This step helps the glaze to set properly, creating a beautiful finish.
Perfecting Results
Troubleshooting/variations
While making cherry pie bars, a few challenges might arise. If your bars are too crumbly, the issue often stems from using too much flour. Measure carefully and ensure you’re using the correct ratio of wet to dry ingredients.
If the filling bubbles over, consider using a taller baking pan, allowing room for expansion. Variations are also a fun aspect of baking. Try swapping cherry filling for other fruit fillings like blueberries or peaches for a delightful change, while maintaining the original recipe structure.
Enjoying Your Cherry Pie Bars
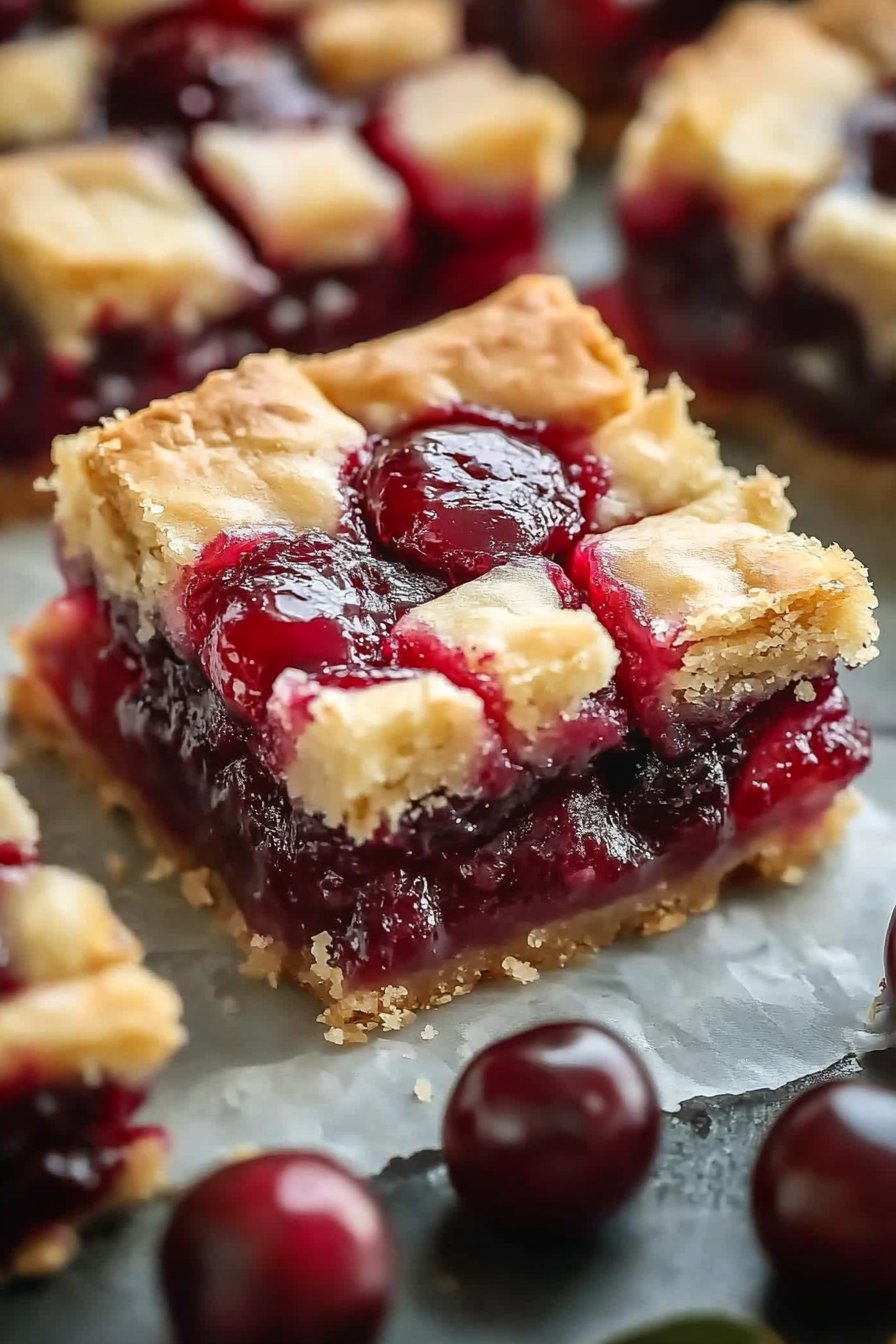
The satisfaction of finishing a batch of easy cherry pie bars leads to anticipation as they cool. Once the glaze dries, the bars are ready for presentation. You can cut them into squares, offering bite-sized pieces for easy sharing.
Garnish with fresh cherries or a sprinkle of powdered sugar for a pop of color. These cherry pie bars shine on dessert tables, during gatherings, or as a sweet treat for family movie nights.
Pairings/storage
Storing your cherry pie bars properly will keep them fresh for days. Place them in an airtight container at room temperature or refrigerate them for up to a week. Pair these bars with a scoop of vanilla ice cream for an indulgent dessert experience. They also complement a cup of coffee or tea, making them versatile enough for any occasion.
Maximize the joy of sharing these delicious treats by bringing them along to potlucks or neighborhood gatherings. Friends and family will enjoy every bite, and you’ll take pride in knowing you created something truly delightful.
Easy cherry pie bars blend nostalgia with simple cooking techniques, making them a dessert that everyone can cherish. From the first step of creaming butter and sugar to the final drizzle of glaze, every moment spent preparing this treat is valuable. The combination of soft dough and sweet cherry filling captures the essence of homemade goodness.
By mastering these easy cherry pie bars, you’re not just following a recipe—you’re creating memorable moments and delicious experiences. Each bite transports you to simpler times spent laughing, sharing, and enjoying life’s sweetest offerings. Indulge your senses and embrace the joy of baking with this delightful recipe. The kitchen calls, and so do the memories waiting to be created.
Print
Easy Cherry Pie Bars
- Prep Time: 15 minutes
- Cook Time: 40 minutes
- Total Time: 55 minutes
- Yield: 16 servings
- Category: Dessert
- Method: Baking
- Cuisine: American
- Diet: Vegetarian
Description
Delicious cherry pie bars with a buttery crust and sweet cherry filling, perfect for any occasion.
Ingredients
- 1 cup softened butter
- 1 cup sugar
- 2 large eggs, at room temperature
- 1 tsp almond extract
- 1 tsp vanilla extract
- 2 ½ cups all-purpose flour
- ½ tsp salt
- 1 (21 oz) can premium cherry pie filling
- 1 cup confectioners’ sugar (for glaze)
- 1 tsp almond extract (for glaze)
- ½ tsp vanilla (for glaze)
- Milk as needed (for glaze)
Instructions
- Preheat your oven to 350°F (175°C).
- Cream the softened butter and sugar together until light and fluffy.
- Add the eggs, almond extract, and vanilla extract to the mixture, blending well.
- Sift together the flour and salt, then gradually incorporate into the wet mixture.
- Press half of the dough into the prepared baking pan, creating a base layer.
- Spread the cherry filling evenly over the dough.
- Dollop the remaining dough on top of the cherry filling.
- Bake for 35–40 minutes, or until golden brown.
- Allow the dessert to cool completely before drizzling with glaze.
Notes
For a richer flavor, consider adding hints of lemon or maple syrup. Ensure not to overmix the dough once flour is added.