📑 Table of Contents ▶
Crusty Italian Bread
I’m Della Lucia, and HealthyDinnerMeals was created from my belief that food should nourish both the body and the moments we share. My fondest memories come from simple homemade meals — not perfection, just comfort, connection, and care. Here, healthy eating stays approachable and satisfying, with recipes that fit real life: quick, flavorful, and balanced. Whether you’re cooking for yourself or loved ones, I hope these meals help you feel confident in the kitchen and inspired to enjoy every moment around the table.
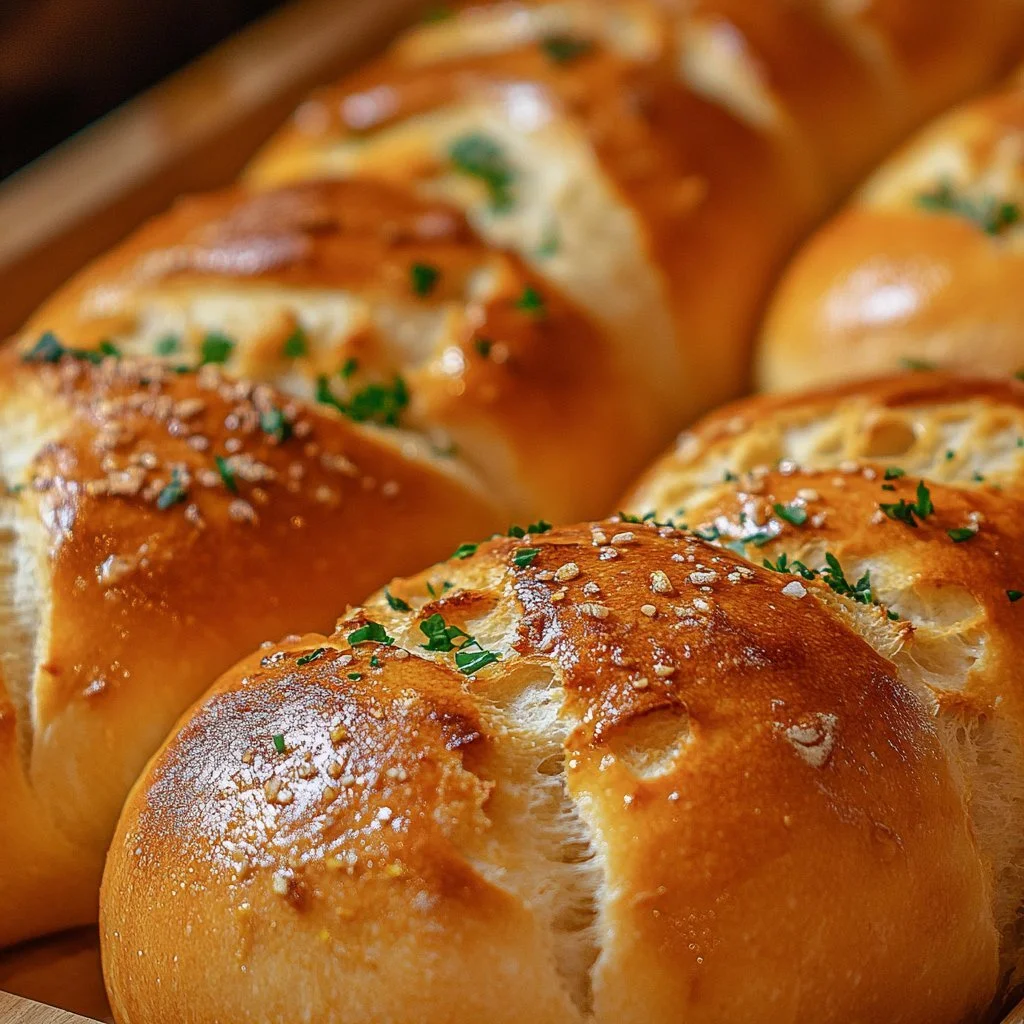
Homemade bread always brings a sense of warmth and nostalgia. The aroma of crusty Italian bread baking fills my kitchen, reminding me of family gatherings and hearty meals shared over laughter. There’s something mesmerizing about the process — combining flour, water, salt, and yeast to create a dough that transforms beautifully in the oven.
Baking crusty Italian bread invites you to connect with the simple pleasures of cooking. Each step is an essential part of the journey, inviting you to engage your senses. From the first mix in the bowl to the final slice on the platter, this homemade bread serves as a comforting companion to any dish. Embrace your flour-covered hands and discover how to make this timeless bread recipe at home.
Crusty Italian Bread Fundamentals
Fundamentals
Crusty Italian bread relies on straightforward ingredients to achieve its wonderful flavor and texture. The combination of all-purpose flour, water, salt, yeast, and olive oil plays a pivotal role in the creation of this bread. Understanding the basics ensures you can replicate it in your kitchen.
Active dry yeast is vital as it helps the dough rise. Make sure to watch for the fizz after mixing it with warm water, sugar, and a little patience. This process activates the yeast, giving the bread its signature airy texture. Combine this with the right ratio of flour to water, and you’ll create a beautiful structure that holds air pockets, making each bite delightful.
Preparation/setup
Start by gathering your ingredients and ensuring your workspace is clean. Measure out 3 1/2 cups of all-purpose flour and 1 1/2 teaspoons of salt to create the base. In a separate bowl, warm 1 1/4 cups of water to about 110°F. Remember, this temperature is essential for activating the yeast.
You’ll need a mixing bowl for the wet and dry ingredients, as well as a floured surface for kneading. Don’t forget to spray or grease a bowl where the dough will rise after you knead it. Preparation and setup are crucial for a smooth baking experience, so take your time with these steps.
Ingredients
The ingredient list for this crusty Italian bread is simple yet effective. Here’s what you’ll need:
- 3 1/2 cups all-purpose flour
- 1 1/2 teaspoons salt
- 1 teaspoon sugar
- 1 packet (2 1/4 teaspoons) active dry yeast
- 1 1/4 cups warm water (about 110°F)
- 2 tablespoons olive oil
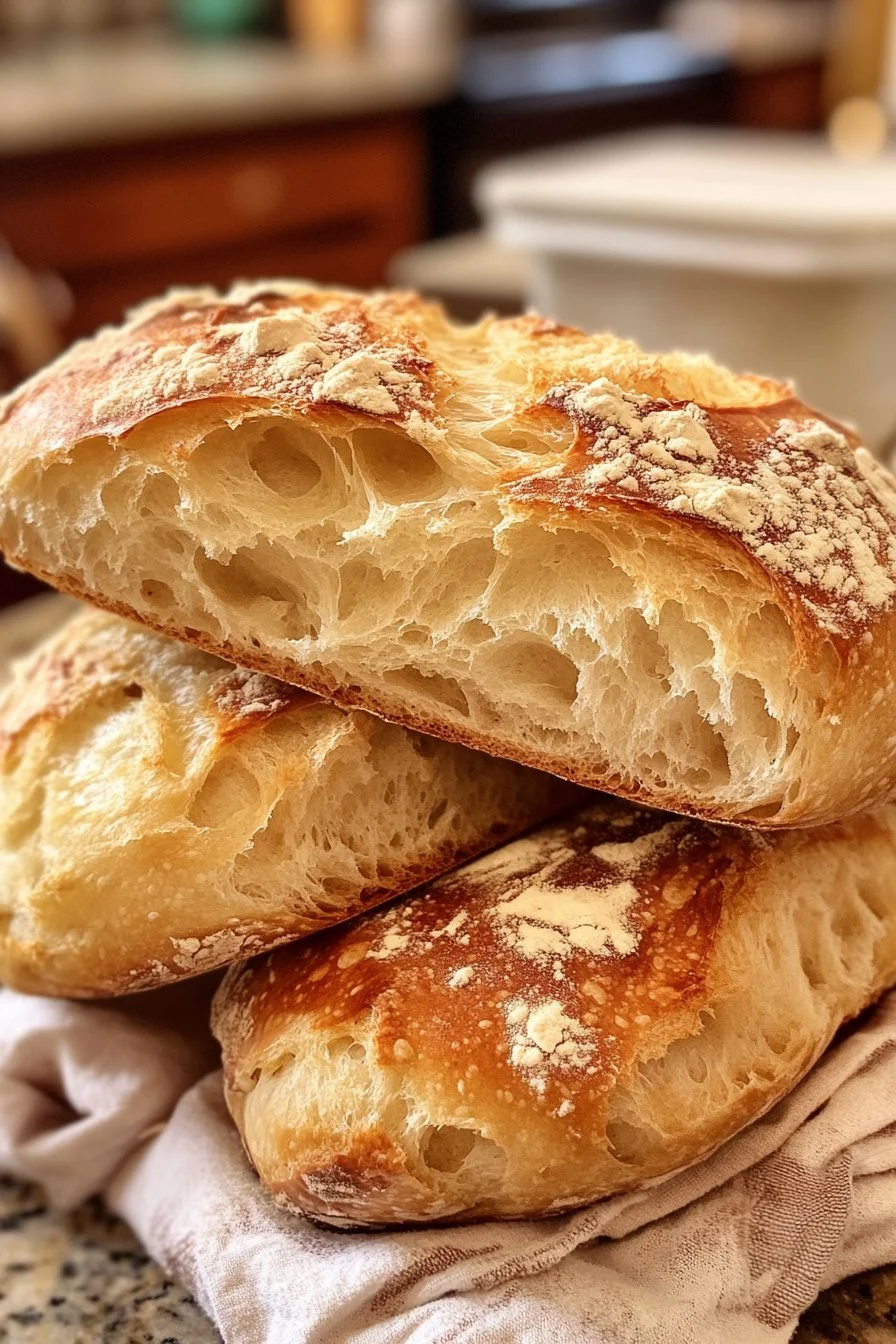
These ingredients come together to create a loaf that is both crusty on the outside and soft on the inside. Knowing how each component interacts is key to mastering this bread.
Directions
- In a large mixing bowl, combine warm water, sugar, and yeast. Let sit for about 5 minutes until frothy.
- Add flour, salt, and olive oil. Stir until a rough dough forms.
- Turn the dough onto a floured surface. Knead for 8-10 minutes until smooth and elastic.
- Place the dough in a greased bowl, cover, and let rise in a warm place for 1 to 1.5 hours until doubled.
- Preheat the oven to 450°F. Place a baking stone or inverted baking sheet in the oven to heat.
- Punch down the risen dough. Shape it into a round loaf and place it on parchment paper.
- Cover and let rise for another 30 minutes.
- Score the top with a sharp knife. Transfer the loaf (on parchment) to the hot stone or sheet. Bake for 25-30 minutes until golden brown and sounds hollow when tapped.
- Cool on a wire rack before slicing.
Crafting the Ideal Crusty Italian Bread
Technique
Perfecting your technique is essential for making the best crusty Italian bread. Kneading plays a crucial role in developing gluten, which gives the dough its structure. Use the heel of your hands and push down and away from you, then fold the dough over itself. Rotate it a quarter turn and repeat.
The rising phase also demands attention. Allow the dough to rise in a warm environment undisturbed. Cover it with a damp cloth or plastic wrap to prevent it from drying out. This phase is vital for achieving a lighter, airier bread.
Tips/tricks
To enhance your crusty Italian bread, consider a few tips. Always measure your flour accurately; too much can result in a dense loaf. Using a kitchen scale for precise measurements improves consistency.
Another trick involves creating steam in your oven. Placing a shallow pan of water on the bottom of the oven during baking generates steam, helping develop that desirable crust. Be careful when adding water after the oven is preheated.
Monitor the bread closely as it bakes. Each oven varies and may require slight adjustments to the temperature or time. Trust your instincts and enjoy the process!
Achieving the Perfect Loaf
Perfecting results
Mastering crusty Italian bread leads to consistently satisfying results. Once you have the basic recipe down, experiment with slight variations. Adjusting the hydration level (the amount of water compared to flour) can change the bread’s texture.
Using different flour types, such as bread flour or a blend of whole wheat flour, provides a unique flavor and texture. This experimentation can elevate your bread-making skills and produce memorable loaves that delight everyone.
Troubleshooting/variations
Encounter roadblocks on your crusty Italian bread journey? Troubleshooting is part of the learning process. If your dough doesn’t rise, ensure your yeast is fresh and activated. Double-check the water temperature; overly hot water can kill the yeast.
Should your bread turn out too dense, consider kneading longer or adjusting the flour-to-water ratio. Lastly, if the crust doesn’t meet your preferences, try adjusting the baking time or using steam, as mentioned earlier. Each of these adjustments paves the way to a perfect loaf tailored to your taste.
Presentation and Storage Solutions
Serving/presentation
Once your crusty Italian bread has cooled, think about presentation. A rustic look compliments the homemade appeal. Slice it into thick pieces and arrange them on a wooden board or cloth. This method creates a lovely centerpiece for your dining table.
Consider pairing your bread with various spreads or dips, showcasing its versatility. Serve it alongside a colorful salad, or enjoy it with olive oil for dipping. This bread not only satisfies but also elevates your meal’s presentation.
Pairings/storage
Crusty Italian bread fits beautifully into a variety of meals. Serve it alongside soups, roasted vegetables, or grilled meats for a satisfying experience. It acts as a perfect scoop for flavorful dips.
As for storage, keep any leftover bread in a paper bag at room temperature to maintain its crust. Avoid plastic, as it traps moisture and can result in a chewy crust. For long-term storage, slice and freeze the bread, allowing you to enjoy homemade freshness whenever you desire.
This crusty Italian bread recipe stands as a testament to simple ingredients and thoughtful preparation. The satisfaction that comes with baking your own loaf transcends the taste itself. Embrace the process and share the results with those you love.
Print
Crusty Italian Bread
- Prep Time: 10 minutes
- Cook Time: 30 minutes
- Total Time: 100 minutes
- Yield: 1 loaf
- Category: Bread
- Method: Baking
- Cuisine: Italian
- Diet: Vegetarian
Description
A simple yet delightful homemade crusty Italian bread that brings warmth and nostalgia to your dining table.
Ingredients
- 3 1/2 cups all-purpose flour
- 1 1/2 teaspoons salt
- 1 teaspoon sugar
- 1 packet (2 1/4 teaspoons) active dry yeast
- 1 1/4 cups warm water (about 110°F)
- 2 tablespoons olive oil
Instructions
- In a large mixing bowl, combine warm water, sugar, and yeast. Let sit for about 5 minutes until frothy.
- Add flour, salt, and olive oil. Stir until a rough dough forms.
- Turn the dough onto a floured surface. Knead for 8-10 minutes until smooth and elastic.
- Place the dough in a greased bowl, cover, and let rise in a warm place for 1 to 1.5 hours until doubled.
- Preheat the oven to 450°F. Place a baking stone or inverted baking sheet in the oven to heat.
- Punch down the risen dough. Shape it into a round loaf and place it on parchment paper.
- Cover and let rise for another 30 minutes.
- Score the top with a sharp knife. Transfer the loaf (on parchment) to the hot stone or sheet. Bake for 25-30 minutes until golden brown and sounds hollow when tapped.
- Cool on a wire rack before slicing.
Notes
For best results, ensure accurate flour measurements and consider creating steam in the oven for a better crust.