
📑 Table of Contents ▶
Biko
I’m Della Lucia, and HealthyDinnerMeals was created from my belief that food should nourish both the body and the moments we share. My fondest memories come from simple homemade meals — not perfection, just comfort, connection, and care. Here, healthy eating stays approachable and satisfying, with recipes that fit real life: quick, flavorful, and balanced. Whether you’re cooking for yourself or loved ones, I hope these meals help you feel confident in the kitchen and inspired to enjoy every moment around the table.
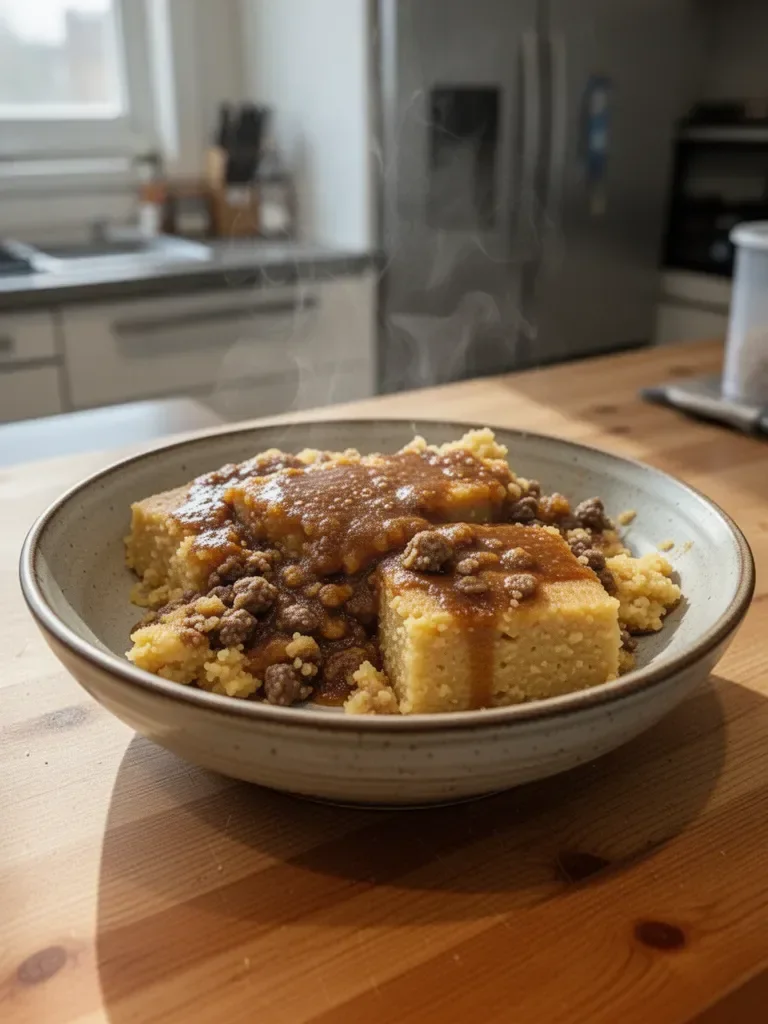
Biko embodies the warmth of home and the joy of tradition. This delightful dish originates from the Philippines and has a way of transporting anyone who tastes it to a cozy gathering filled with laughter and shared stories. As you prepare Biko, you’ll find that the ingredients come together effortlessly. The combination of sticky rice, coconut milk, and brown sugar creates a deliciously sweet and creamy experience.
When I first made Biko, I was captivated by the aroma that filled my kitchen. The gooey texture of the sticky rice combined with the rich flavor of coconut transforms a simple dish into a beloved dessert. As you work through this recipe, you will discover how easy it is to create that same comforting atmosphere in your own home. Let’s dive into this culinary treasure.
Understanding Biko
Fundamentals
Biko is a traditional Filipino rice cake that celebrates the rich flavors and textures of its ingredients. The dish features sticky rice, also known as malagkit, which offers a chewy consistency that pairs perfectly with the creamy coconut mixture. This recipe showcases the balance of sweetness from brown sugar and the earthy richness of coconut milk and cream.
Sticky rice is the star of the show here, providing a foundation that absorbs all the delicious coconut flavors. Using both coconut milk and cream elevates the richness of the dish, while brown sugar adds depth and a touch of caramel sweetness. The addition of lemon peel gives Biko a subtle brightness that cuts through the richness.
Preparation/setup
Preparing Biko is both straightforward and rewarding. Start by gathering your ingredients and prepping your workspace. Greasing your baking dish or lining it with banana leaves can enhance the flavor and presentation. Preheating your oven to 350°F (180°C) ensures an even baking environment, helping the flavors meld beautifully.
Before you get started, make sure to wash your sticky rice thoroughly. Rinsing it multiple times until the water runs clear helps remove excess starch, leading to a better texture in your final dish. Having everything prepped and ready to go makes the process smooth and enjoyable.
Ingredients
For your Biko, you will need the following ingredients:
- 2 cups Sticky Rice/Malagkit
- 2 ½ cups water
- 1 can coconut milk
- 1 can coconut cream
- 1 ¼ cups brown sugar
- 2 tbsp molasses (optional)
- 1 tsp salt
- Peel of 1 lemon
These simple, wholesome ingredients come together to create a deliciously rich dessert.
Directions
- Rinse the Rice: Place the sticky rice in a bowl and rinse several times until the water runs clear.
- Cook the Sticky Rice: In a large pot, combine the washed sticky rice and 2 ½ cups of water. Bring to a simmer, cover, and cook for 25-30 minutes until liquid is absorbed.
- Prep the Pan and Preheat: Grease your baking dish or line with banana leaves. Preheat your oven to 350°F (180°C).
- Make the Latik: In a pan, mix coconut milk and coconut cream over medium heat until creamy. Add brown sugar, salt, and lemon peel, cooking until thickened. Reserve half for later.
- Mix in the Rice: Fold the partially cooked sticky rice into the remaining latik sauce until combined.
- Assemble and Bake: Pour the mixture into the prepared dish, top with reserved sauce, and bake for 30-45 minutes until bubbly.
- Cool and Serve: Let Biko cool before cutting into squares.
Mastering the Technique of Biko
Technique
Creating Biko requires a few specific techniques to ensure the finished dish is perfect. Starting with the sticky rice is crucial; washing it properly helps achieve the perfect texture. Cooking the rice slowly allows it to absorb the water without becoming too mushy. When you add the coconut mixture, fold it gently to avoid breaking the sticky rice grains.
Creating the latik, a thick coconut mixture, adds depth to Biko. Monitor the heat carefully while cooking; too high may cause the mixture to burn, while too low won’t allow it to thicken properly. The distinct creamy texture plays a key role in the overall success of the dish.
Tips and Tricks
- Use High-Quality Ingredients: Choose good-quality sticky rice, coconut milk, and brown sugar for the best results.
- Avoid Overcooking the Rice: Keep an eye on the cooking time for the sticky rice; it should be soft but not mushy.
- Customize Your Sweetness: Adjust the sugar and molasses to match your taste preferences. Some enjoy a sweeter Biko, while others prefer it less sweet.
- Experiment with Toppings: While the reserved latik makes a delicious topping, consider adding fruit or nuts for added texture and flavor.
Perfecting Biko’s Results
Perfecting Results
Achieving the perfect Biko takes practice but is well worth the effort. One common challenge is ensuring the sticky rice cooks evenly. Using a pot with a heavy bottom prevents burning and encourages consistent heat distribution. Ensure the pot is well-covered during cooking to trap steam, which helps the rice absorb moisture effectively.
Another essential step is letting the Biko cool before cutting it. This sets the texture and allows the flavors to meld further. Cutting it too early may result in a messy presentation, while waiting a bit contributes to the overall enjoyment of the dish.
Troubleshooting Variations
Should you encounter any issues while making Biko, here are some helpful tips:
- If the Rice Is Too Hard: Add a bit more water and continue cooking for a few more minutes, monitoring closely.
- If It’s Too Sweet for Your Liking: Balance the flavors by adding a pinch of salt to the mixture. This can help enhance the overall taste.
- Consistency Problems: If the latik isn’t thickening as expected, ensure the heat is sufficient and let it cook longer. Stir frequently to avoid burning.
Variations are common in recipes like Biko. Feel free to adjust the sugar or try different flavor combinations, based on what you have available.
Serving and Enjoying Biko
Serving and Presentation
Biko is best served warm or at room temperature. Cut it into squares to showcase its beautiful layers, drizzled with the reserved latik on top. For an authentic experience, serve it on banana leaves or a decorative plate; this adds a touch of tradition and enhances the rustic feel of the dish.
Feel free to garnish with shredded coconut or toasted sesame seeds for added crunch and visual appeal. Each square is an invitation to indulge in the comforting flavors of this unique dessert.
Pairings and Storage
Biko pairs wonderfully with fresh fruit or a scoop of ice cream for a delightful contrast. For a more traditional presentation, enjoy it alongside coffee or tea to highlight the richer flavors.
To store leftovers, place Biko in an airtight container. It can last in the refrigerator for several days, and it holds up well if gently reheated. Biko also freezes beautifully; just ensure it’s wrapped tightly to prevent freezer burn.
Biko embodies rich tradition while bringing warmth and comfort to any table. The combination of sticky rice, coconut milk, and brown sugar creates an irresistible treat. Throughout the preparation process, you will find joy in the simple act of creating something meaningful and delicious. Celebrating culture through food is a beautiful expression of heritage, and Biko effortlessly invites you to share in that experience. Embrace this recipe, and let it transport you to cherished moments surrounded by loved ones.
Print
Biko
- Prep Time: 15 minutes
- Cook Time: 50 minutes
- Total Time: 65 minutes
- Yield: 8 servings
- Category: Dessert
- Method: Baking
- Cuisine: Filipino
- Diet: Vegetarian
Description
Biko is a traditional Filipino rice cake made of sticky rice, coconut milk, and brown sugar, creating a deliciously rich and comforting dessert.
Ingredients
- 2 cups Sticky Rice/Malagkit
- 2 ½ cups water
- 1 can coconut milk
- 1 can coconut cream
- 1 ¼ cups brown sugar
- 2 tbsp molasses (optional)
- 1 tsp salt
- Peel of 1 lemon
Instructions
- Rinse the rice: Place the sticky rice in a bowl and rinse several times until the water runs clear.
- Cook the sticky rice: In a large pot, combine the washed sticky rice and 2 ½ cups of water. Bring to a simmer, cover, and cook for 25-30 minutes until liquid is absorbed.
- Prep the pan and preheat: Grease your baking dish or line with banana leaves. Preheat your oven to 350°F (180°C).
- Make the latik: In a pan, mix coconut milk and coconut cream over medium heat until creamy. Add brown sugar, salt, and lemon peel, cooking until thickened. Reserve half for later.
- Mix in the rice: Fold the partially cooked sticky rice into the remaining latik sauce until combined.
- Assemble and bake: Pour the mixture into the prepared dish, top with reserved sauce, and bake for 30-45 minutes until bubbly.
- Cool and serve: Let Biko cool before cutting into squares.
Notes
For an authentic presentation, serve Biko on banana leaves and consider garnishing with shredded coconut or toasted sesame seeds.