📑 Table of Contents ▶
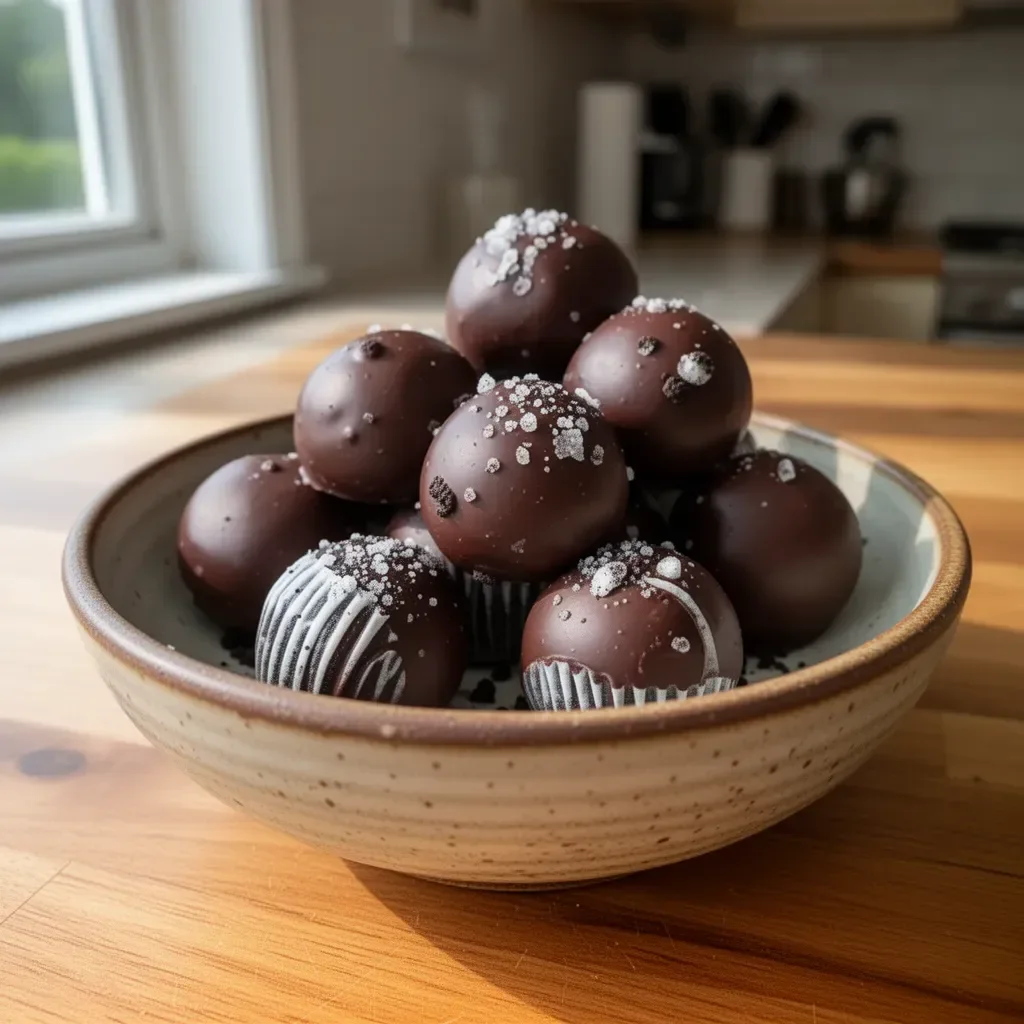
Oreo Balls
I’m Della Lucia, and HealthyDinnerMeals was created from my belief that food should nourish both the body and the moments we share. My fondest memories come from simple homemade meals — not perfection, just comfort, connection, and care. Here, healthy eating stays approachable and satisfying, with recipes that fit real life: quick, flavorful, and balanced. Whether you’re cooking for yourself or loved ones, I hope these meals help you feel confident in the kitchen and inspired to enjoy every moment around the table.
One delightful dessert that fills both the kitchen and my heart with joy is Oreo balls. When I first made them, the kitchen erupted with laughter and delight, transforming an ordinary outing into a cherished memory. The simplicity of the ingredients combined with the creative process makes Oreo balls a fun project for cooks of any skill level.
These delicious treats bring back a sense of nostalgia, reminding us of carefree times spent enjoying sweet indulgences. Creating Oreo balls sparks joy, making them the perfect addition to any gathering or a sweet surprise for yourself. Each bite captures the essence of a childhood favorite and brings a sense of comfort and happiness that stays with you long after the last bite.
Oreo Balls: The Ultimate No-Bake Treat
Fundamentals
Oreo balls shine as a no-bake dessert that requires minimal effort yet packs maximum flavor. Using just a few simple ingredients, these tasty bites become an instant hit at any occasion. Plus, they don’t demand extensive kitchen equipment or elaborate techniques—perfect for even the busiest days.
Understanding the balance of flavors in Oreo balls is essential. The rich chocolate coating pairs beautifully with the sweet, crumbly filling made from actual Oreos. This contrasts perfectly with the smoothness of the chocolate, which adds a luxurious touch to the overall experience. Whether you gravitate towards dark, semi-sweet, or white chocolate, the choice of chocolate lets you customize the dessert to suit your taste buds.
Preparation/setup
Begin by preparing your workspace. Gather all necessary ingredients and tools before diving into the process. Line a baking sheet or cutting board with parchment paper. This makes for easy clean-up and helps your Oreo balls maintain their shape after dipping in chocolate. Having everything organized streamlines the procedure, making it enjoyable and efficient.
Don’t forget to take a moment to admire the gorgeous Oreos. The classic design and flavor remind you of special occasions and shared laughter. Ensure your food processor is ready to go, as it provides the quickest way to crumble the cookies into a crumbly goodness.
Ingredients
To create your Oreo balls, you’ll need:
- 30 (340g) regular or gluten-free Oreo cookies
- 3 tablespoons (45g) unsalted butter, melted and cooled
- 2-5 tablespoons whole milk
- 8 ounces (225g) dark, semi-sweet, or white chocolate, chopped
- 1 teaspoon vegetable oil (optional)
This combination highlights the affordable and readily available ingredients you can incorporate into your kitchen adventures. Feel free to adjust the quantity of milk depending on the consistency of the oreo mixture, ensuring you can roll perfect little balls.
Directions
- Line a medium-sized baking sheet or cutting board with parchment paper and set aside.
- In a large food processor, add the Oreos (with the filling) and grind them until very fine and crumbly.
- Add melted butter and 2 tablespoons of milk to the Oreo crumbs and pulse until well moistened. Add more milk if necessary to hold the mixture together.
- Scoop out 1 tablespoon-sized portions and roll them into balls. Arrange on the baking sheet.
- Chill in the freezer for 5-10 minutes.
- Melt chocolate in the microwave or a double boiler; if using oil, mix it into the chocolate and let it cool slightly.
- Dip each Oreo ball into the melted chocolate, then place it back on the baking sheet.
- Optionally, sprinkle with toppings while the chocolate is still wet.
- Chill until the chocolate is set and store in the refrigerator until ready to serve.
Creative Ways to Craft Oreo Balls
Technique
Mastering the technique of making Oreo balls will lead to consistent results. The key is the crumbling stage—ensure the Oreos are finely ground. This sets a strong foundation for a luscious filling that melds beautifully with the melted chocolate.
Pay attention to the chocolate-melting process as well. Melting chocolate at a low temperature prevents it from seizing. Stir it frequently if using the microwave. If it becomes too hot, it will lose its quality, making it challenging to coat the Oreo balls evenly.
Tips/tricks
Here are some handy tips and tricks to elevate your Oreo ball-making experience:
- Use a cookie scoop for equal-sized portions, ensuring that each ball is uniform. This guarantees even cooking and a beautiful presentation.
- If you have extra chocolate on hand, don’t hesitate to create different chocolate drizzles for added flair.
- Consider mixing in toppings like crushed nuts or sprinkles to give the Oreo balls an extra crunch and visual appeal.
Experiment with flavor by trying different Oreo varieties. You can swap for red velvet or mint-flavored Oreos to diversify your treats, making each occasion extra special.
Elevating Your Oreo Balls Game
Perfecting results
The art of perfecting Oreo balls involves striking a balance between smooth textures and rich flavors. Make sure the mixture is moist enough to hold its shape but not too wet that it clumps. If you find the mixture crumbling or falling apart, add a tad more milk, adjusting as necessary.
To achieve a professional-looking finish, let the chocolate-coasted Oreo balls chill for the appropriate time. Ensuring that the coating sets properly will yield an attractive and delectable treat.
Troubleshooting/variations
Should the Oreo balls end up too crumbly, a little more melted butter or the addition of cream cheese can help bind the mixture. On the other hand, if you experience a too-wet mixture, simply add more crushed Oreos until you reach the desired consistency.
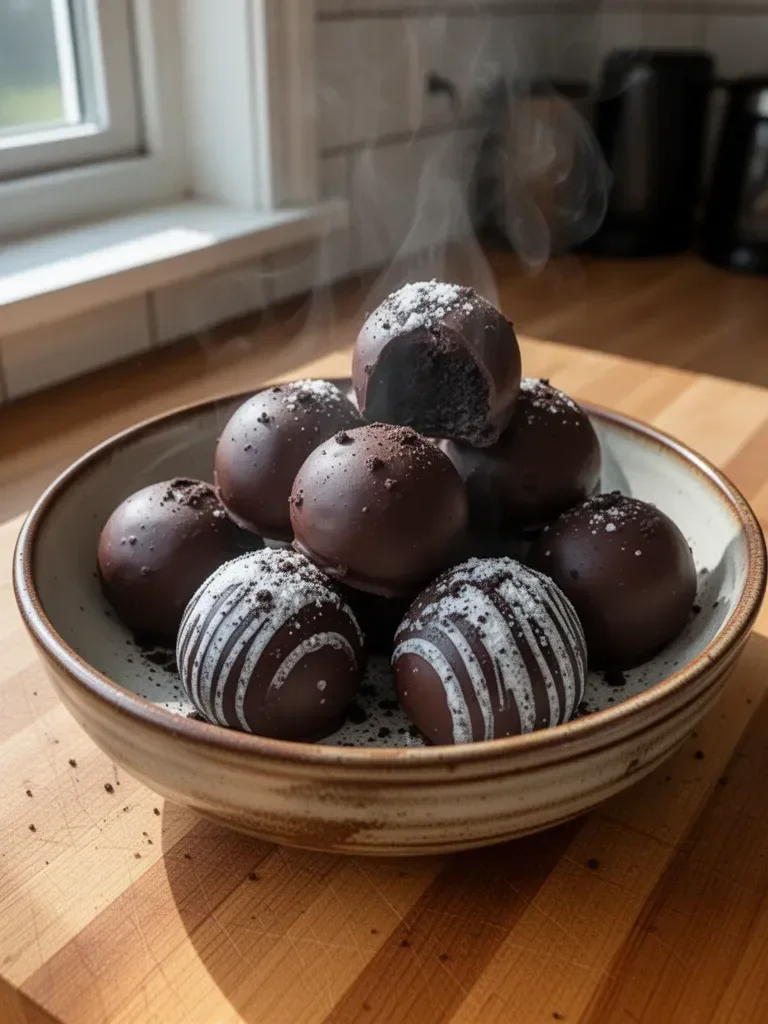
For those who love a twist, consider rolling the finished Oreo balls in finely crushed nuts or adding a pinch of sea salt for a savory touch. Such variations offer endless possibilities for your sweet treats while keeping the core recipe intact.
Presenting Your Oreo Balls Beautifully
Serving/presentation
Presentation plays a significant role in showcasing your Oreo balls. Arrange them on a beautiful plate and consider using cupcake liners for an elegant touch. This creates a visually appealing display that will impress anyone at your gathering.
Creating a themed platter by utilizing seasonal decorations can elevate your serving game. Whether it’s holiday-themed efforts or a casual weekend gathering, Oreo balls can fit in anywhere when presented well.
Pairings/storage
While Oreo balls make an excellent treat on their own, pairing them with fresh fruit or delightful desserts can enhance the experience. Serve alongside strawberries, raspberries, or even a scoop of ice cream for a delightful combination that excites the palate.
Store leftover Oreo balls in an airtight container in the refrigerator. They remain fresh for up to a week, making them a handy treat to have on hand for sweet cravings.
Conclusion
Oreo balls represent a delightful blend of nostalgia and flavor, making them a fun and easy treat to share. Their simplicity and sheer deliciousness allow for creativity and customization, inviting everyone to enjoy a bite filled with memories. With just a few straightforward ingredients and steps, anyone can experience the joy of Oreo balls, ensuring a delightful aspect to both celebrations and quiet nights in.
Print
Oreo Balls
- Prep Time: 15 minutes
- Cook Time: 10 minutes
- Total Time: 25 minutes
- Yield: 24 servings
- Category: Dessert
- Method: No-Bake
- Cuisine: American
- Diet: Vegetarian
Description
Delicious no-bake Oreo balls filled with rich chocolate flavor, perfect for any occasion.
Ingredients
- 30 (340g) regular or gluten-free Oreo cookies
- 3 tablespoons (45g) unsalted butter, melted and cooled
- 2-5 tablespoons whole milk
- 8 ounces (225g) dark, semi-sweet, or white chocolate, chopped
- 1 teaspoon vegetable oil (optional)
Instructions
- Line a medium-sized baking sheet or cutting board with parchment paper and set aside.
- Add the Oreos (with the filling) to a food processor and grind until very fine and crumbly.
- Mix melted butter and 2 tablespoons of milk into the Oreo crumbs and pulse until well moistened, adding more milk if necessary.
- Scoop out 1 tablespoon-sized portions and roll them into balls. Arrange on the baking sheet.
- Chill in the freezer for 5-10 minutes.
- Melt chocolate in the microwave or a double boiler; mix in oil if using, and let it cool slightly.
- Dip each Oreo ball into the melted chocolate, then place it back on the baking sheet.
- Sprinkle with toppings while the chocolate is still wet, if desired.
- Chill until the chocolate is set and store in the refrigerator until ready to serve.
Notes
Use a cookie scoop for uniform ball sizes and add toppings for a personalized touch.