📑 Table of Contents ▶
- Healthy Protein Bar Recipe: Fundamentals
- Fundamentals
- Preparation/setup
- Directions
- Healthy Protein Bar Recipe: Technique
- Technique
- Tips/tricks
- Healthy Protein Bar Recipe: Perfecting Results
- Perfecting results
- Troubleshooting/variations
- Healthy Protein Bar Recipe: Serving and Presentation
- Serving/presentation
- Pairings/storage
- Conclusion
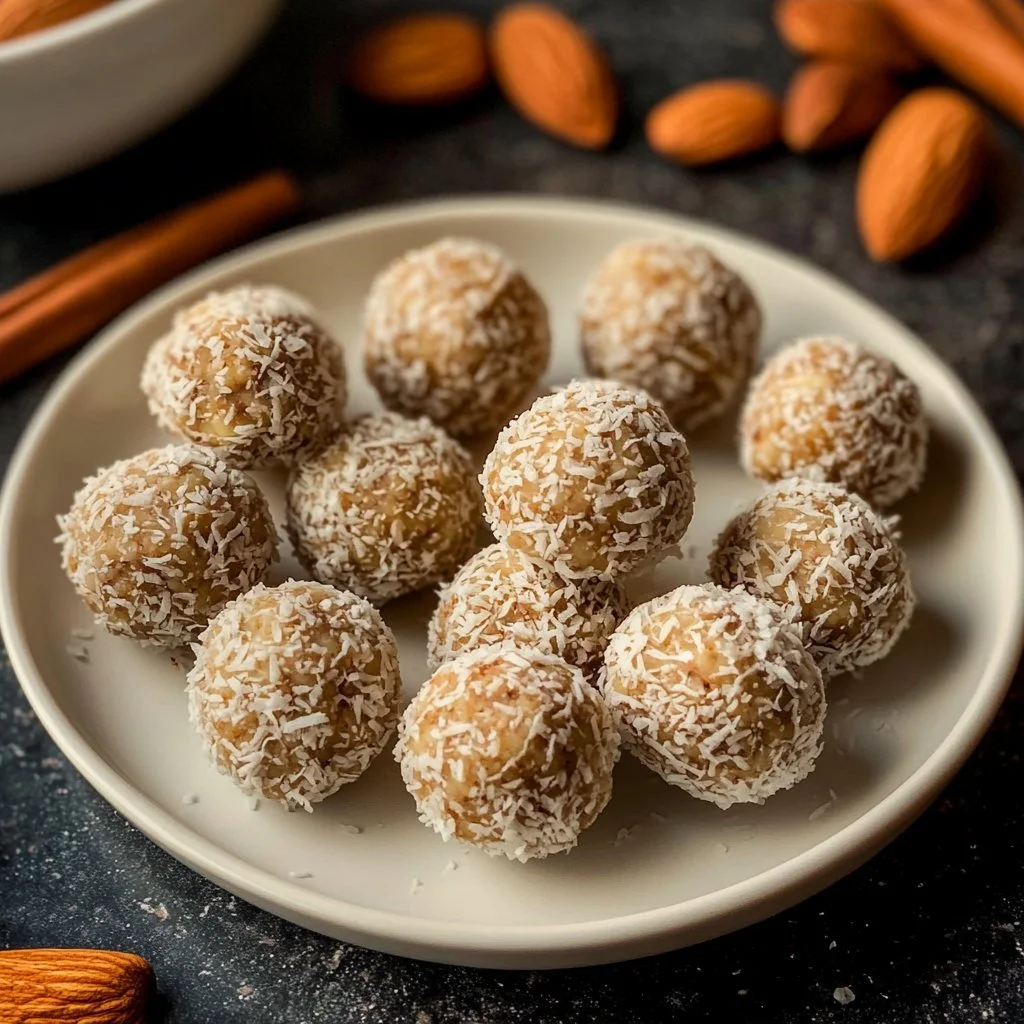
Healthy Protein Bar
I’m Della Lucia, and HealthyDinnerMeals was created from my belief that food should nourish both the body and the moments we share. My fondest memories come from simple homemade meals — not perfection, just comfort, connection, and care. Here, healthy eating stays approachable and satisfying, with recipes that fit real life: quick, flavorful, and balanced. Whether you’re cooking for yourself or loved ones, I hope these meals help you feel confident in the kitchen and inspired to enjoy every moment around the table.
Healthy protein bars have a special place in my heart. They represent the perfect solution to those mid-afternoon cravings and serve as a convenient and nourishing snack. I remember busy days when energy levels dipped, and a protein bar pulled me through. This simple recipe brings together wholesome ingredients to create a deliciously satisfying treat.
Making your own healthy protein bar offers a sense of accomplishment. It becomes an opportunity to blend your favorite tastes into a nutritious snack. With rolled oats, nut butter, and a hint of sweetness, you create something that supports your active lifestyle. Adding nuts and chocolate chips can elevate the flavor experience even further.
Understanding how to make healthy protein bars lets you customize them to fit your tastes while focusing on nourishment. Let’s dive into how to prepare these delicious bars step by step.
Healthy Protein Bar Recipe: Fundamentals
Fundamentals
Using the right balance of ingredients forms the foundation of a great protein bar. Rolled oats bring a hearty texture while providing fiber to keep you feeling full. Nut butter serves as a delicious glue that blends everything together. Adding honey or maple syrup adds natural sweetness and binds the ingredients nicely.
Protein powder enhances the nutritional value, making these bars a great pre- or post-workout snack. Optional ingredients like chocolate chips or chopped nuts can customize the flavor and texture according to your preferences. Enjoy experimenting to find your ideal combination in this healthy protein bar recipe.
Preparation/setup
Preparation is key to smooth execution. Begin by gathering your ingredients: rolled oats, peanut butter, honey or maple syrup, protein powder, chocolate chips, chopped nuts, and vanilla extract. Ensure you have a large bowl for mixing and a microwave-safe bowl for warming the wet ingredients.
Next, line a baking dish with parchment paper, making sure it extends over the sides for easier removal later. This setup guarantees easy handling and helps achieve that perfect bar texture.
Ingredients
Here’s a quick rundown of the ingredients needed for your healthy protein bars:
- 1 cup rolled oats
- 1/2 cup peanut butter (or any nut butter)
- 1/4 cup honey or maple syrup
- 1/2 cup protein powder
- 1/4 cup dark chocolate chips (optional)
- 1/4 cup chopped nuts (optional)
- 1/2 teaspoon vanilla extract
Collecting fresh, high-quality ingredients ensures the best outcome. Opt for organic options when available for even healthier bars.
Directions
- In a large bowl, mix the rolled oats and protein powder together.
- In a microwave-safe bowl, warm the peanut butter and honey or maple syrup until melted, about 30 seconds.
- Stir the wet mixture into the dry ingredients until fully combined.
- Fold in the chocolate chips and nuts if using.
- Line a baking dish with parchment paper, and press the mixture evenly into the dish.
- Refrigerate for at least an hour to set.
- Cut into bars and enjoy!
Healthy Protein Bar Recipe: Technique
Technique
The technique behind these healthy protein bars plays a crucial role in achieving the right texture and flavor. When mixing the dry and wet ingredients, be careful not to overmix. You want everything well combined, but not to the point that it becomes mushy.
Use a spatula or wooden spoon to fold the wet mixture gently into the dry ingredients. This allows for the even distribution of flavors and textures throughout the bars. Consider using your hands if you feel comfortable with it; this can help get everything blended together more evenly.
Tips/tricks
- Experiment with nut butters. Try almond or cashew butter for a different taste.
- Substitute maple syrup for honey to create a vegan-friendly option.
- Customize with your favorite add-ins, such as dried fruits or seeds, while keeping the balance of wet and dry ingredients.
- If you prefer softer bars, decrease the amount of protein powder slightly or add a bit of milk to adjust the consistency.
Finding your own rhythm in the kitchen makes this healthy protein bar recipe even more enjoyable. Begin by sticking to the basic recipe, then tailor it to your tastes.
Healthy Protein Bar Recipe: Perfecting Results
Perfecting results
Achieving perfect protein bars comes down to several key factors. The type of nut butter can affect the final product, so consider one that’s creamy for easier mixing. The protein powder you choose also matters; different brands have varying absorbencies and flavors.
Refrigeration time plays a crucial role in setting the bars. Allowing them to chill for a minimum of one hour ensures that they firm up adequately. If you want firmer bars, let them chill for longer.
Troubleshooting/variations
If your bars turn out too crumbly, you may need to adjust the moisture. Adding an extra tablespoon of nut butter or sweetener can help bind the mixture better. Conversely, if the bars are too sticky, integrating more oats might solve the issue.
For a fun variation, consider making protein bars with different flavor profiles. Try adding spices like cinnamon or nutmeg for warmth, or switch from chocolate chips to a mix of dried fruits and seeds for a fruity twist.
Healthy Protein Bar Recipe: Serving and Presentation
Serving/presentation
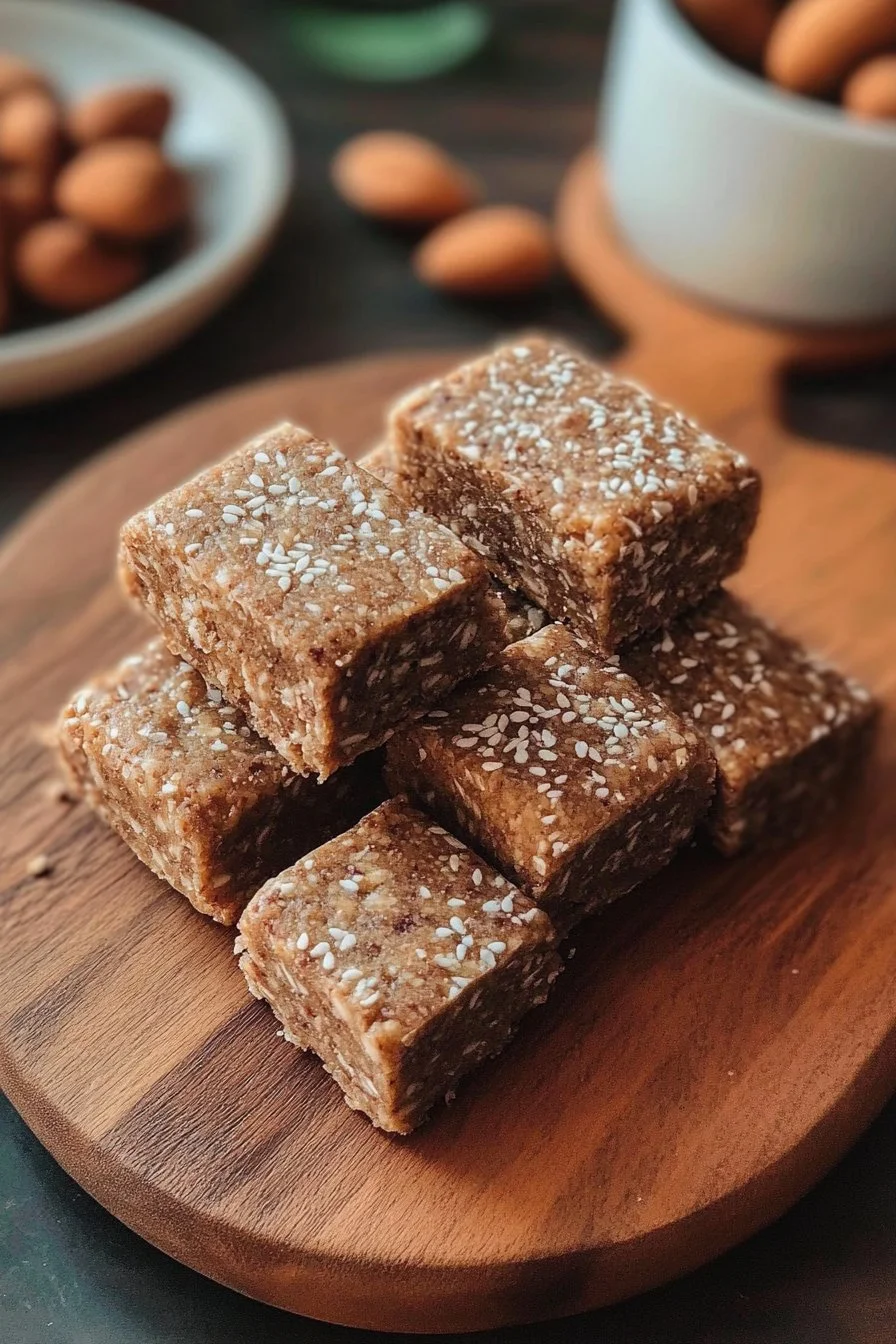
When serving your protein bars, presentation adds to the appeal. Cutting them into uniform squares or rectangles provides a professional touch. Place them on a decorative plate or in brightly colored wrappers for a visually engaging display.
If sharing these bars with friends or family, consider presenting them alongside fresh fruit or yogurt for a balanced snack. This visually appealing assembly encourages others to dig in and enjoy.
Pairings/storage
No matter how you serve your protein bars, storing them correctly is crucial. Keep them in an airtight container in the refrigerator for maximum freshness. They typically last about one week when stored properly.
For longer storage, cut the bars and wrap them individually in plastic wrap or parchment paper. This way, you can freeze them for up to three months. Simply thaw overnight in the refrigerator before enjoying.
Conclusion
Healthy protein bars hold a special place in the world of snacks. They bridge the gap between convenience and nutrition, making them perfect for busy lifestyles. Creating your own bars allows complete control over flavors and ingredients, ensuring they fit your personal dietary needs. Whether for a quick breakfast on the go or a post-workout refuel, these bars will never let you down. Enjoy the benefits of homemade snacks, and embrace the joy of sharing them with loved ones.
Print
Healthy Protein Bar
- Prep Time: 15 minutes
- Cook Time: 0 minutes
- Total Time: 75 minutes
- Yield: 8 servings
- Category: Snack
- Method: No-Cook
- Cuisine: American
- Diet: Vegetarian
Description
A simple recipe for delicious and nutritious homemade protein bars, perfect for a snack or post-workout refuel.
Ingredients
- 1 cup rolled oats
- 1/2 cup peanut butter (or any nut butter)
- 1/4 cup honey or maple syrup
- 1/2 cup protein powder
- 1/4 cup dark chocolate chips (optional)
- 1/4 cup chopped nuts (optional)
- 1/2 teaspoon vanilla extract
Instructions
- In a large bowl, mix the rolled oats and protein powder together.
- In a microwave-safe bowl, warm the peanut butter and honey or maple syrup until melted, about 30 seconds.
- Stir the wet mixture into the dry ingredients until fully combined.
- Fold in the chocolate chips and nuts if using.
- Line a baking dish with parchment paper, and press the mixture evenly into the dish.
- Refrigerate for at least an hour to set.
- Cut into bars and enjoy!
Notes
For firmer bars, chill for longer. Adjust moisture by adding more nut butter if bars are crumbly.