
📑 Table of Contents ▶
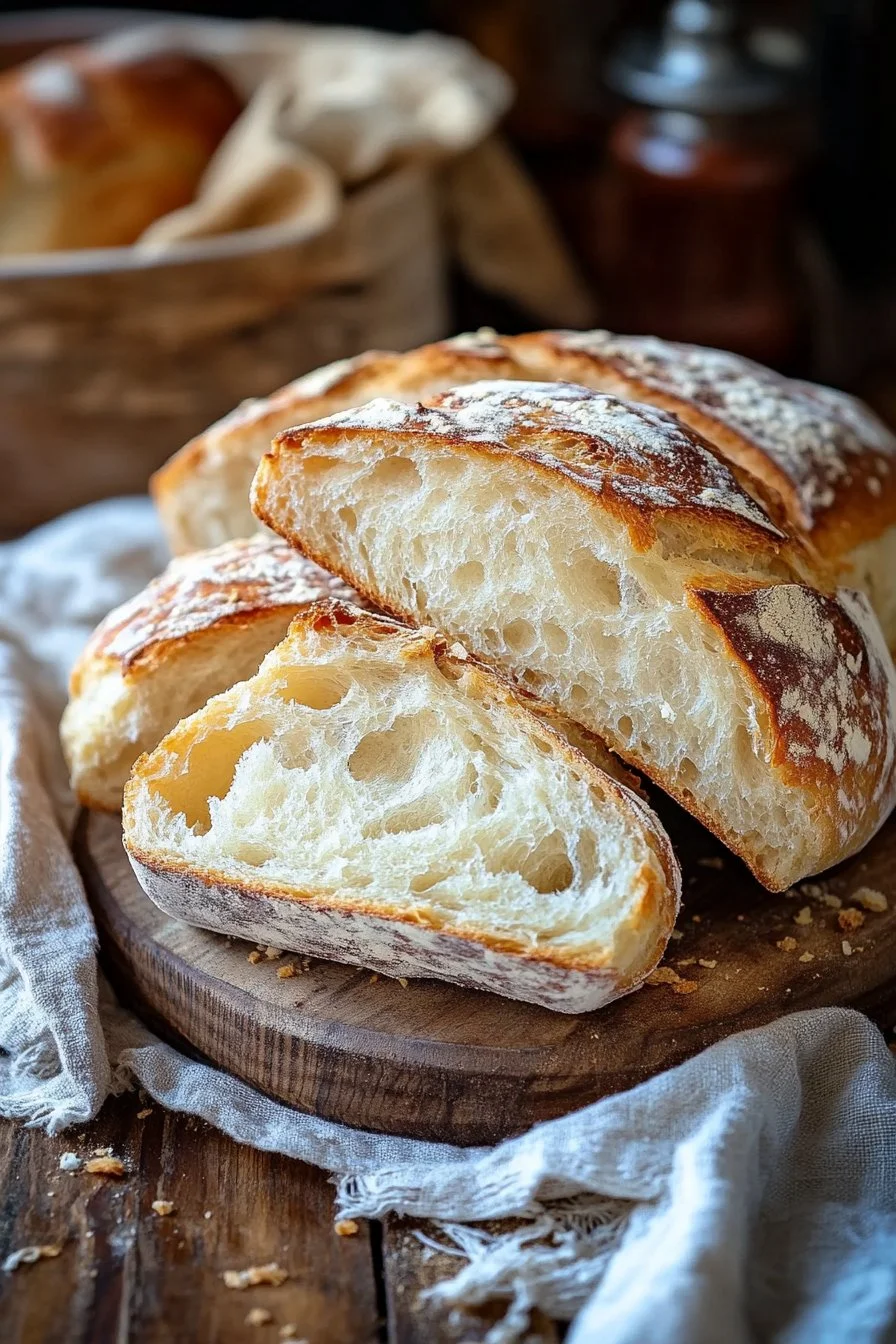
Rustic Italian Crusty Bread
I’m Della Lucia, and HealthyDinnerMeals was created from my belief that food should nourish both the body and the moments we share. My fondest memories come from simple homemade meals — not perfection, just comfort, connection, and care. Here, healthy eating stays approachable and satisfying, with recipes that fit real life: quick, flavorful, and balanced. Whether you’re cooking for yourself or loved ones, I hope these meals help you feel confident in the kitchen and inspired to enjoy every moment around the table.
Growing up in an Italian household, the aroma of freshly baked bread wafted through the kitchen and wrapped around us like a warm hug. Rustic Italian crusty bread was always a beloved staple during family gatherings. The process of making it felt almost magical, as we combined simple ingredients to craft a comforting loaf that paired well with any meal.
The joy of kneading dough, watching it rise, and finally savoring the crunchy crust and soft interior remains an inspiring memory. With just a handful of ingredients, you can create a loaf that brings a taste of Italy to your own table. Rediscover the art of bread-making with this rustic Italian crusty bread recipe that invites creativity and tradition into your kitchen.
Let’s dive into the process of creating this homemade rustic Italian crusty bread, where every step draws us closer to the heart of Italian culinary tradition.
Rustic Italian Crusty Bread
Fundamentals
Bread-making is an art, one that requires a few essential techniques. This rustic Italian crusty bread recipe hinges on proper hydration and gluten development. The balance between flour and water forms the foundation of a good loaf. As you begin to explore bread-making, focusing on these fundamentals will ensure a delightful crust and a chewy interior.
Understanding yeast activation is critical. Active yeast is like a tiny worker that makes our bread rise. Additionally, the warmth of the water used in the recipe plays a vital role in getting the yeast to wake up and do its job effectively.
Preparation/setup
Before diving into mixing ingredients, set up your workspace. Gather your tools: a mixing bowl, a wooden spoon, a clean kitchen towel, and a lightly floured surface for kneading. This organization streamlines the process, making it enjoyable rather than chaotic. A good environment enhances focus and creativity when baking.
Take a moment to find a warm spot in your kitchen. Yeast loves warmth and will thrive in an environment that promotes rising. Think of a cozy corner or even the top of the fridge.
Ingredients
This recipe requires simple ingredients that create a delicious result. Gather the following:
- 3 1/2 cups all-purpose or bread flour
- 1 1/2 teaspoons salt
- 1 teaspoon sugar
- 1 packet (2 1/4 teaspoons) instant yeast
- 1 1/4 cups warm water (110°F to 115°F)
Directions
- Activate the Yeast: In a small bowl, combine the warm water, sugar, and yeast. Allow it to sit for 5–10 minutes until it becomes foamy.
- Mix the Dough: In a large mixing bowl, combine the flour and salt. Pour in the yeast mixture and stir with a wooden spoon until a shaggy dough forms.
- Knead the Dough: Turn the dough out onto a lightly floured surface. Knead for about 8–10 minutes until smooth and elastic. Alternatively, use a stand mixer with a dough hook attachment for 5–6 minutes.
- First Rise: Place the dough in a lightly oiled bowl. Cover with a clean kitchen towel and place it in a warm area. Let it rise for 1–2 hours until it doubles in size.
- Shape the Loaf: Punch down the dough and shape it into a round loaf. Place it on a piece of parchment paper.
- Second Rise: Cover the loaf with a kitchen towel. Let it rise for another 30–45 minutes while preheating your oven to 450°F with a Dutch oven or baking stone inside.
- Bake the Bread: Carefully transfer the dough on the parchment paper into the preheated Dutch oven. Cover with the lid and bake for 30 minutes. Remove the lid and bake for an additional 10–15 minutes until the crust is golden brown.
- Cool and Serve: Remove the bread from the oven and transfer it to a cooling rack. Allow it to cool completely before slicing.
Techniques for Rustic Italian Crusty Bread
Technique
Kneading is crucial for developing the gluten in the dough. Whether opting for hand-kneading or using a stand mixer, the goal is to create a smooth and elastic texture. Remember that slight stickiness is normal; it helps to create that chewy crust we all love.
Pay attention to the dough’s texture during the kneading process. It should feel soft yet springy, indicating that the gluten is developing properly.
Tips and Tricks
- Water Temperature: Use a thermometer to ensure your water is within the 110°F to 115°F range. The wrong temperature can kill the yeast, halting the rising process.
- Flour Variations: Experiment with different types of flour, like whole wheat or rye, to change the flavor profile. However, adjust the water content slightly depending on the absorbency of the flour.
- Flavor Boosts: Consider adding herbs or garlic to the dough for added flavor. Just a sprinkle of dried herbs can elevate the rustic nature of this bread.
Perfecting Rustic Italian Crusty Bread
Perfecting Results
Slicing the bread too early can lead to gummy insides. Allow it to cool completely on the rack. This final step enhances flavor while protecting the crust’s integrity.
For an artisanal touch, score the top of the loaf with a sharp knife before baking. The cuts allow the bread to expand beautifully and create an appealing crust.
Troubleshooting and Variations
If your bread doesn’t rise adequately, verify the yeast’s freshness or adjust the rising environment’s temperature.
For variations, consider making smaller baguette-shaped loaves or adding cheese for a unique flavor twist. You can also experiment with braiding the dough for visual appeal.
Serving and Storage of Rustic Italian Crusty Bread
Serving and Presentation
When serving rustic Italian crusty bread, present it on a wooden cutting board. A simple knife can help guests slice pieces easily. Pair it with olive oil, herbs, and balsamic vinegar for dipping.
This bread stands out as a fantastic accompaniment for soups, stews, or salads. Its versatile nature allows it to complement various dishes.
Pairings and Storage
Store your rustic Italian crusty bread in a paper bag or wrapped in a clean kitchen towel. This method helps maintain its crispy crust while preventing it from getting stale too quickly.
If you have leftovers, consider making croutons or breadcrumbs to prevent waste. Transforming them into new dishes showcases the versatility of this comforting recipe.
Sharing rustic Italian crusty bread brings people together. Creating this loaf in your kitchen continues the tradition that I grew up with, fostering connections over simple yet delightful food. With a little patience and creativity, you’ll cherish this bread-making experience as much as I do. Enjoy the process, cherish the memories, and savor each bite.
Print
Rustic Italian Crusty Bread
- Prep Time: 15 minutes
- Cook Time: 50 minutes
- Total Time: 65 minutes
- Yield: 1 loaf
- Category: Bread
- Method: Baking
- Cuisine: Italian
- Diet: Vegetarian
Description
A simple yet magical recipe for homemade rustic Italian crusty bread, perfect for any meal.
Ingredients
- 3 1/2 cups all-purpose or bread flour
- 1 1/2 teaspoons salt
- 1 teaspoon sugar
- 1 packet (2 1/4 teaspoons) instant yeast
- 1 1/4 cups warm water (110°F to 115°F)
Instructions
- Activate the Yeast: In a small bowl, combine the warm water, sugar, and yeast. Allow it to sit for 5–10 minutes until it becomes foamy.
- Mix the Dough: In a large mixing bowl, combine the flour and salt. Pour in the yeast mixture and stir with a wooden spoon until a shaggy dough forms.
- Knead the Dough: Turn the dough out onto a lightly floured surface. Knead for about 8–10 minutes until smooth and elastic.
- First Rise: Place the dough in a lightly oiled bowl. Cover with a clean kitchen towel and let it rise for 1–2 hours until it doubles in size.
- Shape the Loaf: Punch down the dough and shape it into a round loaf. Place it on a piece of parchment paper.
- Second Rise: Cover the loaf with a kitchen towel and let it rise for another 30–45 minutes.
- Bake the Bread: Transfer the dough on parchment paper into the preheated Dutch oven. Cover and bake for 30 minutes. Remove the lid and bake for an additional 10–15 minutes until golden brown.
- Cool and Serve: Remove the bread from the oven and transfer it to a cooling rack. Allow it to cool completely before slicing.
Notes
For an artisanal touch, score the top of the loaf before baking. Experiment with herbs or garlic for added flavor.