
📑 Table of Contents ▶
Oreo Poke Cake
I’m Della Lucia, and HealthyDinnerMeals was created from my belief that food should nourish both the body and the moments we share. My fondest memories come from simple homemade meals — not perfection, just comfort, connection, and care. Here, healthy eating stays approachable and satisfying, with recipes that fit real life: quick, flavorful, and balanced. Whether you’re cooking for yourself or loved ones, I hope these meals help you feel confident in the kitchen and inspired to enjoy every moment around the table.
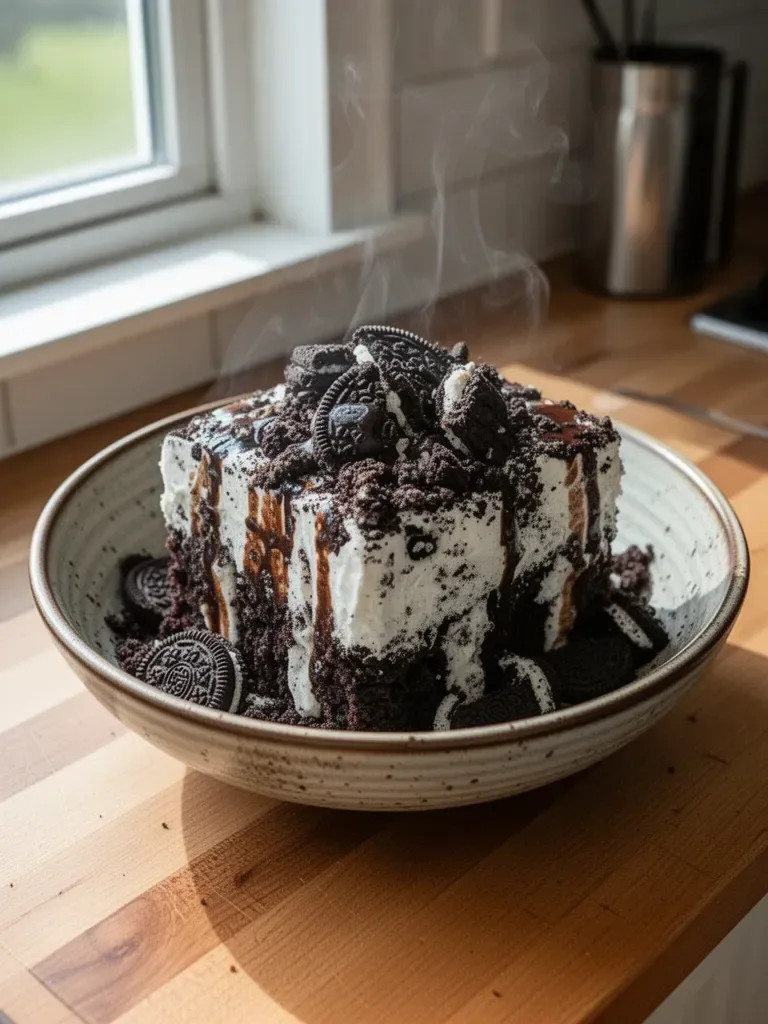
There’s something undeniably nostalgic about baking an Oreo poke cake. The rich chocolatey flavor combined with creamy layers creates a delightful experience. Memories of joyful celebrations often involve this cake as a centerpiece. Friends gather, laughter fills the air, and the first slice is always the most anticipated.
This recipe captures that same magic, bringing a taste of childhood to every bite. With each step, it’s easy to see how the simple ingredients can transform into something extraordinary. Satisfying sweet cravings while connecting with loved ones makes this Oreo poke cake a true household favorite.
Let’s dive into this wonderful journey of making an Oreo poke cake that will delight everyone at your table!
Oreo Poke Cake Fundamentals
Preparation/setup
Oreo poke cake preparation begins with a few simple steps. First, gather your ingredients and equipment. You will need a 9×13 inch baking pan, cooking spray, mixing bowls, and a whisk. After getting everything ready, you can proceed to preheat your oven to 350 degrees.
This temperature ensures that your cake bakes evenly, resulting in a fluffy, moist dessert. Once the oven is preheated, lightly coat the baking pan with cooking spray. This step prevents the cake from sticking, allowing for easy removal later.
Ingredients
Here’s what you’ll need to make the perfect Oreo poke cake:
- 1 box chocolate cake mix
- 1 cup water
- 1/2 cup vegetable oil
- 3 eggs
- 2 packages instant Oreo pudding mix (3.9 oz)
- 2 cups cold milk
- 1 container whipped topping (8 oz)
- 12 Oreos (crushed)
- Optional: Chocolate syrup for garnish
Each of these ingredients plays a vital role. The cake mix forms the base, while the pudding and whipped topping contribute to its creamy texture. Crushed Oreos give a delicious crunch, adding even more flavor.
Directions
- In a large bowl, combine the cake mix, water, vegetable oil, and eggs.
- Mix the ingredients until thoroughly combined, ensuring that there are no lumps.
- Pour the batter into the prepared baking pan.
- Bake for 25 minutes or until a toothpick inserted in the center comes out clean.
- After baking, allow the cake to cool completely.
- Poke holes all over the cooled cake using the handle of a wooden spoon.
- In a medium bowl, combine the pudding mix and cold milk.
- Whisk the mixture until smooth.
- Pour the pudding over the cake, spreading it evenly into the holes.
- Refrigerate the cake for one hour.
- Once chilled, spread whipped topping over the pudding layer.
- Top the whipped topping with crushed Oreos.
Oreo Poke Cake Technique
Tips/tricks
To enhance your Oreo poke cake, keep a few tips in mind. Using cold milk when making the pudding ensures it thickens properly. Make sure to whisk vigorously to avoid any lumps, giving your pudding an extra smooth texture.
Do not skip the chilling step. Refrigerating the cake allows the pudding to meld with the cake, creating that signature poke cake texture. For added visual appeal, consider drizzling chocolate syrup over the whipped topping before serving.
Experiment with your favorite flavors or toppings. Feel free to mix in different cookies or add a layer of caramel for a twist. Small changes can turn this poke cake into a new favorite!
Storing any leftovers? Make sure to keep the cake covered in the refrigerator. This will keep it fresh and maintain its creamy, enticing layers.
Oreo Poke Cake Perfection
Perfecting results
To ensure your Oreo poke cake turns out perfectly, focus on the baking time. Each oven performs differently, so keep an eye on the cake as it bakes. When the toothpick comes out clean, check the cake for doneness.
Cooling down the cake before poking ensures the pudding will not seep through too quickly. The cooler the cake, the better the layers of flavor will develop.
Troubleshooting/variations
If your poke cake comes out too dry, it likely baked too long. Keep the temperature consistent and use the toothpick method to check for doneness earlier.
For those who desire an even more decadent treat, consider adding a layer of chocolate ganache after the pudding. This additional step will elevate the cake and impress your guests.
Feeling adventurous? Swap the chocolate cake mix for vanilla or another flavor to experiment with new taste sensations. Just ensure that the pudding complements the cake—vanilla pudding can work wonderfully if you choose a different cake flavor.
Oreo Poke Cake Serving
Serving/presentation
Serving an Oreo poke cake is all about presentation. When ready to serve, slice it into squares and use a spatula to carefully lift each piece. The beautiful layers will wow your guests!
For an elegant touch, drizzle chocolate syrup over each slice just before serving. This not only enhances the visual appeal but also adds an extra layer of sweetness.
Consider garnishing each piece with a whole Oreo on top. This simple addition makes it look even more inviting and delicious. It’s a fantastic way to showcase the beloved cookie that inspired the dessert.
Pairings/storage
While there’s no need to complicate your dessert experience with pairings, consider enjoying your poke cake alongside a scoop of vanilla ice cream or a cup of coffee. The cake’s rich flavors perfectly complement these classic options.
For storage, keep your Oreo poke cake in an airtight container in the refrigerator. It remains delicious for several days, making it a great treat to have on hand.
After enjoying your poke cake, share it with friends or family. This dessert brings joy and sweet memories, making it perfect for gatherings or just a cozy night in.
Creating an Oreo poke cake is a delightful way to indulge in sweetness and connection. Each bite reminds us of shared moments and fresh memories made around the table. This recipe offers not just a dessert, but a chance to celebrate with loved ones. Enjoy the process and savor every spoonful of this beloved treat!
Print
Oreo Poke Cake
- Prep Time: 15 minutes
- Cook Time: 25 minutes
- Total Time: 40 minutes
- Yield: 12 servings
- Category: Dessert
- Method: Baking
- Cuisine: American
- Diet: Vegetarian
Description
A nostalgic dessert combining rich chocolate flavors with creamy layers, perfect for gatherings and celebrations.
Ingredients
- 1 box chocolate cake mix
- 1 cup water
- 1/2 cup vegetable oil
- 3 eggs
- 2 packages instant Oreo pudding mix (3.9 oz)
- 2 cups cold milk
- 1 container whipped topping (8 oz)
- 12 Oreos (crushed)
- Optional: Chocolate syrup for garnish
Instructions
- In a large bowl, combine the cake mix, water, vegetable oil, and eggs.
- Mix the ingredients until thoroughly combined, ensuring that there are no lumps.
- Pour the batter into the prepared baking pan.
- Bake for 25 minutes or until a toothpick inserted in the center comes out clean.
- After baking, allow the cake to cool completely.
- Poke holes all over the cooled cake using the handle of a wooden spoon.
- In a medium bowl, combine the pudding mix and cold milk.
- Whisk the mixture until smooth.
- Pour the pudding over the cake, spreading it evenly into the holes.
- Refrigerate the cake for one hour.
- Once chilled, spread whipped topping over the pudding layer.
- Top the whipped topping with crushed Oreos.
Notes
For added visual appeal, consider drizzling chocolate syrup over the whipped topping before serving. Store leftovers in an airtight container in the refrigerator.