📑 Table of Contents ▶
- Melt-in-Your-Mouth Chocolate Chip Cookie Bars: Recipe Fundamentals
- Fundamentals
- Preparation/Setup
- Directions
- Tips for Perfecting Cookie Bars
- Technique
- Tips/Tricks
- Perfecting Results with Chocolate Chip Cookie Bars
- Perfecting Results
- Troubleshooting/Variations
- The Art of Serving Chocolate Chip Cookie Bars
- Serving/Presentation
- Pairings/Storage
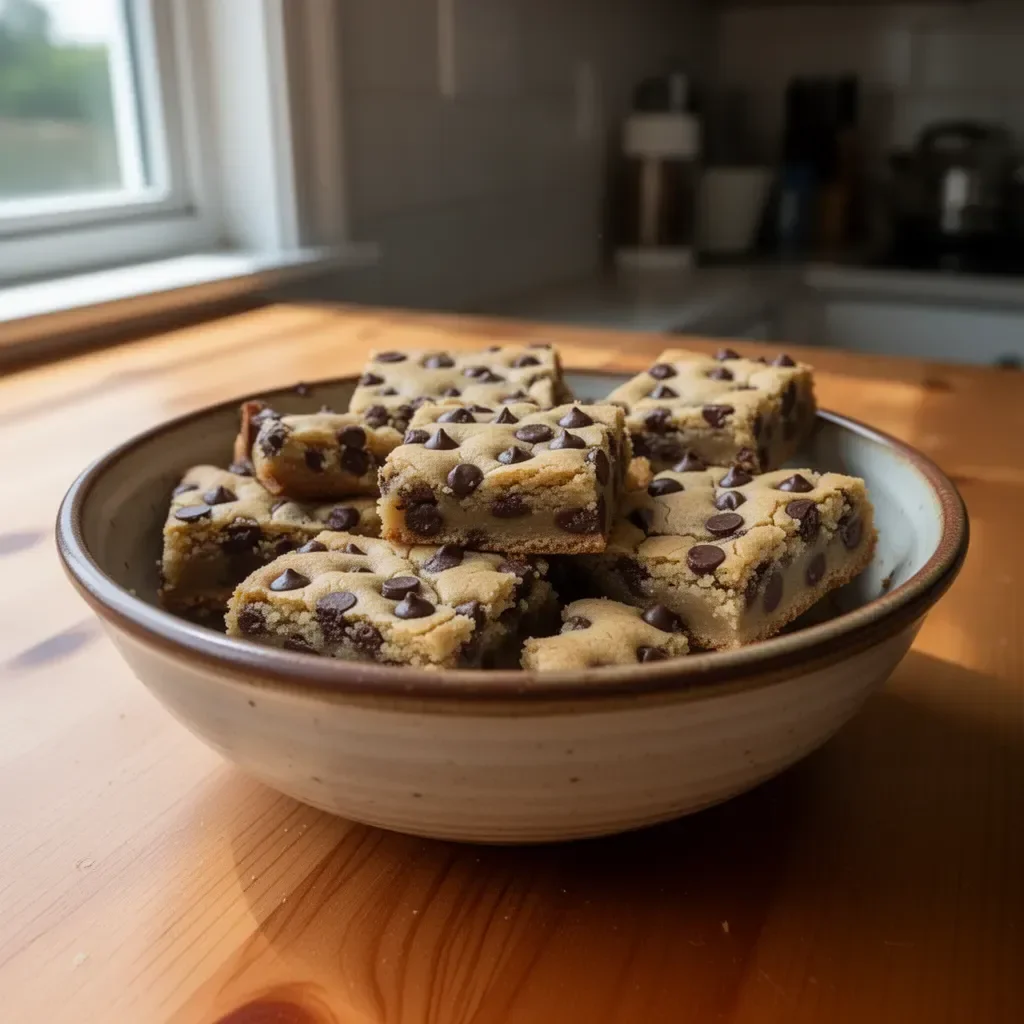
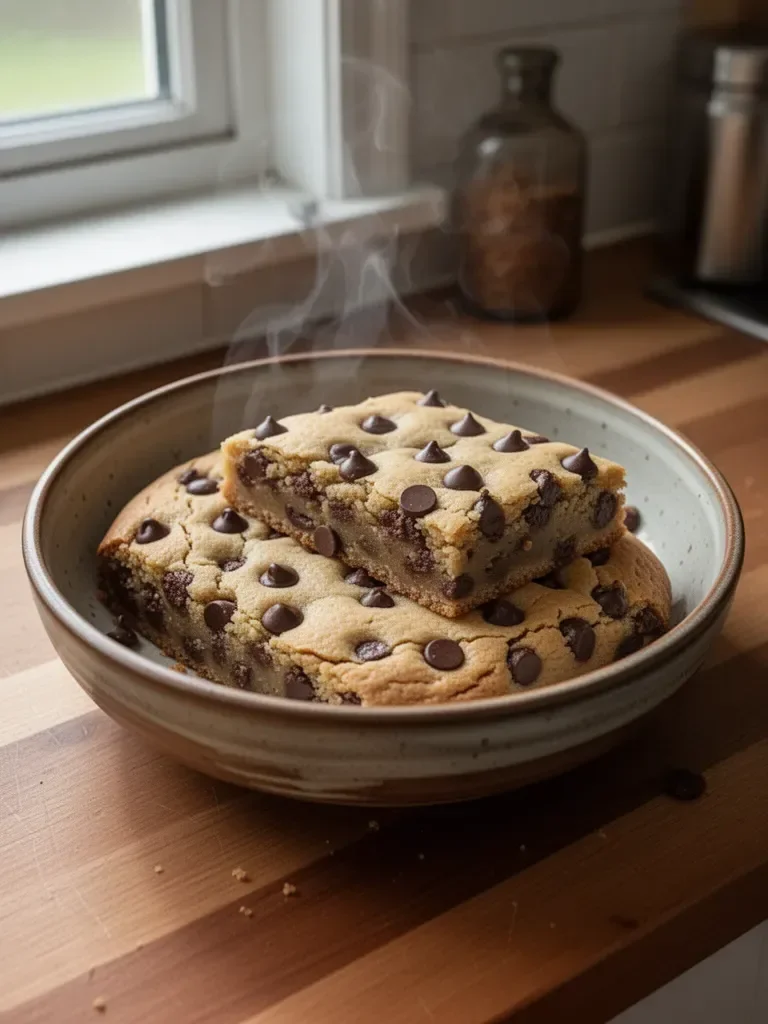
Melt-in-Your-Mouth Chocolate Chip Cookie Bars
I’m Della Lucia, and HealthyDinnerMeals was created from my belief that food should nourish both the body and the moments we share. My fondest memories come from simple homemade meals — not perfection, just comfort, connection, and care. Here, healthy eating stays approachable and satisfying, with recipes that fit real life: quick, flavorful, and balanced. Whether you’re cooking for yourself or loved ones, I hope these meals help you feel confident in the kitchen and inspired to enjoy every moment around the table.
Chocolate chip cookie bars hold a special place in my heart. Growing up, they always appeared at family gatherings, celebrations, and even during simple weekday dinners. The aroma wafting through the kitchen would draw everyone in, creating a sense of anticipation and joy. Each bar, with its soft, melt-in-your-mouth texture, delivers a comforting sweetness that lingers in your memory.
The combination of warm, rich chocolate and buttery sweetness makes these cookie bars irresistible. They serve as a delicious canvas for creativity—whether you choose to add in extras like nuts or dried fruits or simply enjoy them plain. However, the classic version shines with its balance of flavors and textures. This recipe captures that essence and allows anyone to recreate those delightful moments of indulgence at home.
So let’s dive into the wonderful world of chocolate chip cookie bars that are not only easy to make but also create cherished memories.
Melt-in-Your-Mouth Chocolate Chip Cookie Bars: Recipe Fundamentals
Fundamentals
Understanding the elements of chocolate chip cookie bars can elevate your baking game. The foundation lies in the balanced combination of sugars, butter, and the dry ingredients. Each plays a crucial role in developing flavor and texture. Butter brings richness, while the brown sugar adds depth and moisture. Granulated sugar contributes to a slight crispness on the edges.
The eggs provide structure and help bind the ingredients, creating that soft, chewy texture that everyone loves. Meanwhile, flour delivers the necessary bulk, but it’s how you handle the mixing that forms the final result. Gentle mixing ensures you avoid dense bars, which you want to steer clear of!
Preparation/Setup
Before you start, preheat your oven to 350°F (175°C). Getting this step right ensures your cookie bars bake evenly and achieve that perfect golden color. Prepare your 9×13-inch pan by lightly greasing it or lining it with parchment paper. This step is vital for easy removal of the bars post-baking, ensuring you can enjoy them without any hassle.
Gather all your ingredients in one spot to create a smooth baking process. This organizational strategy helps you stay focused and reduces the chance of forgetting any components. Using room temperature eggs can also make a difference in blending seamlessly into the batter.
Ingredients
For these delightful chocolate chip cookie bars, you will need:
- 1 cup (226g) unsalted butter, melted and slightly cooled
- 1 cup (200g) packed light brown sugar
- ½ cup (100g) granulated sugar
- 2 large eggs
- 2 teaspoons vanilla extract
- 2¼ cups (280g) all-purpose flour
- ½ teaspoon salt
- ½ teaspoon baking soda
- 2 cups (340g) semi-sweet chocolate chips
Directions
- Begin by whisking the melted butter, brown sugar, and granulated sugar together in a large bowl until you achieve a smooth mixture.
- Add the eggs and vanilla extract to the bowl, whisking until the mixture is fully combined.
- In a separate bowl, mix the all-purpose flour, salt, and baking soda.
- Gradually stir the dry ingredients into the wet mixture using a spatula, mixing just until no streaks of flour remain—be careful not to overmix.
- Gently fold in the chocolate chips, ensuring they spread evenly throughout the dough.
- Transfer the dough into your prepared pan, smoothing the surface with your hands or a spatula.
- Bake for 28–32 minutes or until the top looks lightly golden, and a toothpick inserted in the center comes out clean or with moist crumbs, not wet batter.
- Let the cookie bars cool in the pan for at least 20 minutes before cutting into squares.
Tips for Perfecting Cookie Bars
Technique
Mastering the technique for chocolate chip cookie bars is essential. One of the best practices is to avoid overmixing your batter. Gentle folding and stirring create a tender texture. Once you add the flour, treat it delicately. This step maintains that melt-in-your-mouth quality that everyone adores.
Another technique is to use melted butter instead of softened butter. Melting the butter not only saves time but also impacts the texture, resulting in richer, denser bars. This method contributes to the soft and chewy consistency once baked.
Tips/Tricks
Here are some tips to enhance your baking:
- Allow your melted butter to cool slightly before mixing it with sugars to ensure you don’t cook the eggs when blending.
- If you prefer a richer taste, consider using dark chocolate chips instead of semi-sweet. This subtle change can elevate the flavor profile.
- For added texture, incorporate chopped walnuts or pecans into the chocolate chip dough. These can introduce a delightful crunch that contrasts with the soft bars.
- If you want a gourmet touch, sprinkle a bit of sea salt on top before baking. This enhances the chocolate flavor and adds an exciting contrast.
Perfecting Results with Chocolate Chip Cookie Bars
Perfecting Results
Achieving that ideal melt-in-your-mouth texture depends on a few nuances in your baking process. First, ensure your oven is calibrated correctly. An inaccurate temperature can lead to undercooked or overly dry bars. Using an oven thermometer can help you achieve the perfect baking conditions.
Second, let the cookie bars cool before you cut into them. Cutting them too soon may lead to messy, crumbly pieces. Allowing them to rest helps the bars set up perfectly.
Troubleshooting/Variations
Should you encounter any issues while baking, here are some solutions:
- If your bars are turning out too cakey, you might be mixing too vigorously or adding too much flour. Be gentle and measure accurately.
- In case they are spreading too much in the oven, consider chilling the dough for at least 30 minutes before baking. This step helps solidify the butter and leads to thicker bars.
- Feel free to modify your flavorings to keep things exciting! Add cinnamon for a warm spice or even a splash of espresso powder to enhance the chocolate flavor.
The Art of Serving Chocolate Chip Cookie Bars
Serving/Presentation
Presenting your chocolate chip cookie bars beautifully can elevate their appeal. Cut them into neat squares for a classic presentation, or try triangles for a change. You can also serve them warm with a scoop of ice cream on the side. This delightful combination creates a dessert experience that feels special, even on an ordinary day.
Consider placing the bars on a decorative platter, topped with a light dusting of powdered sugar for a touch of elegance. Pair them with fresh seasonal berries for added color and freshness on your dessert table.
Pairings/Storage
Chocolate chip cookie bars pair wonderfully with a range of accompaniments. A glass of cold milk complements the rich flavors perfectly, making it an all-time favorite for kids and adults alike. For a unique twist, enjoy these bars with a scoop of homemade vanilla ice cream or even whipped cream.
When it comes to storage, keep your cookie bars in an airtight container to maintain their freshness. They typically last up to a week, if they even last that long! For longer storage, consider freezing the bars. Wrap individual pieces in plastic wrap and then place them in a freezer-safe bag. They can stay frozen for up to three months.
Baking chocolate chip cookie bars combines love, creativity, and delight. With this recipe, they’ll melt in your mouth and take you down memory lane. Enjoy every moment of this delicious journey!
Print
Melt-in-Your-Mouth Chocolate Chip Cookie Bars
- Prep Time: 10 minutes
- Cook Time: 32 minutes
- Total Time: 42 minutes
- Yield: 16 servings
- Category: Dessert
- Method: Baking
- Cuisine: American
- Diet: Vegetarian
Description
These chocolate chip cookie bars are soft, chewy, and melt-in-your-mouth delicious, perfect for gatherings or a simple weekday treat.
Ingredients
- 1 cup (226g) unsalted butter, melted and slightly cooled
- 1 cup (200g) packed light brown sugar
- ½ cup (100g) granulated sugar
- 2 large eggs
- 2 teaspoons vanilla extract
- 2¼ cups (280g) all-purpose flour
- ½ teaspoon salt
- ½ teaspoon baking soda
- 2 cups (340g) semi-sweet chocolate chips
Instructions
- Whisk the melted butter, brown sugar, and granulated sugar together in a large bowl until you achieve a smooth mixture.
- Add the eggs and vanilla extract to the bowl, whisking until the mixture is fully combined.
- Mix the all-purpose flour, salt, and baking soda in a separate bowl.
- Gradually stir the dry ingredients into the wet mixture using a spatula, mixing just until no streaks of flour remain—be careful not to overmix.
- Fold in the chocolate chips, ensuring they spread evenly throughout the dough.
- Transfer the dough into your prepared pan, smoothing the surface with your hands or a spatula.
- Bake for 28–32 minutes or until the top looks lightly golden, and a toothpick inserted in the center comes out clean or with moist crumbs, not wet batter.
- Let the cookie bars cool in the pan for at least 20 minutes before cutting into squares.
Notes
For added flavor, sprinkle sea salt on top before baking or mix in some nuts.