📑 Table of Contents ▶
- Part 1 — Korean Fried Chicken Fundamentals
- Fundamentals
- Preparation/setup
- Directions
- Part 2 — Perfecting Korean Fried Chicken Technique
- Technique
- Tips/tricks
- Part 3 — Achieving Perfect Results with Korean Fried Chicken
- Perfecting results
- Troubleshooting/variations
- Part 4 — Serving Korean Fried Chicken
- Serving/presentation
- Pairings/storage
- Conclusion
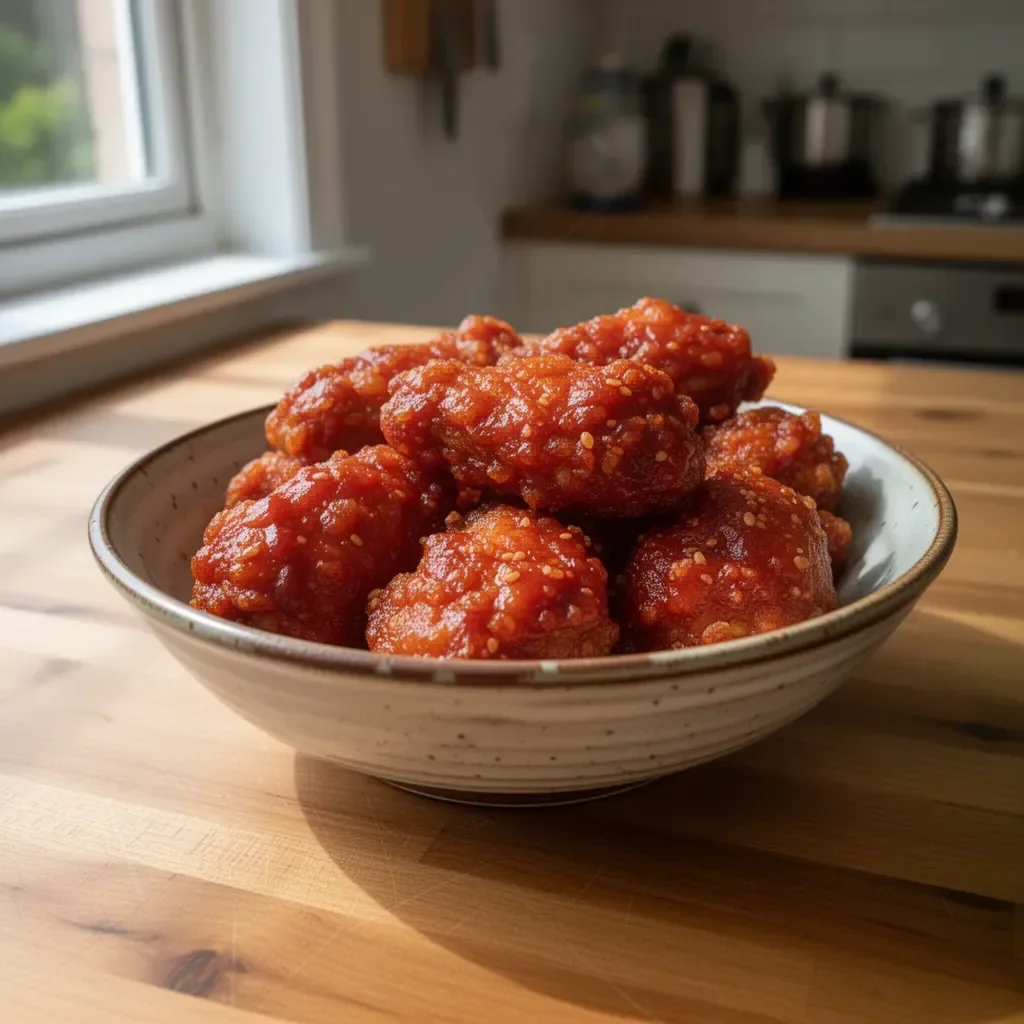
Korean Fried Chicken
I’m Della Lucia, and HealthyDinnerMeals was created from my belief that food should nourish both the body and the moments we share. My fondest memories come from simple homemade meals — not perfection, just comfort, connection, and care. Here, healthy eating stays approachable and satisfying, with recipes that fit real life: quick, flavorful, and balanced. Whether you’re cooking for yourself or loved ones, I hope these meals help you feel confident in the kitchen and inspired to enjoy every moment around the table.
Korean fried chicken holds a special place in the hearts of many, including mine. Crispy on the outside and tender on the inside, each bite bursts with flavor. This dish evokes memories of vibrant meals shared with family and friends, where laughter fills the air, and nothing else matters but the food before you. The unique blend of spices combined with the extra crispy texture creates an experience that is truly unforgettable.
In this recipe, you’ll discover how to bring the magic of Korean fried chicken to your home. Using simple ingredients, you can create a dish that impresses everyone at your dining table. The easy-to-follow steps ensure that you can whip up this delicious chicken whether for a weeknight dinner or a weekend gathering.
Let’s dive into the world of Korean fried chicken and create something exceptional!
Part 1 — Korean Fried Chicken Fundamentals
Fundamentals
Korean fried chicken has roots steeped in tradition. This dish differs significantly from American fried chicken, primarily due to its unique batter and frying technique. Achieving the perfect texture plays a crucial role in providing that satisfying crunch.
The brining process infuses flavor and moisture into the chicken. This step is vital in ensuring you serve perfectly juicy wings that tantalize the taste buds.
Preparation/setup
Before diving into cooking, prepare everything you need. You’ll start by brining the chicken, a step that requires forethought. Mix salt, Korean chili powder, and garlic powder in a large bowl filled with cold water. Stir until the salt dissolves thoroughly. Submerge your chicken in this brine and refrigerate it for at least 8 hours.
After the brining process, organize your battering station. Place a plate to hold the chicken after brining, and set up a separate bowl for mixing the Korean fried chicken mix with cold water.
Ingredients
Here’s what you’ll need to create this mouthwatering dish:
- 16 chicken wingettes (or drumettes)
- 500 g cold water (about 2 cups) for brining
- 15 g salt (about 2½ tsp)
- 1 tsp Korean chili powder
- ½ tsp garlic powder (or 1 tsp of freshly chopped garlic)
- 240 g Korean fried chicken mix (for the batter)
- 240 g cold water (1 cup) for batter
- 240 g Korean fried chicken mix (for dredging)
- Vegetable oil for frying (fill the medium pot half full)
For the sauce:
- 3 tbsp gochujang
- ½ tbsp Korean chili powder
- 1 tbsp soy sauce
- 2 tbsp ketchup
- 4 tbsp honey (or light corn syrup)
- 1 tbsp apple cider vinegar
- 1 tbsp lemon juice
- 2 tsp minced garlic
- 1 tsp minced ginger
- 1 tsp sesame seeds
Directions
-
Start by mixing the salt, Korean chili powder, and garlic powder in a large bowl filled with cold water. Stir until dissolved. Submerge the chicken in the saltwater and refrigerate it for at least 8 hours.
-
Remove the chicken from the brine and place it on a plate. In a separate bowl, mix the Korean fried chicken mix with cold water until combined.
-
Coat each piece of chicken in the batter. Next, dredge the chicken in the additional Korean fried chicken mix by placing it in a Ziploc bag. Seal the bag and shake to coat the chicken evenly.
-
Heat oil in a heavy-bottomed pot to 320°F. Fry the chicken for about 3 minutes until it turns a beautiful golden brown. Carefully drain the chicken on a wire rack.
-
Increase the oil temperature to 355°F and fry the chicken again for an additional minute. This step ensures maximum crispiness.
-
In a separate nonstick pan, mix all sauce ingredients and simmer until bubbly. Toss the fried chicken in this flavorful sauce and serve hot.
Part 2 — Perfecting Korean Fried Chicken Technique
Technique
Mastering the frying technique transforms ordinary chicken into extraordinary Korean fried chicken. Double frying is a traditional method used to achieve that coveted crunch. The first fry cooks the chicken through, while the second fry crisps the exterior. Don’t skip this step!
Make sure the oil temperature is precise for robust frying results. Using a thermometer can help maintain the right heat. When frying, place the chicken pieces in the oil without overcrowding the pot. Leave enough space to allow proper circulation, which promotes an even cook.
Tips/tricks
For the crispiest exterior, consistency in coating is crucial. The chicken should be evenly covered in the batter and dredging mix. Avoid excessive batter on any single piece to achieve a more even frying process.
If you desire an extra spicy kick, adjust the quantity of gochujang and Korean chili powder in your sauce. Feel free to personalize the flavor according to your taste preferences while retaining authentic Korean elements.
Part 3 — Achieving Perfect Results with Korean Fried Chicken
Perfecting results
Perfecting your Korean fried chicken takes practice, but the result pays off. Monitor the frying times closely for optimal results. The first frying step usually takes about 3 minutes, while the second should just be a minute longer to achieve that golden, crispy texture.
Timing plays a critical role in balancing cooking and crispness. When frying, avoid splashing oil by placing the chicken gently in the pot. The savory aroma of chicken frying adds to the experience, marking your home with delightful scents of Korean cuisine.
Troubleshooting/variations
If you notice that the batter doesn’t stick well, check the brining step. Properly brined chicken provides a better surface for the coating to adhere. Adjust brining times if necessary.
For a gluten-free version, substitute the Korean fried chicken mix with a compatible gluten-free alternative. Always read ingredient labels when shopping to ensure you maintain flavor without gluten.
Part 4 — Serving Korean Fried Chicken
Serving/presentation
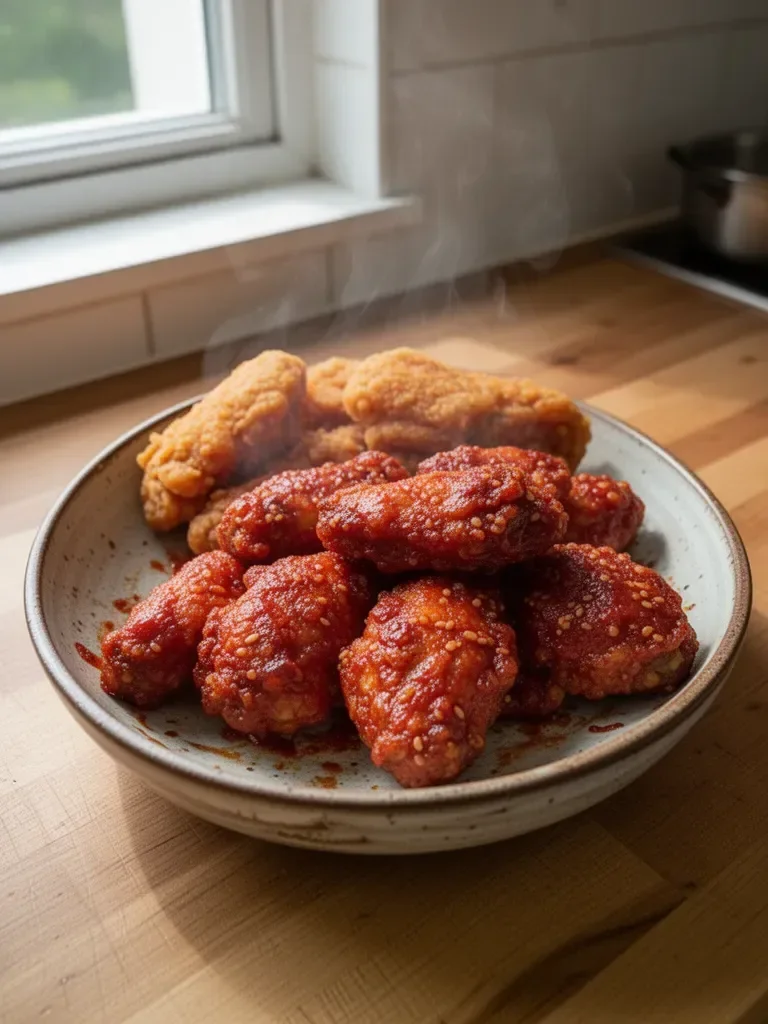
The presentation of your Korean fried chicken can elevate the dining experience. Serve the chicken hot, garnished with minced green onions or additional sesame seeds for an appealing look.
Plate the chicken over a bed of lettuce or alongside traditional Korean sides like pickled vegetables. This adds contrast and refreshes the palate. Enjoy as a flavorful centerpiece during gatherings or casual family dinners.
Pairings/storage
Korean fried chicken pairs beautifully with a range of side dishes. Consider serving it with crispy Asian slaw, steamed rice, or even homemade pickled cucumbers. It provides a delightful balance to the dish while enhancing your meal presentation.
For leftovers, store any uneaten chicken in an airtight container in the refrigerator. To maintain crispiness, reheat in an oven for several minutes instead of a microwave. This way, the chicken stays crunchy, ensuring a satisfying bite each time.
Conclusion
Korean fried chicken embodies the joy of cooking and sharing delicious food with loved ones. Its delightful crunch and rich flavors make it a standout dish that everyone will love, no matter the occasion. Each layer of preparation brings you closer to experiencing the comforting warmth of home-cooked meals with a Korean twist. Follow the steps outlined in this recipe, and you will create something truly spectacular that evokes cherished memories and celebrates delicious flavors.
Print
Korean Fried Chicken
- Prep Time: 480 minutes
- Cook Time: 8 minutes
- Total Time: 488 minutes
- Yield: 4 servings
- Category: Main Course
- Method: Frying
- Cuisine: Korean
- Diet: Gluten-Free Option Available
Description
Crispy on the outside and tender on the inside, this Korean fried chicken is bursting with flavor, making it a perfect dish for any gathering.
Ingredients
- 16 chicken wingettes (or drumettes)
- 500 g cold water (about 2 cups) for brining
- 15 g salt (about 2½ tsp)
- 1 tsp Korean chili powder
- ½ tsp garlic powder (or 1 tsp of freshly chopped garlic)
- 240 g Korean fried chicken mix (for the batter)
- 240 g cold water (1 cup) for batter
- 240 g Korean fried chicken mix (for dredging)
- Vegetable oil for frying (fill the medium pot half full)
- 3 tbsp gochujang (for the sauce)
- ½ tbsp Korean chili powder
- 1 tbsp soy sauce
- 2 tbsp ketchup
- 4 tbsp honey (or light corn syrup)
- 1 tbsp apple cider vinegar
- 1 tbsp lemon juice
- 2 tsp minced garlic
- 1 tsp minced ginger
- 1 tsp sesame seeds
Instructions
- Start by mixing the salt, Korean chili powder, and garlic powder in a large bowl filled with cold water. Stir until dissolved. Submerge the chicken in the saltwater and refrigerate it for at least 8 hours.
- Remove the chicken from the brine and place it on a plate. In a separate bowl, mix the Korean fried chicken mix with cold water until combined.
- Coat each piece of chicken in the batter. Next, dredge the chicken in the additional Korean fried chicken mix by placing it in a Ziploc bag. Seal the bag and shake to coat the chicken evenly.
- Heat oil in a heavy-bottomed pot to 320°F. Fry the chicken for about 3 minutes until it turns a beautiful golden brown. Carefully drain the chicken on a wire rack.
- Increase the oil temperature to 355°F and fry the chicken again for an additional minute for maximum crispiness.
- In a separate nonstick pan, mix all sauce ingredients and simmer until bubbly. Toss the fried chicken in this flavorful sauce and serve hot.
Notes
For extra crispiness, ensure the chicken is evenly coated and avoid overcrowding the pot while frying.