📑 Table of Contents ▶
- Part 1 — Creating Your Mini Lemon Meringue Tarts
- Fundamentals
- Preparation/setup
- Directions
- Part 2 — Mastering Techniques for the Best Tarts
- Technique
- Tips/tricks
- Part 3 — Achieving the Perfect Tart Every Time
- Perfecting results
- Troubleshooting/variations
- Part 4 — Serving and Storing Your Tarts
- Serving/presentation
- Pairings/storage
- Conclusion
Mini Lemon Meringue Tarts
I’m Della Lucia, and HealthyDinnerMeals was created from my belief that food should nourish both the body and the moments we share. My fondest memories come from simple homemade meals — not perfection, just comfort, connection, and care. Here, healthy eating stays approachable and satisfying, with recipes that fit real life: quick, flavorful, and balanced. Whether you’re cooking for yourself or loved ones, I hope these meals help you feel confident in the kitchen and inspired to enjoy every moment around the table.
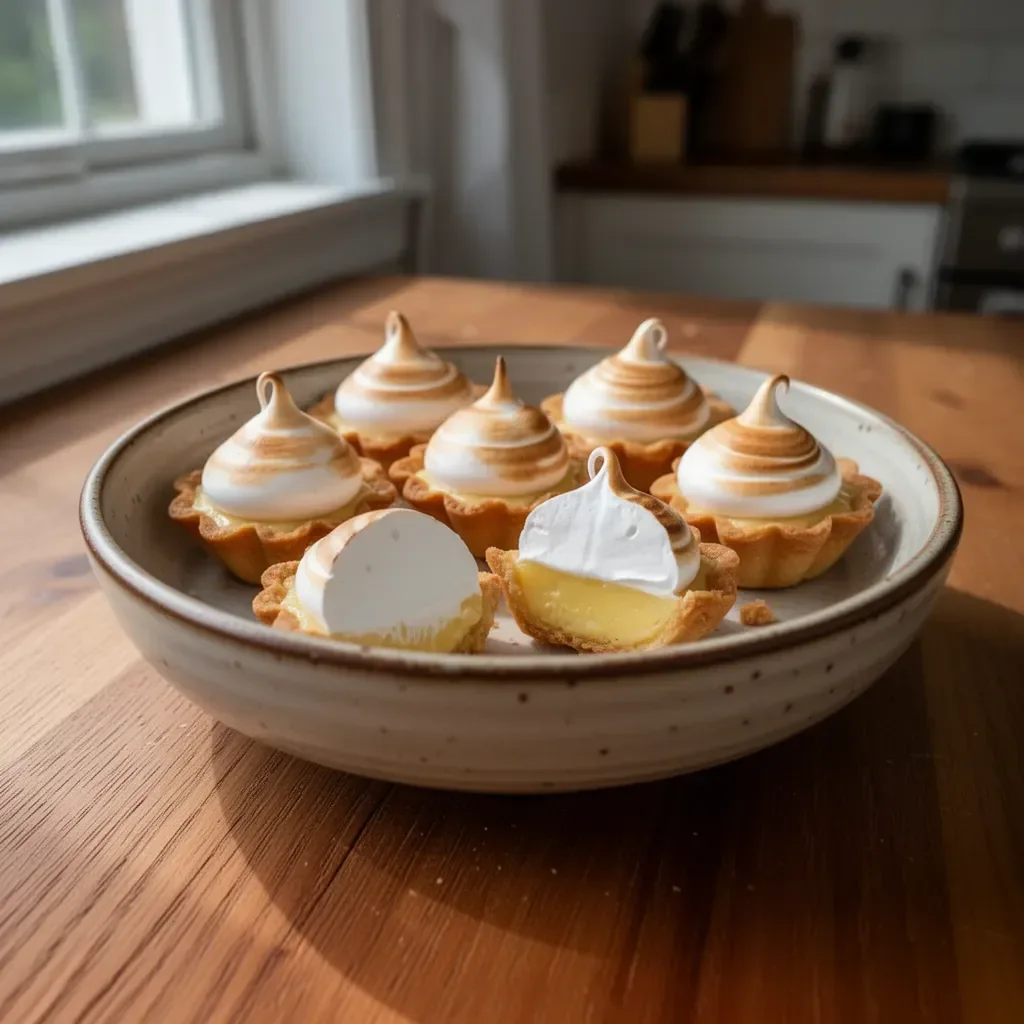
There’s something irresistibly delightful about the bright tartness of lemon combined with the creamy richness of meringue. Mini lemon meringue tarts evoke memories of sunny afternoons, laughter, and shared stories. These little treats are perfect for any occasion, be it a casual family gathering or a formal celebration. They offer a burst of flavor and a beautiful presentation that impresses anyone lucky enough to get a taste.
Creating mini lemon meringue tarts can feel like a daunting task. However, once you roll up your sleeves and dive into the process, you’ll discover that it’s incredibly rewarding. The crisp tart shell, the luscious lemon filling, and the fluffy meringue on top bring a delicious balance to each bite, creating a sweet experience that lingers long after the last crumb is gone.
Every element in these mini tarts plays a vital role, from the buttery crust to the tangy lemon curd, topped with the cloud-like meringue. Let’s explore how to make these tarts, which will surely become a favorite for anyone who enjoys a sweet and zesty dessert.
Part 1 — Creating Your Mini Lemon Meringue Tarts
Fundamentals
Mini lemon meringue tarts consist of three essential components: the tart crust, lemon curd filling, and meringue topping. Each part contributes to the overall texture and flavor of the dessert. The earthy, buttery tart crust serves as the foundational layer. It holds the tart together while providing a delicious contrast to the bright lemon curd. This creamy filling brings zest and vibrancy, and the meringue adds an airy sweetness that perfectly balances the tartness of the lemon.
Preparation/setup
Begin by preparing your kitchen with all the necessary tools and ingredients. Gather your mixing bowls, spatula, rolling pin, tart tins, and a saucepan. Having everything on hand before you start makes the process smoother and more enjoyable. Preheat your oven to 350°F (175°C) once you gather your ingredients, allowing it to be ready when needed.
Ingredients
For the tart crust:
- 200 g unsalted butter
- 100 g superfine sugar
- 1 extra-large egg
- 1 extra-large egg yolk
- 1 tsp vanilla extract
- ½ tsp salt
- 350 g cake flour
- 20 g unsalted butter (melted, for brushing tart tins)
For the lemon curd filling:
- 2 tins condensed milk (385 g per tin)
- 3 extra-large egg yolks
- 80 ml lemon juice
- 1 tbsp lemon zest
For the meringue:
- 4 extra-large egg whites
- 200 g superfine sugar (for meringue)
Directions
-
Prepare the tart crust: In a mixing bowl, blend the butter and superfine sugar until creamy. Incorporate the egg, egg yolk, vanilla extract, and salt, mixing until smooth. Gradually add the cake flour until the dough forms. Chill for 30 minutes.
-
Shape and bake: Roll out the chilled dough and cut it into circles to fit your tart tins. Gently press the dough into the tins and brush with melted butter. Bake for about 15 minutes, or until golden. Allow cooling before filling.
-
Make the lemon curd filling: In a saucepan, combine the condensed milk, egg yolks, lemon juice, and lemon zest. Cook over low heat, stirring continuously until thickened. Pour into the cooled tart shells.
-
Prepare the meringue: In a clean bowl, whip the egg whites until frothy, then gradually add the superfine sugar until stiff peaks form. Spread the meringue over the lemon curd filling, ensuring it seals the edges.
-
Bake the meringue: Place the tarts back in the oven at 350°F (175°C) for about 10 minutes or until the meringue is lightly browned. Remove and cool before serving.
Part 2 — Mastering Techniques for the Best Tarts
Technique
Creating mini lemon meringue tarts is all about mastering the techniques. Ensure your butter is at the right temperature—softened but not melted—for the tart crust. Creaming together the butter and sugar transforms the mixture into a light and fluffy texture, essential for a tender, flaky crust. When preparing the lemon curd, it’s crucial to maintain low heat while stirring. This approach prevents curdling and allows the pudding to thicken evenly.
Tips/tricks
Here are some handy tips to improve your mini lemon meringue tart-making experience:
-
Chilling the dough: Allowing the dough to chill not only makes it easier to roll out but also aids in creating a flakier crust.
-
Preventing cracks: When spreading the meringue, ensure it seals the edges of the tart. This step helps prevent cracking as it bakes.
-
Using fresh lemon: Fresh lemon juice and zest provide a more vibrant flavor than bottled alternatives.
-
Whipping egg whites: Ensure your mixing bowl is completely clean and dry when whipping egg whites. Any grease or moisture can hinder the formation of stiff peaks.
Part 3 — Achieving the Perfect Tart Every Time
Perfecting results
Perfecting your mini lemon meringue tarts comes with practice. Pay attention to how the crust browns; it should be golden and firm. The lemon curd should be silky smooth without chunks, signaling that you’ve cooked it correctly. Lastly, the meringue should be fluffy and glossy before you bake it to a gentle golden hue.
Troubleshooting/variations
Sometimes, even with the best intentions, things might not turn out as planned. Here are some troubleshooting tips:
- If your crust is too crumbly, try adding a bit of cold water as you mix to help bring it together.
- If the lemon curd is too runny, increase the cooking time, stirring constantly, till it thickens to the desired consistency.
- Don’t worry if the meringue shrinks slightly after baking; it’s a common occurrence.
Variations can also add excitement to your tarts. You could try incorporating different citrus fruits, like lime or orange, for a unique twist on the traditional recipe.
Part 4 — Serving and Storing Your Tarts
Serving/presentation
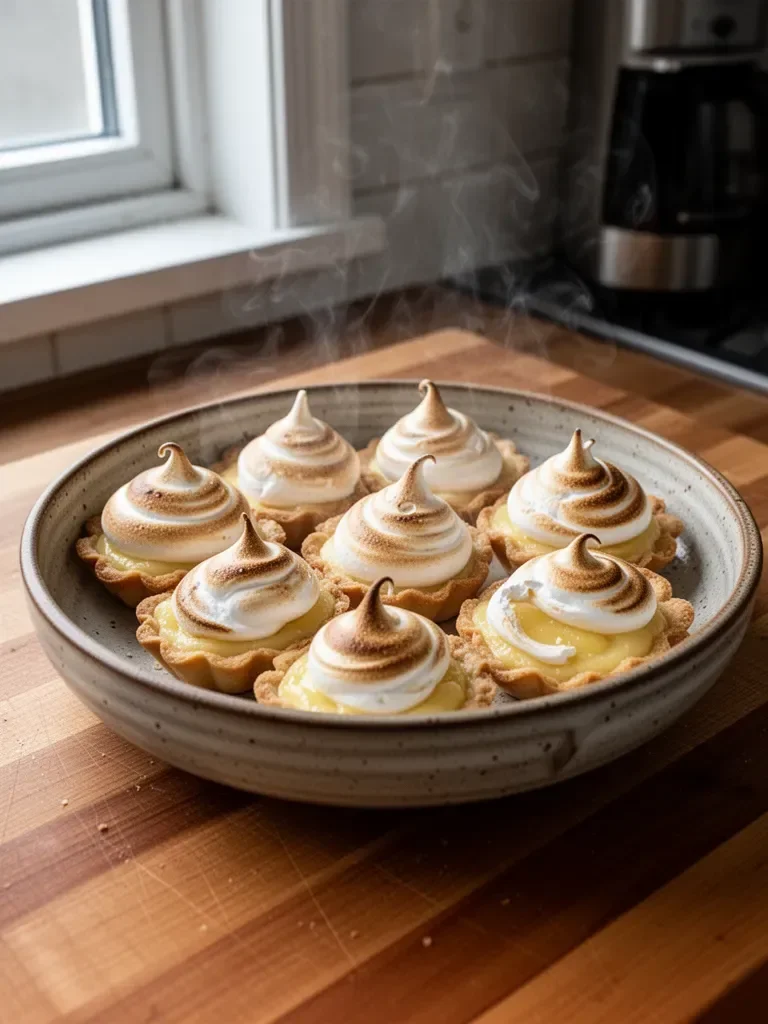
To serve your mini lemon meringue tarts, place them on a beautiful platter or individual dessert plates for an elegant touch. Garnish with additional lemon zest or a sprinkle of finely chopped mint leaves for added color and flavor. The contrast of colors in these tarts makes them visually appealing, enhancing the overall dining experience.
Pairings/storage
These delightful mini lemon meringue tarts are best enjoyed fresh. If you have leftovers, store them in an airtight container in the refrigerator for up to two days. For a cozy, delightful touch, pair them with a cup of your favorite herbal tea or a refreshing iced beverage.
Offering these mini tarts at gatherings will undoubtedly make everyone smile while they savor the luscious flavors. The combination of the buttery crust, zesty lemon filling, and airy meringue creates a delightful experience you’ll want to share with friends and family.
Conclusion
The journey of making mini lemon meringue tarts is as delightful as the final product. Each step from creating the buttery crust to whipping fluffy meringue feels rewarding, especially when you share these treats with others. The wonderful balance of flavors makes these tarts a perfect dessert for any occasion. Rather than simply being a recipe, crafting these mini tarts becomes a warm memory, filled with laughter and joy. The experience embodies comfort and connection, reminding us of the beauty found in simple, home-cooked meals.
Print
Mini Lemon Meringue Tarts
- Prep Time: 30 minutes
- Cook Time: 25 minutes
- Total Time: 55 minutes
- Yield: 12 servings
- Category: Dessert
- Method: Baking
- Cuisine: American
- Diet: Vegetarian
Description
Delightful mini lemon meringue tarts with a buttery crust, zesty lemon curd filling, and fluffy meringue topping, perfect for any occasion.
Ingredients
- 200 g unsalted butter
- 100 g superfine sugar
- 1 extra-large egg
- 1 extra-large egg yolk
- 1 tsp vanilla extract
- ½ tsp salt
- 350 g cake flour
- 20 g unsalted butter (melted, for brushing tart tins)
- 2 tins condensed milk (385 g per tin)
- 3 extra-large egg yolks
- 80 ml lemon juice
- 1 tbsp lemon zest
- 4 extra-large egg whites
- 200 g superfine sugar (for meringue)
Instructions
- Prepare the tart crust: In a mixing bowl, blend the butter and superfine sugar until creamy. Incorporate the egg, egg yolk, vanilla extract, and salt, mixing until smooth. Gradually add the cake flour until the dough forms. Chill for 30 minutes.
- Shape and bake: Roll out the chilled dough and cut it into circles to fit your tart tins. Gently press the dough into the tins and brush with melted butter. Bake for about 15 minutes, or until golden. Allow cooling before filling.
- Make the lemon curd filling: In a saucepan, combine the condensed milk, egg yolks, lemon juice, and lemon zest. Cook over low heat, stirring continuously until thickened. Pour into the cooled tart shells.
- Prepare the meringue: In a clean bowl, whip the egg whites until frothy, then gradually add the superfine sugar until stiff peaks form. Spread the meringue over the lemon curd filling, ensuring it seals the edges.
- Bake the meringue: Place the tarts back in the oven at 350°F (175°C) for about 10 minutes or until the meringue is lightly browned. Remove and cool before serving.
Notes
Allow the dough to chill for easier rolling and a flakier crust. Using fresh lemon juice enhances flavor significantly.