
📑 Table of Contents ▶
- Traditional Filipino Spring Rolls: Fundamentals
- Fundamentals
- Preparation/setup
- Directions
- Perfecting Traditional Filipino Spring Rolls: Technique
- Technique
- Tips/tricks
- Engaging with Traditional Filipino Spring Rolls: Perfecting Results
- Perfecting results
- Troubleshooting/variations
- Serving and Storing Traditional Filipino Spring Rolls
- Serving/presentation
- Pairings/storage
Traditional Filipino Spring Rolls
I’m Della Lucia, and HealthyDinnerMeals was created from my belief that food should nourish both the body and the moments we share. My fondest memories come from simple homemade meals — not perfection, just comfort, connection, and care. Here, healthy eating stays approachable and satisfying, with recipes that fit real life: quick, flavorful, and balanced. Whether you’re cooking for yourself or loved ones, I hope these meals help you feel confident in the kitchen and inspired to enjoy every moment around the table.
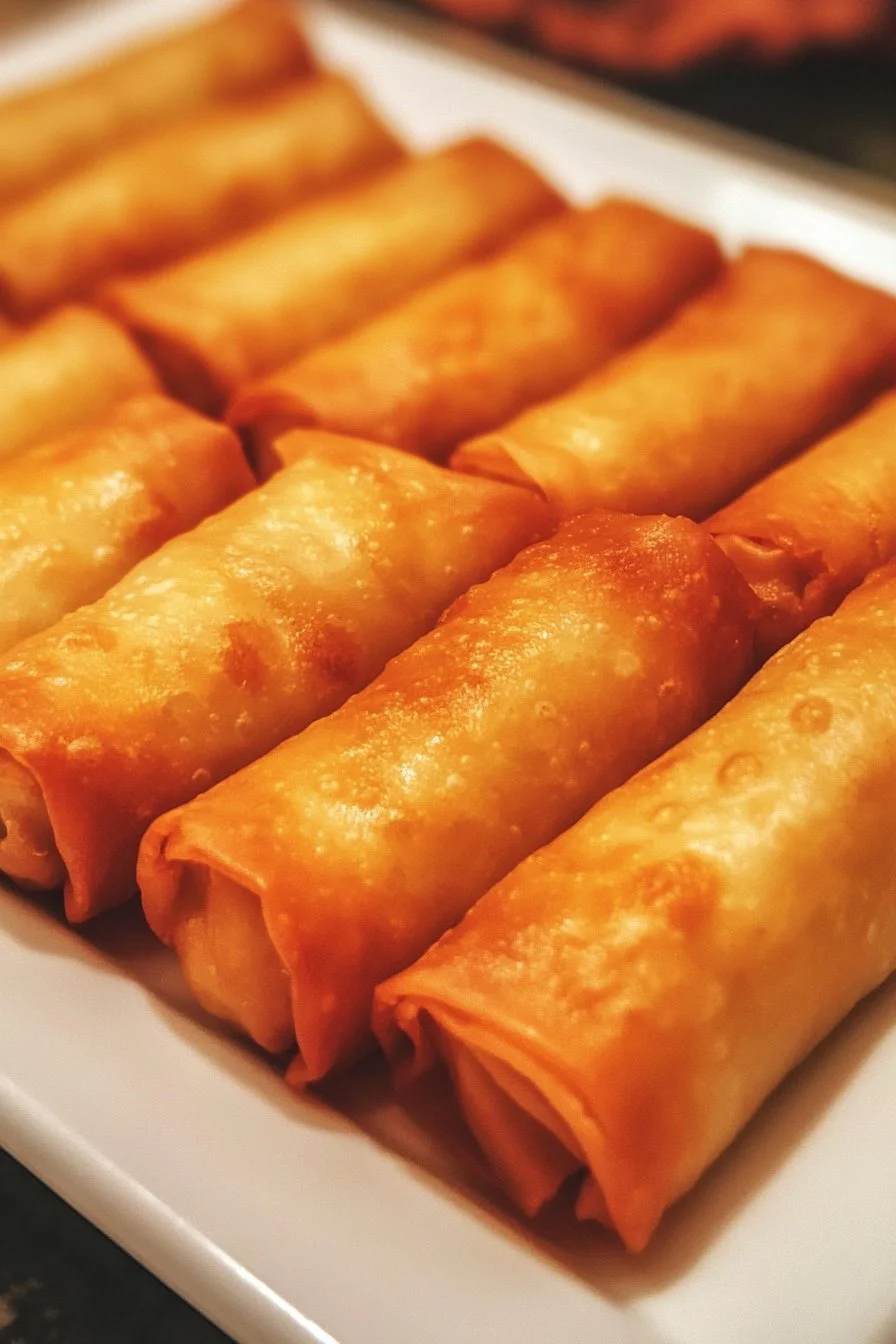
Unforgettable moments often circle around delicious food, and traditional Filipino spring rolls stand out as a favorite. These delightful bites bring the family together and tell a story through every bite. The satisfaction of crafting your spring rolls from scratch involves not just the cooking process, but also the love and care that goes into making them.
With a blend of ground chicken, colorful vegetables, and a crisp wrapper, each spring roll becomes a crunchy vessel of flavor. The savory aroma fills the air as they fry to golden perfection. Enjoying these rolls is more than just a meal; it’s an experience shared around the table, a way to connect with culture, family, and friends.
Every aspect, from the choice of ingredients to the final folding technique, leads to spring rolls that excite the palate. Embrace the joy of cooking and making these traditional Filipino spring rolls a staple in your home.
Traditional Filipino Spring Rolls: Fundamentals
Fundamentals
Traditional Filipino spring rolls, locally known as "lumpia," embody the spirit of comfort food. They blend simple, wholesome ingredients, wrapped in thin sheets that turn wonderfully crispy when fried. Their versatile nature allows you to adjust flavors to your liking, yet the essence remains the same.
Making spring rolls can seem daunting, but the process is straightforward. The main focus remains on combining ground chicken with finely chopped vegetables, creating a filling that is both nutritious and delicious. This balance of protein and veggies adds flavor, texture, and color to each bite.
Preparation/setup
Before diving into the cooking process, gather all necessary ingredients and tools. Ensure you have a clean working surface, a large mixing bowl, and a frying pan ready to go. Preparation is key for a smooth flow while assembling your spring rolls.
Defrost the spring roll wrappers and lay them out on a clean surface. Organize your filling ingredients into clear bowls, making it easy to scoop and fill each wrapper. This organized approach minimizes stress and enhances your cooking experience.
Ingredients
Get ready to gather these ingredients for traditional Filipino spring rolls:
- 1 lb ground chicken
- 1 cup finely chopped carrots
- 1 cup finely chopped green beans
- 1 cup shredded cabbage
- 3 green onions, chopped
- 2 cloves garlic, minced
- 1 egg
- 1 package spring roll wrappers
- Cooking oil for frying
- Salt and pepper to taste
Sound simple? That’s because it is! The brilliance of spring rolls lies in the freshness of the ingredients, where every element contributes to the overall flavor profile.
Directions
- In a large mixing bowl, combine the ground chicken, carrots, green beans, cabbage, green onions, garlic, and the egg. Season with salt and pepper. Mix thoroughly until evenly combined.
- Take a spring roll wrapper and lay it flat on a clean surface, with one corner pointing towards you. Scoop a tablespoon of filling onto the wrapper, placing it just above the center.
- Fold the bottom corner over the filling, then fold in the sides. Roll tightly to secure the filling.
- Dip your finger in water and moisten the top corner to seal. Repeat this process until all the filling is wrapped.
- Heat a generous amount of oil in a frying pan over medium heat. Fry the spring rolls in batches until golden brown and crispy on all sides.
- Remove the rolls from the pan and place them on a plate lined with paper towels to absorb excess oil.
Perfecting Traditional Filipino Spring Rolls: Technique
Technique
The technique behind folding and frying spring rolls can significantly impact your results. Efficiently rolling the wrappers ensures that each spring roll retains its filling while cooking.
Start by placing just enough filling on the wrapper; overfilling can cause tears. Firmly pressing the wrapper as you roll will help to keep everything intact and neat. Also, seal each roll properly by moistened fingers; this simple step makes all the difference between crispy perfection and an unraveling mess.
Tips/tricks
To achieve crispy spring rolls, fry them in batches. This method maintains the oil temperature, allowing each roll to crisp properly. Adjust the heat as needed to prevent burning.
Consider preparing your filling ahead of time and refrigerating it to enhance the flavors. Allow the mixture to sit for at least 30 minutes before wrapping. This resting time blends the ingredients more harmoniously and improves the overall taste.
If you’d like to explore variations, try adding cooked shrimp or shredded chicken alongside the vegetables. Experimenting with flavors can yield exciting new results that keep the dish fresh and interesting.
Engaging with Traditional Filipino Spring Rolls: Perfecting Results
Perfecting results
Achieving perfectly cooked spring rolls requires attention to detail. The cooking time can vary based on the size and thickness of your rolls. Watch closely for that golden brown color, which indicates they are done, and adjust frying time if needed.
Serving immediately after frying provides the best texture. Setting the rolls on a wire rack instead of a plate can help them maintain their crispiness as they cool.
Troubleshooting/variations
Some common issues can arise while making spring rolls. If they break while frying, you’ve likely overfilled them or not sealed them completely.
Experimenting can lead to delightful variations. If you prefer a healthier option, try baking instead of frying. Lightly brush the spring rolls with oil before placing them in the oven to achieve a crispy exterior.
Feel free to swap the vegetables based on availability or personal preference. Other favorites include bell peppers or mushrooms, allowing for a customized spring roll experience.
Serving and Storing Traditional Filipino Spring Rolls
Serving/presentation
When it comes to serving traditional Filipino spring rolls, presentation can elevate your dish. Arranging them in a circular pattern around a small bowl of dipping sauce creates an inviting display.
Pair your rolls with homemade dipping sauces, such as sweet chili or soy sauce, for added flavor enhancement. Your family and friends will appreciate the fresh, crunchy bites paired with delightful dips.
Pairings/storage
Spring rolls can be enjoyed as an appetizer or a main course, paired with steamed rice or a light salad. These versatile rolls easily adapt to various side dishes.
For storage, allow leftover spring rolls to cool before placing them in an airtight container. They can last up to 2 days in the refrigerator. Reheating in an air fryer or oven will help restore their crispy texture.
Enjoy the delightful crunch and vibrant flavors of traditional Filipino spring rolls at any gathering or family meal.
Cooking should always be about connecting with loved ones and enjoying wholesome food. Embrace the art of crafting these flavorful bites and relish in the goodness they bring. Discovering the joy of making traditional Filipino spring rolls creates lasting memories and fills stomachs while warming hearts.
Print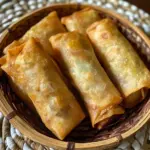
Traditional Filipino Spring Rolls
- Prep Time: 15 minutes
- Cook Time: 30 minutes
- Total Time: 45 minutes
- Yield: 4 servings
- Category: Appetizer
- Method: Frying
- Cuisine: Filipino
- Diet: Non-Vegetarian
Description
Delight in the crispy goodness of homemade traditional Filipino spring rolls, combining ground chicken and vegetables wrapped in a thin crispy shell.
Ingredients
- 1 lb ground chicken
- 1 cup finely chopped carrots
- 1 cup finely chopped green beans
- 1 cup shredded cabbage
- 3 green onions, chopped
- 2 cloves garlic, minced
- 1 egg
- 1 package spring roll wrappers
- Cooking oil for frying
- Salt and pepper to taste
Instructions
- In a large mixing bowl, combine the ground chicken, carrots, green beans, cabbage, green onions, garlic, and the egg. Season with salt and pepper and mix thoroughly.
- Take a spring roll wrapper and lay it flat. Scoop a tablespoon of filling onto the wrapper, placing it just above the center.
- Fold the bottom corner over the filling, then fold in the sides and roll tightly to secure the filling.
- Moisten the top corner with water to seal. Repeat until all filling is wrapped.
- Heat oil in a frying pan over medium heat. Fry the spring rolls in batches until golden brown and crispy.
- Remove from the pan and place on a plate lined with paper towels to absorb excess oil.
Notes
For extra crispiness, fry in batches to maintain oil temperature. Let the filling sit for at least 30 minutes before wrapping for enhanced flavors.