
📑 Table of Contents ▶
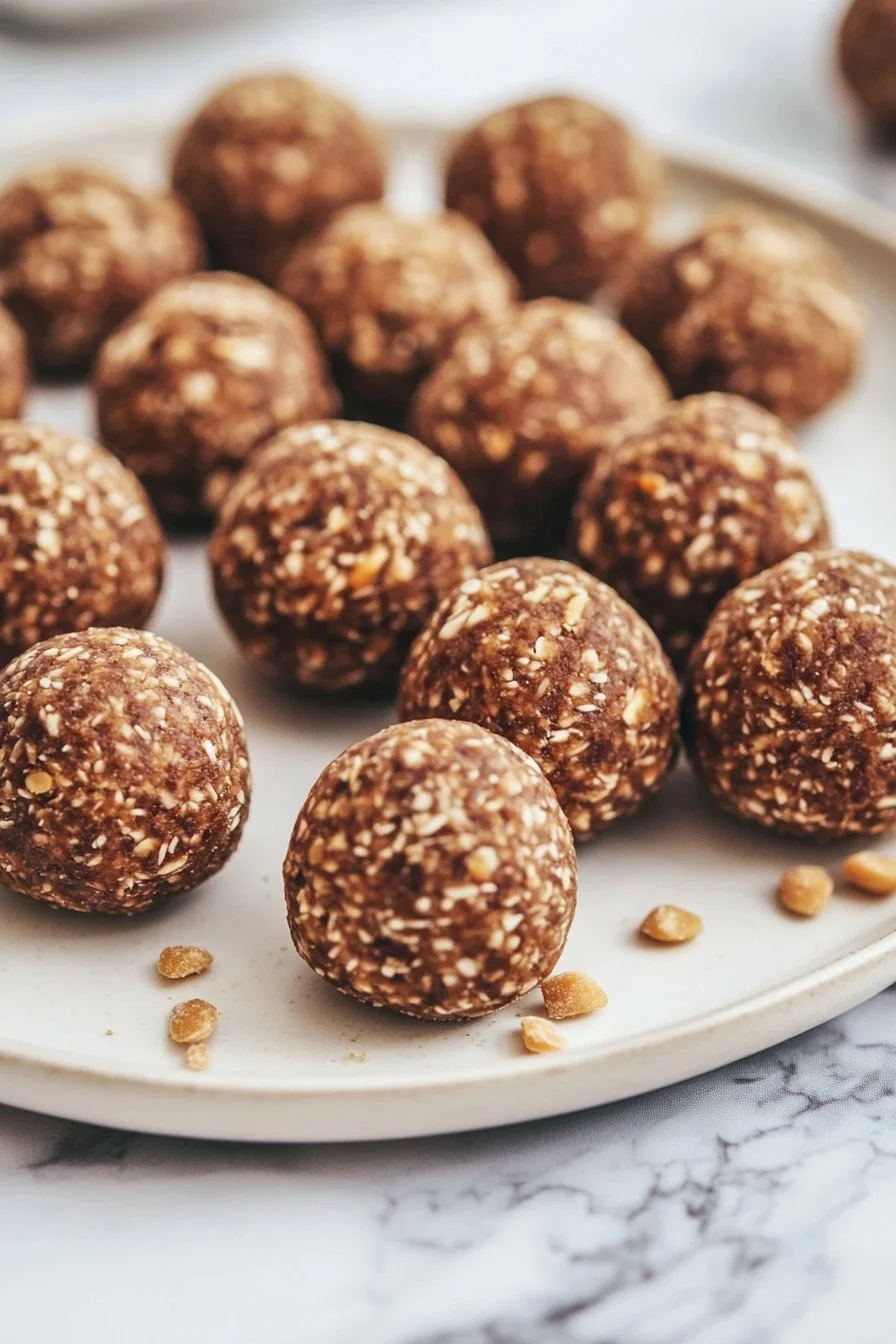
Healthy No-Bake Protein Balls
I’m Della Lucia, and HealthyDinnerMeals was created from my belief that food should nourish both the body and the moments we share. My fondest memories come from simple homemade meals — not perfection, just comfort, connection, and care. Here, healthy eating stays approachable and satisfying, with recipes that fit real life: quick, flavorful, and balanced. Whether you’re cooking for yourself or loved ones, I hope these meals help you feel confident in the kitchen and inspired to enjoy every moment around the table.
Healthy no-bake protein balls appeal to everyone, from busy parents to fitness enthusiasts. They offer a wonderful solution when snack time hits. These balls pack a powerful punch of protein while keeping it easy to prepare. It’s all about finding that perfect balance, and these treats hit the mark.
Gathering the right ingredients transforms everyday moments into delicious experiences. In just a few simple steps, you can create healthy no-bake protein balls that everyone loves. Each bite provides rich flavors, satisfying your sweet tooth without sacrificing nutrition. Anticipating how simple preparations yield such delightful results adds to the joy of cooking.
Embracing healthy snacking doesn’t have to be difficult. Healthy no-bake protein balls deliver all the flavors you crave within easy reach. Prepare these snacks once and enjoy them throughout the week for a quick energy booster anytime.
Healthy No-Bake Protein Balls Fundamentals
Healthy no-bake protein balls combine taste and nutritional benefits seamlessly. These protein balls offer a satisfying option for those who need a quick snack or a post-workout bite.
Preparation/setup
Begin by setting up your workspace. Gather a mixing bowl and a spatula. Ensure you have a clean baking sheet lined with parchment paper ready for the finished protein balls. The clean setup makes the process easier and helps maintain focus on creating this delightful treat.
Ingredients
The essential ingredients for healthy no-bake protein balls include:
- 1 cup peanut butter
- 1 cup chocolate protein powder
- 2 cups oatmeal
- 1/4 cup honey (optional)
- 1/2 cup chocolate chips (optional)
Directions
- In a mixing bowl, combine peanut butter, chocolate protein powder, and oatmeal.
- If desired, add honey and chocolate chips for some sweetness and texture.
- Mix everything together until well combined.
- Roll the mixture into small balls, about 1 inch in diameter.
- Place the balls on a baking sheet lined with parchment paper.
- Refrigerate for 30 minutes to firm up.
These steps will guide you directly towards creating a healthy snack everyone can enjoy.
Techniques for Healthy No-Bake Protein Balls
Creating healthy no-bake protein balls effectively hinges on the right approaches. Mastering the methods will lead to consistently delicious results.
Tips/tricks
When making these protein balls, consider these helpful tips:
- Use natural, creamy peanut butter for the best consistency. Avoid varieties with added sugars or oils.
- If the mixture feels too sticky, add a bit more oatmeal to achieve the desired texture.
- Experiment with different protein powders to discover your favorite flavor combinations.
- Refrigerate the mixture before rolling. It can make the process easier and less messy.
Try these tips to elevate your experience even further.
Perfecting Healthy No-Bake Protein Balls
After mastering the basics, fine-tuning the process will improve the end result. Perfecting your healthy no-bake protein balls comes with practice and a willingness to adjust.
Troubleshooting/variations
Sometimes, things may not go as planned. Here are ways to troubleshoot:
- If the protein balls fall apart, add a bit more peanut butter or honey to bind the mixture together.
- If the flavor feels off, consider adding a pinch of salt or a sprinkle of cinnamon for added depth.
- For a nut-free version, substitute peanut butter with sunflower seed butter.
- Incorporate dried fruits, like cranberries or raisins, for an added chewiness.
Keep these suggestions in mind to ensure your protein balls turn out perfectly every time.
Serving and Storing Healthy No-Bake Protein Balls
Presentation makes a difference in any meal, and healthy no-bake protein balls are no exception. Serving and storing them properly enhances their appeal.
Serving/presentation
Serve these protein balls on a decorative platter for gatherings. Arrange them in clusters or stacks to create an inviting look. Your guests will appreciate both the aesthetics and the delicious flavors when they see these treats.
Pairings/storage
These healthy no-bake protein balls pair wonderfully with fresh fruit or yogurt for a balanced snack option. For storage, place them in an airtight container in the refrigerator. They keep well for up to a week. For longer storage, consider freezing them in a single layer before transferring to a storage container. Enjoy these protein-packed snacks any time you need a boost during your busy day.
Conclusion
Healthy no-bake protein balls provide a satisfying way to enjoy snacking without compromising nutrition. The fundamentals of flavor, technique, and presentation come together to create a delightful treat. Embrace the simplicity of this recipe and discover how easy it is to maintain a healthy lifestyle while enjoying delicious snacks.
Print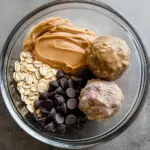
Healthy No-Bake Protein Balls
- Prep Time: 10 minutes
- Cook Time: 30 minutes
- Total Time: 40 minutes
- Yield: 20 servings
- Category: Snacks
- Method: No-Bake
- Cuisine: American
- Diet: Vegetarian
Description
Quick and delicious no-bake protein balls that make for a perfect healthy snack.
Ingredients
- 1 cup peanut butter
- 1 cup chocolate protein powder
- 2 cups oatmeal
- 1/4 cup honey (optional)
- 1/2 cup chocolate chips (optional)
Instructions
- In a mixing bowl, combine peanut butter, chocolate protein powder, and oatmeal.
- If desired, add honey and chocolate chips for sweetness and texture.
- Mix everything together until well combined.
- Roll the mixture into small balls, about 1 inch in diameter.
- Place the balls on a baking sheet lined with parchment paper.
- Refrigerate for 30 minutes to firm up.
Notes
Use natural, creamy peanut butter for best results. Experiment with different protein powders and add-ins like dried fruits.