
📑 Table of Contents ▶
Washington Cherry Upside-Down Cake
I’m Della Lucia, and HealthyDinnerMeals was created from my belief that food should nourish both the body and the moments we share. My fondest memories come from simple homemade meals — not perfection, just comfort, connection, and care. Here, healthy eating stays approachable and satisfying, with recipes that fit real life: quick, flavorful, and balanced. Whether you’re cooking for yourself or loved ones, I hope these meals help you feel confident in the kitchen and inspired to enjoy every moment around the table.
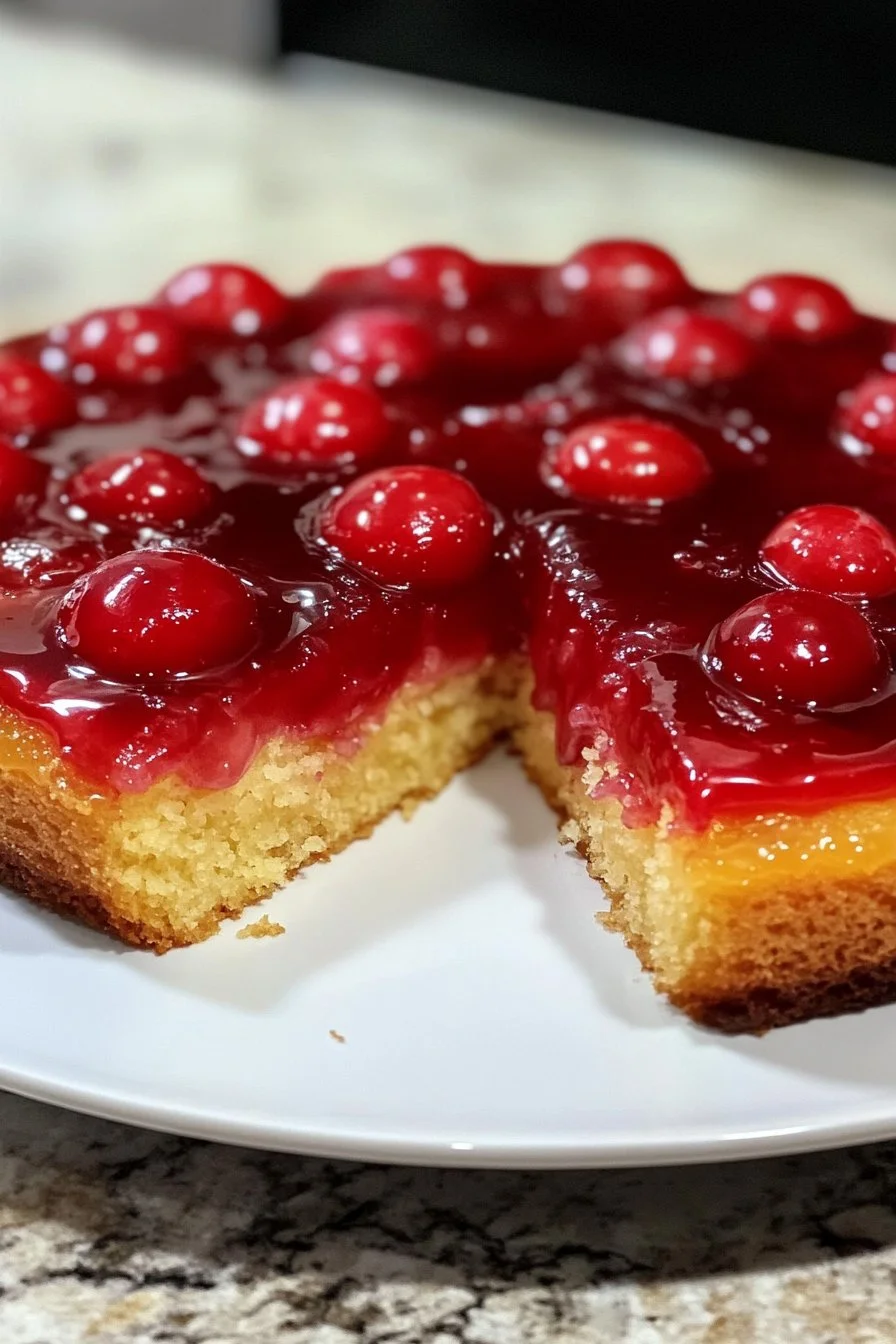
Washington cherry upside-down cake brings back delightful memories of summer gatherings and family get-togethers. Each bite of this beautiful dessert instantly transports you to sun-drenched orchards filled with juicy, sweet cherries that burst with flavor. The allure of those cherries nestled on a luscious caramel layer is hard to resist. As the cake bakes, the mouthwatering aroma fills the house, creating an invitation to gather around the table.
This indulgent cake combines comfort and celebration, making it a favorite for special occasions and simple family dinners alike. The combination of all-purpose flour, sugar, and rich sour cream gives the cake a tender crumb, while the cherries add a delightful tartness. Each slice is a visual treat that showcases the sweet, caramelized cherries atop a golden cake. Baking this cherry upside-down cake becomes not just a recipe but a heartfelt experience filled with joy.
To create this memorable dessert, follow the steps closely and immerse yourself in the baking process. Whether you’re baking for loved ones or treating yourself, this Washington cherry upside-down cake brings sweetness to every occasion.
Washington Cherry Upside-Down Cake
Fundamentals
Baking a Washington cherry upside-down cake requires a solid understanding of the basic components and techniques. Select ripe, sweet cherries for the best flavor. This cake will shine when you use quality ingredients. You’ll find that all-purpose flour forms the foundation, providing structure and a delightful texture. Remember that measuring flour accurately ensures consistent results, so spoon it into your measuring cup and level it off for precision.
Understanding the caramel creation process is also essential. The ideal blend of brown sugar and butter creates a sweet, sticky layer that complements the cherries perfectly. Timing matters in this task – keep a close eye while boiling, ensuring it doesn’t burn. Moreover, using a cast-iron skillet not only helps in creating that caramel layer but also gives your cake an attractive presentation.
Preparation/setup
Start by preheating your oven to 350°F. This step ensures a consistent baking temperature. While the oven heats up, gather your ingredients and prepare your work area. A clean, organized kitchen will make the baking experience much more enjoyable.
Don’t forget to butter the sides of your skillet, as this helps the cake release easily after baking. Once you have prepared the skillet for the caramel, you can start mixing your dry ingredients in a large bowl. This method allows for even distribution of baking powder and salt throughout the flour, ensuring a light and fluffy cake.
Ingredients
- 2 ½ cups all-purpose flour
- 1 ½ cups sugar
- 2 ½ teaspoons baking powder
- 1 teaspoon kosher salt
- 1 cup sour cream
- 3 eggs
- 2 sticks butter, melted
- 1/3 cup water
- 1 lb sweet dark cherries, pitted & halved
- 2 cups brown sugar (for caramel)
- 1 cup brown sugar (for layering)
Directions
- Preheat your oven to 350°F.
- In a large mixing bowl, combine flour, sugar, baking powder, and kosher salt. Whisk them together until fully blended.
- In your 10-inch cast-iron skillet, prepare the caramel by boiling 2 cups of brown sugar with one stick of butter while stirring continually. Remove from the heat, butter the pan’s sides, and set it aside.
- Add the remaining ingredients (sour cream, eggs, melted butter, and water) to your dry mixture. Whisk until the batter is smooth.
- Arrange the pitted, halved cherries cut-side up over the caramel sauce.
- Pour half of the batter over the cherries.
- Sprinkle the remaining cup of brown sugar over the first layer of batter.
- Pour the rest of the batter on top, ensuring even coverage.
- Bake in the preheated oven for 40-45 minutes, or until the center is set, and a toothpick comes out with a few moist cake crumbs attached.
- Allow the cake to cool for about 3-5 minutes. Run a knife around the edge to help release it from the pan, then carefully invert it onto a serving platter.
Washington Cherry Upside-Down Cake Technique
Technique
Mastering the technique of making a Washington cherry upside-down cake is fundamental to achieving perfect results. Begin with the caramel. Cook the brown sugar and butter until they combine into a rich, golden syrup. This step creates that heavenly base for the cherries to sit upon seamlessly. Overheating the mixture can result in burnt sugar, so maintain a steady stir and watch for bubbles.
Next, pay attention to the batter. The combination of sour cream and melted butter provides moisture and a tender crumb. Be cautious not to overmix once you incorporate wet ingredients into the dry mix. Gentle stirring until just combined will yield the best texture for your cake.
Tips/tricks
- If cherries aren’t in season, consider using frozen cherries. Thaw them and pat dry before using to prevent excess moisture in the cake.
- For an extra splash of flavor, add a teaspoon of vanilla extract or almond extract to the batter. These subtle notes can elevate the cake.
- Always allow the cake to cool slightly before inverting it. This practice reduces the risk of the cake breaking apart during the flipping process.
Washington Cherry Upside-Down Cake Refinement
Perfecting results
Achieving that perfectly fluffy texture in a Washington cherry upside-down cake involves balancing ingredients and techniques. Ensure your butter is melted and slightly cooled before mixing it into the batter to avoid cooking the eggs. This step keeps mixture temperatures stable.
Additionally, be sure to layer the cherries evenly. This not only creates a beautiful presentation but ensures consistent caramel flavor with every slice. If you find your cake browning too quickly while baking, consider placing a piece of aluminum foil over the top to prevent burning while allowing the center to cook through.
Troubleshooting/variations
If your cake sinks in the middle, it may have too much moisture or not enough flour. Adjusting these ratios can lead to better outcomes. If you prefer a denser cake, slightly reduce the added water.
For variations, experiment with different fruits. Pineapple or apricots can offer a refreshing twist while still creating that impressive upside-down effect. Always remember to adjust cooking times based on the fruit used to ensure even baking.
Washington Cherry Upside-Down Cake Serving and Storage
Serving/presentation
Presenting a Washington cherry upside-down cake adds to its charm. Place the inverted cake on a decorative cake stand. The sight of glistening cherries atop a golden-brown layer will capture your guests’ attention. Slice carefully, allowing the caramel to drizzle down the sides.
Serve warm or at room temperature with a scoop of vanilla ice cream or a dollop of whipped cream. This combination enhances the flavors and provides a delightful contrast to the rich cake.
Pairings/storage
While enjoying your cherry upside-down cake, consider pairing it with a cup of coffee or herbal tea for a delightful afternoon treat. If you have any leftovers, store the cake in an airtight container at room temperature for up to three days. For longer storage, refrigerate and consume within a week.
Reheating individual slices in the microwave for a few seconds can bring back its warmth and softness, making for a comforting dessert reminder even days later.
This Washington cherry upside-down cake, with its sweet layers and beautiful presentation, promises to be a memorable addition to your culinary repertoire. Enjoy each step of the process as you create this delightful dessert that will not only satisfy your sweet tooth but also bring back fond memories with every delicious bite.
Print
Washington Cherry Upside-Down Cake
- Prep Time: 15 minutes
- Cook Time: 45 minutes
- Total Time: 60 minutes
- Yield: 8 servings
- Category: Dessert
- Method: Baking
- Cuisine: American
- Diet: Vegetarian
Description
This indulgent Washington cherry upside-down cake combines caramelized cherries with a tender cake, bringing sweetness and nostalgia to your table.
Ingredients
- 2 ½ cups all-purpose flour
- 1 ½ cups sugar
- 2 ½ teaspoons baking powder
- 1 teaspoon kosher salt
- 1 cup sour cream
- 3 eggs
- 2 sticks butter, melted
- 1/3 cup water
- 1 lb sweet dark cherries, pitted & halved
- 2 cups brown sugar (for caramel)
- 1 cup brown sugar (for layering)
Instructions
- Preheat your oven to 350°F.
- In a large mixing bowl, combine flour, sugar, baking powder, and kosher salt. Whisk until fully blended.
- In your 10-inch cast-iron skillet, prepare the caramel by boiling 2 cups of brown sugar with one stick of butter while stirring continually. Remove from heat, butter the pan’s sides, and set aside.
- Add the remaining ingredients (sour cream, eggs, melted butter, and water) to your dry mixture. Whisk until the batter is smooth.
- Arrange the pitted, halved cherries cut-side up over the caramel sauce.
- Pour half of the batter over the cherries.
- Sprinkle the remaining cup of brown sugar over the first layer of batter.
- Pour the rest of the batter on top, ensuring even coverage.
- Bake in the preheated oven for 40-45 minutes, or until the center is set, and a toothpick comes out with a few moist cake crumbs attached.
- Allow the cake to cool for about 3-5 minutes. Run a knife around the edge to help release it from the pan, then carefully invert it onto a serving platter.
Notes
If cherries aren’t in season, consider using frozen cherries. Allow the cake to cool slightly before inverting it to prevent breaking.