
📑 Table of Contents ▶
Sourdough Bread
I’m Della Lucia, and HealthyDinnerMeals was created from my belief that food should nourish both the body and the moments we share. My fondest memories come from simple homemade meals — not perfection, just comfort, connection, and care. Here, healthy eating stays approachable and satisfying, with recipes that fit real life: quick, flavorful, and balanced. Whether you’re cooking for yourself or loved ones, I hope these meals help you feel confident in the kitchen and inspired to enjoy every moment around the table.
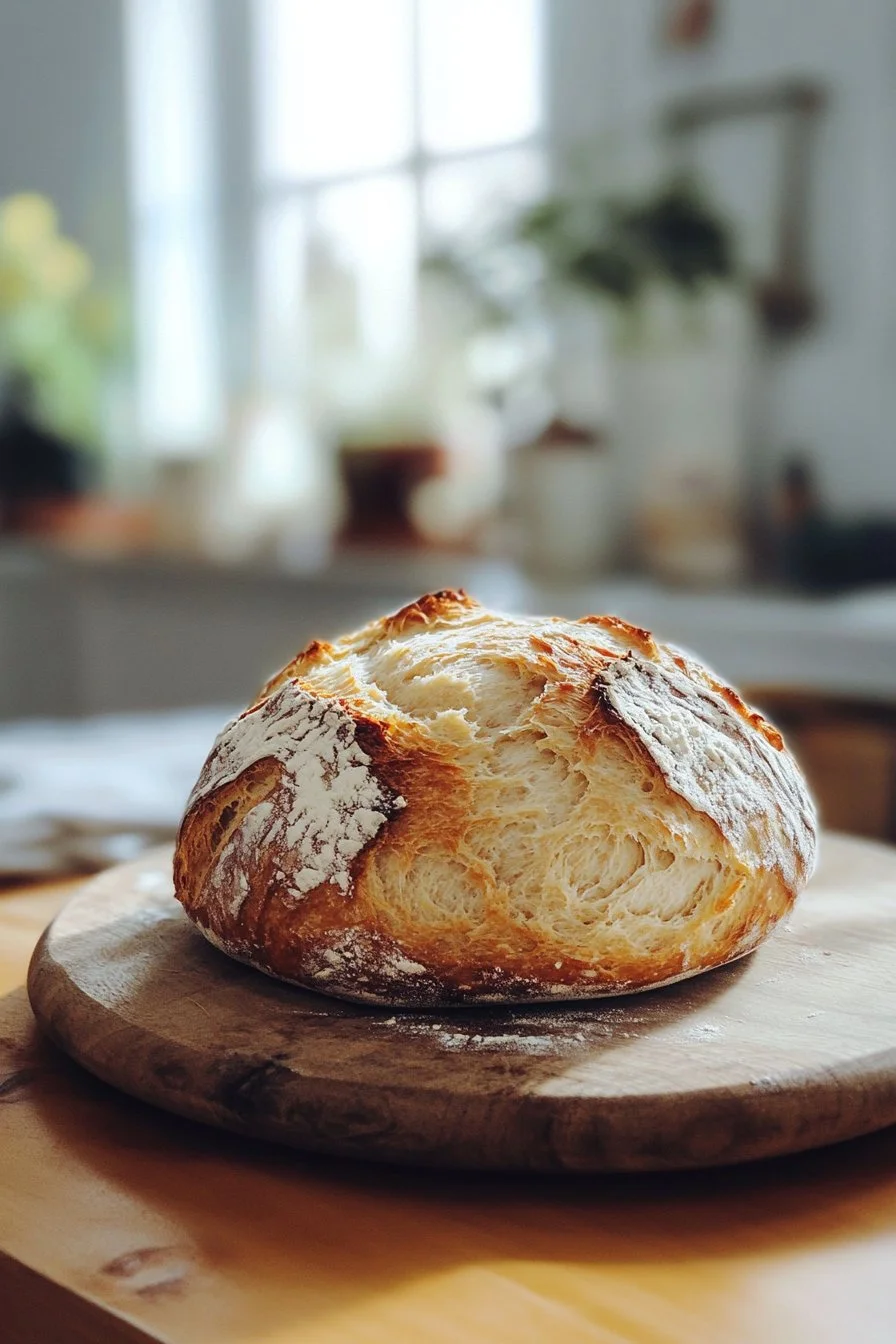
The warm aroma of freshly baked sourdough bread fills the room, evoking memories of family gatherings and cozy evenings. Sourdough bread stands out not just for its distinct tang but also for its rich texture and crusty exterior. The process of making sourdough feels rewarding; it connects us with a method passed down through generations. As the dough rises and transforms, anticipation builds, and the end result pays homage to our culinary efforts.
Baking sourdough begins with understanding the fundamentals that make this bread unique. Using a few simple ingredients like flour, warm water, salt, and an active sourdough starter, anyone can create a comforting loaf. This baking adventure passes from one home to another, nurturing traditions and fostering love around the dinner table. The beauty of sourdough lies in simplicity, and I’m here to guide you through this delightful experience.
PART 1 — The Basics of Sourdough Bread
Fundamentals
Sourdough bread-making revolves around a few essential elements: flour, water, salt, and an active starter. Each component plays a vital role in developing flavor and texture. The fermentation process hinges on the natural yeasts and bacteria in the sourdough starter, creating that signature tang. Understanding this basic foundation opens the door to endless variations and baking experiments.
Creating the perfect sourdough also involves practicing techniques that enhance your skills. Bread-making is as much about science as art. The dough’s hydration, temperature, and fermentation time all contribute to the final product. The more you understand how these elements interact with each other, the better your bread will become.
Preparation/Setup
Before starting, prepare your workspace to ensure a smooth baking experience. Gather a large mixing bowl, a dough scraper, a kitchen scale, and your proofing basket. Measure out all ingredients to streamline the mixing process. A clean and organized setup makes the entire process enjoyable, allowing you to focus on the bread rather than hunting for tools.
Choose a comfortable and warm location in your kitchen for the initial fermentation. Optimal temperatures encourage the natural yeast to thrive, enhancing flavor and texture. Remember, a little time and patience go a long way with sourdough.
Ingredients
For your sourdough, you will need:
- 4 cups (500g) bread flour or all-purpose flour
- 1⅔ cups (375g) warm water
- 1 cup (200g) active sourdough starter
- 2 teaspoons (10g) salt
These four ingredients will create a remarkable and flavorful sourdough loaf. Opt for high-quality flour, as it affects the outcome significantly. The warm water activates the starter, while the salt enhances overall flavor and strengthens the dough structure.
Directions
- In a large mixing bowl, combine the flour and warm water.
- Stir until a shaggy dough forms, then let it rest for 30 minutes.
- After resting, incorporate the active sourdough starter and salt.
- Mix well until fully combined.
- Cover the bowl with a clean towel or plastic wrap.
- Allow the dough to sit at room temperature.
- Every 30 minutes for 2 hours, perform a set of stretch and folds by pulling one side of the dough upward and folding it over itself.
- After each stretch and fold, turn the bowl a quarter turn and repeat for all four sides.
- After the final fold, cover the bowl again and let it rise for 6 to 8 hours until it doubles in size and looks bubbly.
- Gently transfer the dough to a lightly floured surface and shape it into a round or oval loaf.
- Place the dough seam-side up in a floured proofing basket or a towel-lined bowl.
- Cover and refrigerate for 8 to 12 hours.
- The next day, preheat your oven to 450°F (232°C), placing a Dutch oven inside.
- Remove the dough from the fridge and turn it out onto parchment paper.
- Score the dough’s top with a sharp knife or razor blade.
- Lower it carefully into the hot Dutch oven using the parchment paper.
- Cover and bake for 20 minutes.
- Remove the lid and bake uncovered for an additional 25 minutes.
- Lastly, take the bread out of the Dutch oven and allow it to cool completely on a wire rack before slicing.
PART 2 — Mastering Sourdough Bread
Technique
Mastering sourdough requires attention to technique. The initial mixing creates a shaggy dough; this is crucial as it allows the gluten to develop properly during the resting period. The stretch and fold method not only strengthens the dough but also encourages fermentation, building flavor and texture over time.
Bakers often use a technique called “autolyse” where flour and water mix and rest before adding starter and salt. This step enhances gluten formation and makes for a smoother, more stretchy dough. Understanding and experimenting with these methods allows you to discover what works best in your own kitchen.
Tips/Tricks
Baking sourdough can seem intimidating, but a few tips make the process easier. Always use warm water to activate the starter, as temperature plays a crucial role in fermentation. Keep an eye on your dough; visual cues are just as important as time. Look for a dough that has doubled in size and feels airy.
Use a kitchen scale for precise measurements. Baking is a science, and small deviations can impact results. Scoring the dough creates an opening for steam to escape during baking, resulting in a beautiful crust. Practice different scoring patterns to add a personal touch to your loaves.
PART 3 — Refining Your Sourdough
Perfecting Results
Perfecting sourdough bread is a rewarding journey. Observe how changes in temperature, humidity, and ingredients affect your dough. Experiment with various flours to find your preferred flavor profile. Whole wheat or rye flour can add a distinctive taste and texture to your loaf.
After several attempts, you’ll find the right balance for your perfect loaf. With consistent practice, even small imperfections begin to fade, and you’ll create bread that consistently meets your standards.
Troubleshooting/Variations
Sometimes things don’t go as planned, but troubleshooting is part of the process. If your dough fails to rise adequately, check the temperature of your starter and the environment. A colder room can slow fermentation, while too much heat can lead to overproofing.
Variations in sourdough, such as adding herbs, seeds, or other flavors, keep the process exciting. You can fold in ingredients during the stretching phase to create unique flavor combinations. Experiment with different shapes or loaves, from baguettes to round rounds, to discover your preferences.
PART 4 — Sharing Your Sourdough
Serving/Presentation
Once your sourdough bread has cooled, it’s time for the best part: sharing with family and friends. A freshly baked loaf looks fantastic on any table. Place it on a wooden cutting board, allowing the aroma to waft through the room.
Sourdough’s crusty exterior contrasts beautifully with its soft, airy interior. Serve slices with butter, cheeses, or spreads to enhance its rustic appeal. The loaf can also shine as the centerpiece of a charcuterie board, drawing people together.
Pairings/Storage
Sourdough bread pairs beautifully with an array of dishes. Enjoy it with hearty soups or salads for a balanced meal. The bread’s tangy notes elevate many flavors, making it a delightful companion to various spreads, cheeses, and even fruits.
Store your sourdough properly to maintain its freshness. Wrapping it in a clean kitchen towel preserves the crust while keeping the inside soft. For longer storage, consider freezing slices to enjoy later. Simply thaw them at room temperature, and you can relish that fresh-baked taste anytime.
Conclusion
Sourdough bread stands as a timeless staple, uniting flavors and memories. From the initial mixing of ingredients to the satisfying moment of slicing the loaf, each step carries its significance. With patience, practice, and a little creativity, anyone can master this art. Celebrate the nurturing quality of homemade sourdough bread while creating cherished memories at the dinner table.
Print
Sourdough Bread
- Prep Time: 30 minutes
- Cook Time: 45 minutes
- Total Time: 8 hours 15 minutes
- Yield: 1 loaf
- Category: Bread
- Method: Baking
- Cuisine: Various
- Diet: Vegetarian
Description
A delightful guide to making homemade sourdough bread, highlighting the simplicity and rewarding nature of this timeless recipe.
Ingredients
- 4 cups (500g) bread flour or all-purpose flour
- 1⅔ cups (375g) warm water
- 1 cup (200g) active sourdough starter
- 2 teaspoons (10g) salt
Instructions
- In a large mixing bowl, combine the flour and warm water.
- Stir until a shaggy dough forms, then let it rest for 30 minutes.
- After resting, incorporate the active sourdough starter and salt.
- Mix well until fully combined.
- Cover the bowl with a clean towel or plastic wrap.
- Allow the dough to sit at room temperature.
- Every 30 minutes for 2 hours, perform a set of stretch and folds.
- After each stretch and fold, turn the bowl a quarter turn and repeat for all four sides.
- After the final fold, cover the bowl again and let it rise for 6 to 8 hours until it doubles in size and looks bubbly.
- Gently transfer the dough to a lightly floured surface and shape it into a round or oval loaf.
- Place the dough seam-side up in a floured proofing basket or towel-lined bowl.
- Cover and refrigerate for 8 to 12 hours.
- The next day, preheat your oven to 450°F (232°C), placing a Dutch oven inside.
- Remove the dough from the fridge and turn it out onto parchment paper.
- Score the dough’s top with a sharp knife or razor blade.
- Lower it carefully into the hot Dutch oven using the parchment paper.
- Cover and bake for 20 minutes.
- Remove the lid and bake uncovered for an additional 25 minutes.
- Take the bread out of the Dutch oven and allow it to cool completely on a wire rack before slicing.
Notes
Use warm water to activate the starter; temperature is crucial for fermentation. Keep an eye on visual cues of dough rising.