📑 Table of Contents ▶
- Honey Oat Sourdough Bread: The Basics
- Fundamentals
- Preparation/Setup
- Directions
- Perfecting Your Honey Oat Sourdough
- Technique
- Tips and Tricks
- Elevating the Experience of Honey Oat Sourdough
- Perfecting Results
- Troubleshooting and Variations
- Enjoying Honey Oat Sourdough Bread
- Serving and Presentation
- Pairings and Storage
- Conclusion
- Honey Oat Sourdough Bread
Honey Oat Sourdough Bread Recipe
I’m Della Lucia, and HealthyDinnerMeals was created from my belief that food should nourish both the body and the moments we share. My fondest memories come from simple homemade meals — not perfection, just comfort, connection, and care. Here, healthy eating stays approachable and satisfying, with recipes that fit real life: quick, flavorful, and balanced. Whether you’re cooking for yourself or loved ones, I hope these meals help you feel confident in the kitchen and inspired to enjoy every moment around the table.
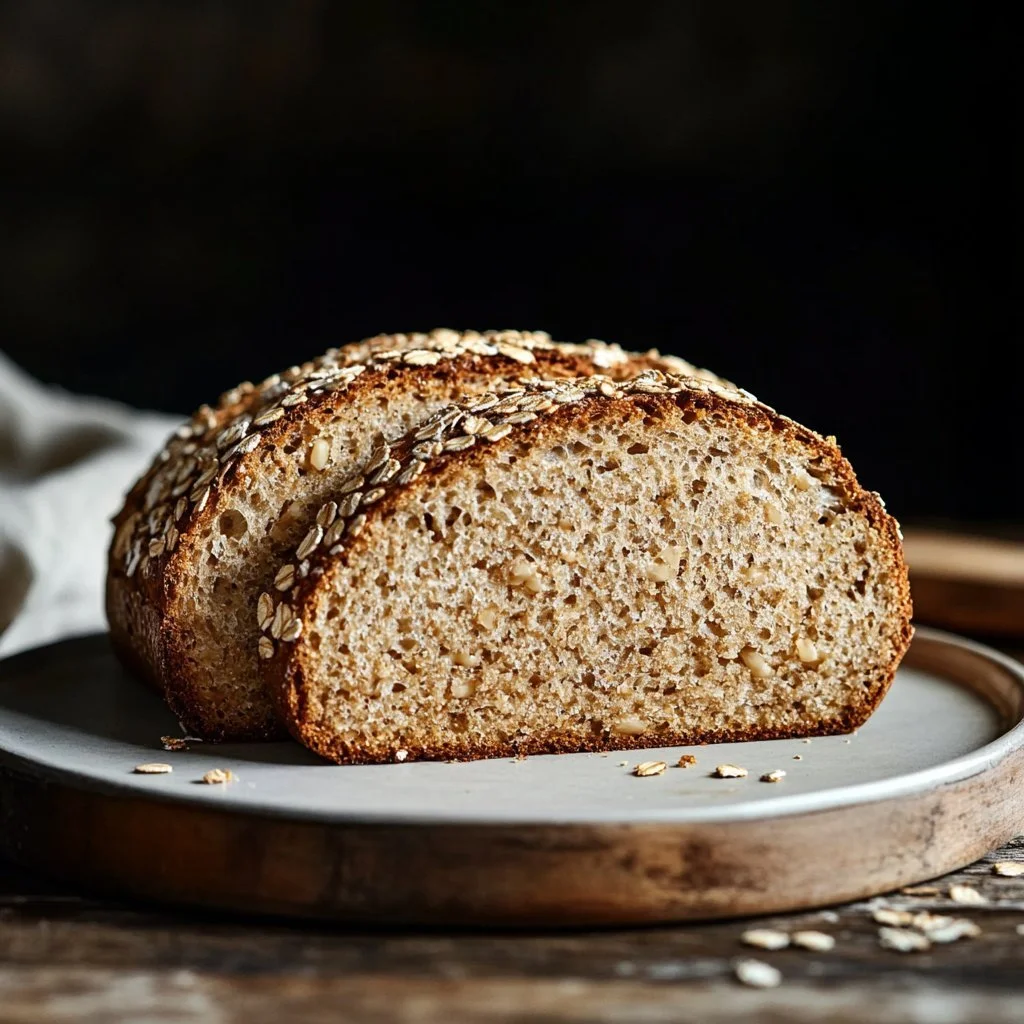
Sourdough bread holds a special place in many homes. The aroma wafts through the air, evoking warmth and comfort. Honey oat sourdough, in particular, offers a delightful combination of sweet and nutty flavors that elevates the ordinary loaf to something extraordinary. The best part? This bread is not just delicious; it’s also made with wholesome ingredients that make it a nourishing choice for any meal.
Crafting your honey oat sourdough bread takes time and patience, but the process is a meditative journey in itself. Each step allows your senses to engage and your creativity to flourish, resulting in a loaf that truly reflects your effort. Let’s dive into making this delightful bread and discover its many layers of flavor.
Honey Oat Sourdough Bread: The Basics
Fundamentals
A successful honey oat sourdough bread begins with understanding its basic components. This bread’s character comes from its natural fermentation and the loving combination of honey and oats. The unique properties of the sourdough starter give your bread depth and complexity, while honey adds a subtle sweetness. Rolled oats contribute to a hearty texture and enhance the bread’s nutritional content.
Understanding the fermentation process is key. Sourdough relies on wild yeast and bacteria in the starter to create a unique flavor and texture. As the dough ferments, these microorganisms work their magic, developing a lovely, tangy taste while helping the dough rise.
Preparation/Setup
Preparation sets the stage for success. Start by choosing a comfortable workspace where you can focus on the task at hand. Gather all your ingredients: 100 grams sourdough starter, 100 grams honey, 330 grams water, 90 grams rolled oats, 500 grams bread flour, and 12 grams salt. This ensures there’s no frantic searching in the middle of mixing.
To get the best results, consider the temperature of your ingredients. If your water feels cold, it can slow down fermentation. Likewise, if your sourdough starter is very cold, it may require more time to activate. Aim for room temperature to encourage a vigorous rise.
Ingredients
- 100 grams sourdough starter (1/2 cup)
- 100 grams honey (scant 1/3 cup)
- 330 grams water (1 1/4 cups + 2 tablespoons)
- 90 grams rolled oats (1 cup), plus more for rolling
- 500 grams bread flour (3 1/2 cups)
- 12 grams salt (2 teaspoons)
These simple ingredients create a nutrient-rich dough that turns into a delightful bread. The combination of honey and oats not only provides sweetness and texture but also gives your final product an appealing golden hue.
Directions
- In a large mixing bowl, combine the sourdough starter, honey, and water. Mix until well combined. Gradually add the bread flour, oats, and salt. Stir until a shaggy dough forms.
- Let the dough rest for 30 minutes. Perform stretch and folds by gently pulling one edge of the dough and folding it over the center. Rotate the bowl and repeat for a total of four times.
- Cover the bowl and let the dough rise at room temperature for 4 to 6 hours until it doubles in size.
- Gently turn the dough onto a floured surface. Lightly shape it into a round ball and allow it to rest for 20 minutes, covered with a damp cloth.
- Shape the dough into its final form by tightening it into a round or batard shape, depending on your preference.
- Place the shaped dough in a floured banneton or bowl. Cover and refrigerate for 12 to 24 hours for cold fermentation.
- Preheat the oven to 450°F (232°C) and place a Dutch oven inside to heat. Once ready, carefully remove the hot Dutch oven, place the dough inside, and score the top with a sharp blade.
- Cover and bake for 30 minutes. Remove the lid and continue baking for an additional 15 to 20 minutes, until the loaf is golden brown and crusty.
Perfecting Your Honey Oat Sourdough
Technique
Mastering honey oat sourdough bread involves honing specific techniques. One vital step is the stretch and fold method. This technique develops gluten structure, enhancing the final bread’s texture. During rest periods, give the dough gentle stretches. This will strengthen the dough while preserving the gas produced during fermentation.
Another key technique is shaping. After the first rise, you need to handle the dough carefully. Keeping the gas within will ensure a light, airy loaf. As you shape, gently stretch and fold the dough onto itself, creating surface tension. This tension will help your loaf rise beautifully during baking.
Tips and Tricks
Small adjustments can lead to big improvements. Here are some tips:
-
Hydration: The dough may feel sticky, but resist the urge to add more flour. Managing hydration results in a moist crumb.
-
Room Temperature: Warmer environments speed up fermentation. If it’s too hot, watch that your dough doesn’t over-proof.
-
Timing: Each loaf is different. Keep an eye on how the dough rises and feels, rather than relying solely on time.
Using these techniques and tips will elevate your baking experience and lead to delicious results.
Elevating the Experience of Honey Oat Sourdough
Perfecting Results
A few factors contribute to achieving the ideal honey oat sourdough bread. First, seed your sourdough starter well ahead of time. This ensures it’s vibrant and active when you’re ready to bake. As your skills improve, consider experimenting with different flours to enhance the flavor profile further, like whole wheat or spelt.
Another crucial factor is the baking process. Preheating the Dutch oven creates an ideal baking environment. This step traps steam, yielding a crusty exterior that seals in moisture. Keep a digital thermometer handy; checking for a loaf temperature of 200°F (93°C) indicates that it’s perfectly baked.
Troubleshooting and Variations
Not every bake goes as planned, resulting in possible common issues. If the bread doesn’t rise as expected, it might be due to an underactive starter. Ensure your starter is bubbly and vigorous, which is essential for good fermentation.
If the crust is too hard, consider reducing baking time or temperature. Timing is critical; every oven acts differently, so keep notes on your results to refine future bakes. Get creative with flavors too. Add herbs or seeds for unique variants of this recipe!
Enjoying Honey Oat Sourdough Bread
Serving and Presentation
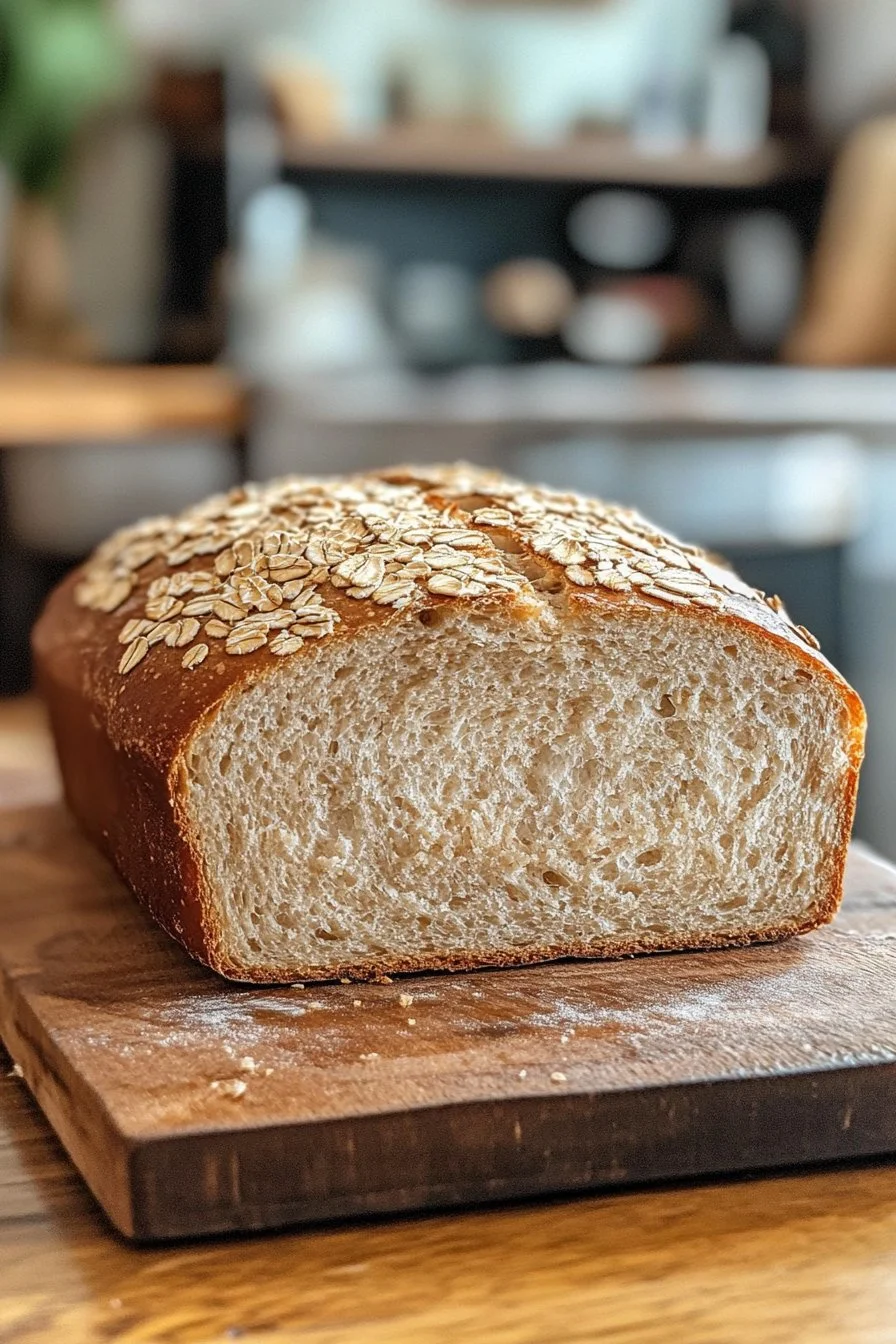
Present your honey oat sourdough bread beautifully. Slice it just before serving for a delightful crunch, revealing its lovely interior. Lay out a butter dish next to it, inviting guests to spread the rich, creamy topping. This bread makes an excellent addition to any meal, be it breakfast, lunch, or dinner.
Consider serving it with a spread of honey to echo the flavor within. You can also pair it with cheeses, enjoying the balance of flavors.
Pairings and Storage
Pair your honey oat sourdough with various foods. It complements soups wonderfully, enhancing each bite. Serve alongside salads or create scrumptious sandwiches filled with your favorite ingredients.
Store your bread properly by wrapping it tightly in a clean kitchen towel. This minimizes moisture loss and keeps the crust from getting too hard. For longer storage, consider freezing slices and toasting them directly from the freezer when you’re ready.
Conclusion
Honey oat sourdough bread connects us to the simplest joys of preparation and enjoyment. Engaging with each step in the process and savoring the final results brings sense to our meals. This recipe transforms simple ingredients into nourishing, flavorful bread that enriches our tables and inspires us to share moments together. Embrace the art of sourdough—every loaf tells a story worth savoring.
Print
Honey Oat Sourdough Bread
- Prep Time: 30 minutes
- Cook Time: 45 minutes
- Total Time: 75 minutes
- Yield: 1 loaf
- Category: Baking
- Method: Baking
- Cuisine: American
- Diet: Vegetarian
Description
A delightful honey oat sourdough bread that combines sweet and nutty flavors, making it a nourishing choice for any meal.
Ingredients
- 100 grams sourdough starter (1/2 cup)
- 100 grams honey (scant 1/3 cup)
- 330 grams water (1 1/4 cups + 2 tablespoons)
- 90 grams rolled oats (1 cup), plus more for rolling
- 500 grams bread flour (3 1/2 cups)
- 12 grams salt (2 teaspoons)
Instructions
- In a large mixing bowl, combine the sourdough starter, honey, and water. Mix until well combined.
- Gradually add the bread flour, oats, and salt. Stir until a shaggy dough forms.
- Let the dough rest for 30 minutes.
- Perform stretch and folds by gently pulling one edge of the dough and folding it over the center. Rotate the bowl and repeat for a total of four times.
- Cover the bowl and let the dough rise at room temperature for 4 to 6 hours until it doubles in size.
- Gently turn the dough onto a floured surface. Lightly shape it into a round ball and allow it to rest for 20 minutes, covered with a damp cloth.
- Shape the dough into its final form. Place the shaped dough in a floured banneton or bowl. Cover and refrigerate for 12 to 24 hours for cold fermentation.
- Preheat the oven to 450°F (232°C) and place a Dutch oven inside to heat.
- Once ready, carefully remove the hot Dutch oven, place the dough inside, and score the top with a sharp blade.
- Cover and bake for 30 minutes. Remove the lid and continue baking for an additional 15 to 20 minutes, until the loaf is golden brown and crusty.
Notes
Keep a digital thermometer handy; checking for a loaf temperature of 200°F (93°C) indicates that it’s perfectly baked.