📑 Table of Contents ▶
- Crafting Rustic Italian Crusty Bread
- Fundamentals
- Preparation/setup
- Directions
- Mastering Technique for Rustic Italian Crusty Bread
- Technique
- Tips/tricks
- Perfecting Results with Rustic Italian Crusty Bread
- Perfecting results
- Troubleshooting/variations
- Serving and Storing Rustic Italian Crusty Bread
- Serving/presentation
- Pairings/storage
- Conclusion
Rustic Italian Crusty Bread
I’m Della Lucia, and HealthyDinnerMeals was created from my belief that food should nourish both the body and the moments we share. My fondest memories come from simple homemade meals — not perfection, just comfort, connection, and care. Here, healthy eating stays approachable and satisfying, with recipes that fit real life: quick, flavorful, and balanced. Whether you’re cooking for yourself or loved ones, I hope these meals help you feel confident in the kitchen and inspired to enjoy every moment around the table.
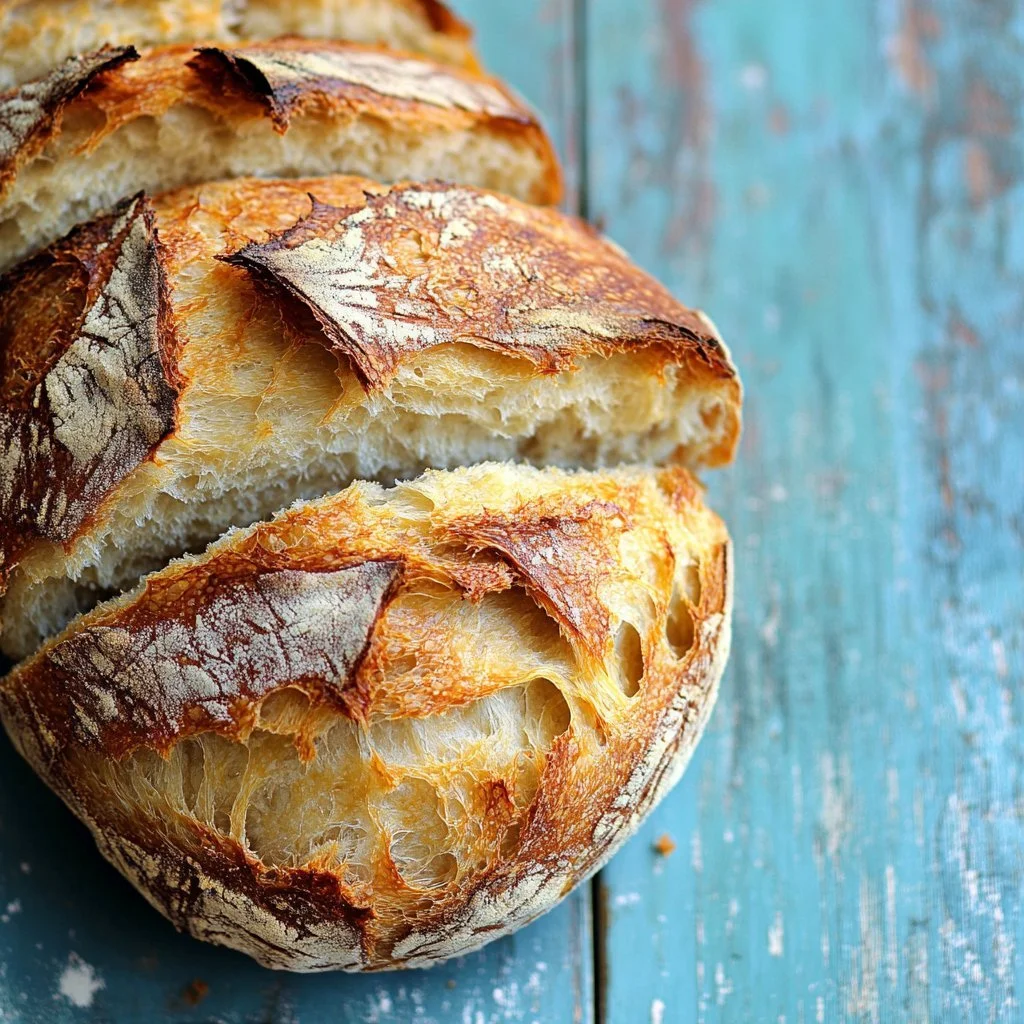
The art of crafting rustic Italian crusty bread evokes warmth and nostalgia. The aroma of rising dough fills the kitchen, inviting everyone in with promises of comfort. As the dough rests, anticipation grows. Baking this bread transforms a simple kitchen activity into a delightful experience, where flour dusts the counter and a golden crust emerges from the oven. This rustic Italian crusty bread brings back memories of family gatherings and home-cooked meals that magnetically draw loved ones together.
Every bite of freshly baked bread carries the essence of warmth and community. The hearty crust and soft interior contrast beautifully, making it the perfect accompaniment to any meal. This delightful bread embraces the essence of simplicity in cooking, allowing you to shine in the kitchen. It transforms any dining occasion into a celebration — a tribute to rustic flavors and nurturing moments that food naturally creates.
Creating this rustic Italian crusty bread brings joy and satisfaction. Gather your ingredients, don your apron, and prepare to embark on a flavorful journey. The delicious results will remind you that, in the end, great food is about enjoying the moment.
Crafting Rustic Italian Crusty Bread
Fundamentals
Creating rustic Italian crusty bread involves understanding basic principles of bread making. The texture and flavor rely heavily on the dough’s hydration and fermentation. The combination of warmth from the water and the activation of yeast plays a crucial role. This bread relies on simple ingredients while celebrating their natural flavors.
The crustiness comes from the high amount of steam generated during baking. Keeping a close eye on heat regulation and baking time ensures a crunchy outer layer. The method for mixing and handling the dough also secures the perfect rise and crumb structure. Knowing these fundamentals will enhance your baking practice.
Preparation/setup
Preparation begins with gathering all network ingredients. Ensure their freshness to achieve optimal flavors. Start by measuring the all-purpose flour, sea salt, and instant yeast accurately. Next, prepare the warm water, assessing its temperature to activate the yeast efficiently.
Once you’ve gathered everything, create a clean workspace. Lightly dust your countertop to prevent sticking while working with the dough. An organized setup simplifies the process, allowing you to focus on creating this beautiful rustic bread.
Ingredients
- 3.25 cups all-purpose flour (plus more for dusting)
- 1 teaspoon sea salt
- 1.5 cups warm water
- 2 teaspoons instant yeast (or active dry yeast)
Directions
In a large mixing bowl, combine the flour, sea salt, and yeast. Use a spatula or the paddle attachment to mix thoroughly. Gradually pour in the warm water, continuing to mix until a soft dough forms. Cover the bowl loosely with plastic wrap and a tea towel. Let the dough rise at room temperature for 2 to 3 hours or until it doubles in size.
Lightly sprinkle flour on your kitchen counter, then transfer the dough onto the floured surface. Flour your hands, and with floured hands, fold the dough onto itself, shaping it into a round ball. Use a sharp knife to lightly carve an ‘X’ into the top of the loaf. Place the shaped dough onto a lightly floured pizza peel, cardboard, or parchment paper, and let it rest while your oven heats up.
Mastering Technique for Rustic Italian Crusty Bread
Technique
Bread-making techniques help achieve consistency in your baking process. Focus on kneading to build the gluten structure within the dough. Kneading develops elasticity and enables the dough to rise beautifully. Consider using the stretch and fold method, which strengthens the dough without heavy kneading.
Another important technique is to let the dough ferment adequately. Fermentation contributes to flavor development and improve texture. The longer the dough rises, the richer the taste becomes. Keep track of your dough’s rising and ensure it has doubled in size during the fermentation process.
Tips/tricks
When crafting rustic Italian crusty bread, a few tips can elevate your results. First, always ensure your yeast is fresh. Stale yeast affects the dough’s rising ability, impacting the overall outcome. If using active dry yeast, activate it with warm water and sugar before combining with the dry ingredients.
During the resting period, maintain a warm environment for the dough. A quiet, draft-free area encourages successful fermentation. You can also create steam in the oven by placing a pan of water below the baking bread, promoting a nice crust.
Perfecting Results with Rustic Italian Crusty Bread
Perfecting results
To achieve perfect rustic Italian crusty bread, monitor the baking closely. The visual cues will guide you; a golden brown crust indicates readiness. Use a kitchen thermometer to check the internal temperature of the bread, aiming for around 190°F to 210°F. The crust should be crisp and the interior soft.
Baking stones or Dutch ovens can enhance the results. The heat retention from these tools provides a better crust by trapping steam. Experimenting with different equipment can help you find the best method suited for your kitchen environment.
Troubleshooting/variations
Sometimes, the bread may not turn out as expected. If the loaf is too dense, it likely indicates insufficient kneading or rising time. On the other hand, if the bread flattens as it bakes, it may have over-proofed. Adjusting the resting times and checking yeast freshness can solve these issues.
Consider variations to add flavor or texture. Try incorporating herbs or seeds into the dough to create different flavor profiles. Adding a touch of olive oil can also soften the crumb while keeping the crust firm.
Serving and Storing Rustic Italian Crusty Bread
Serving/presentation
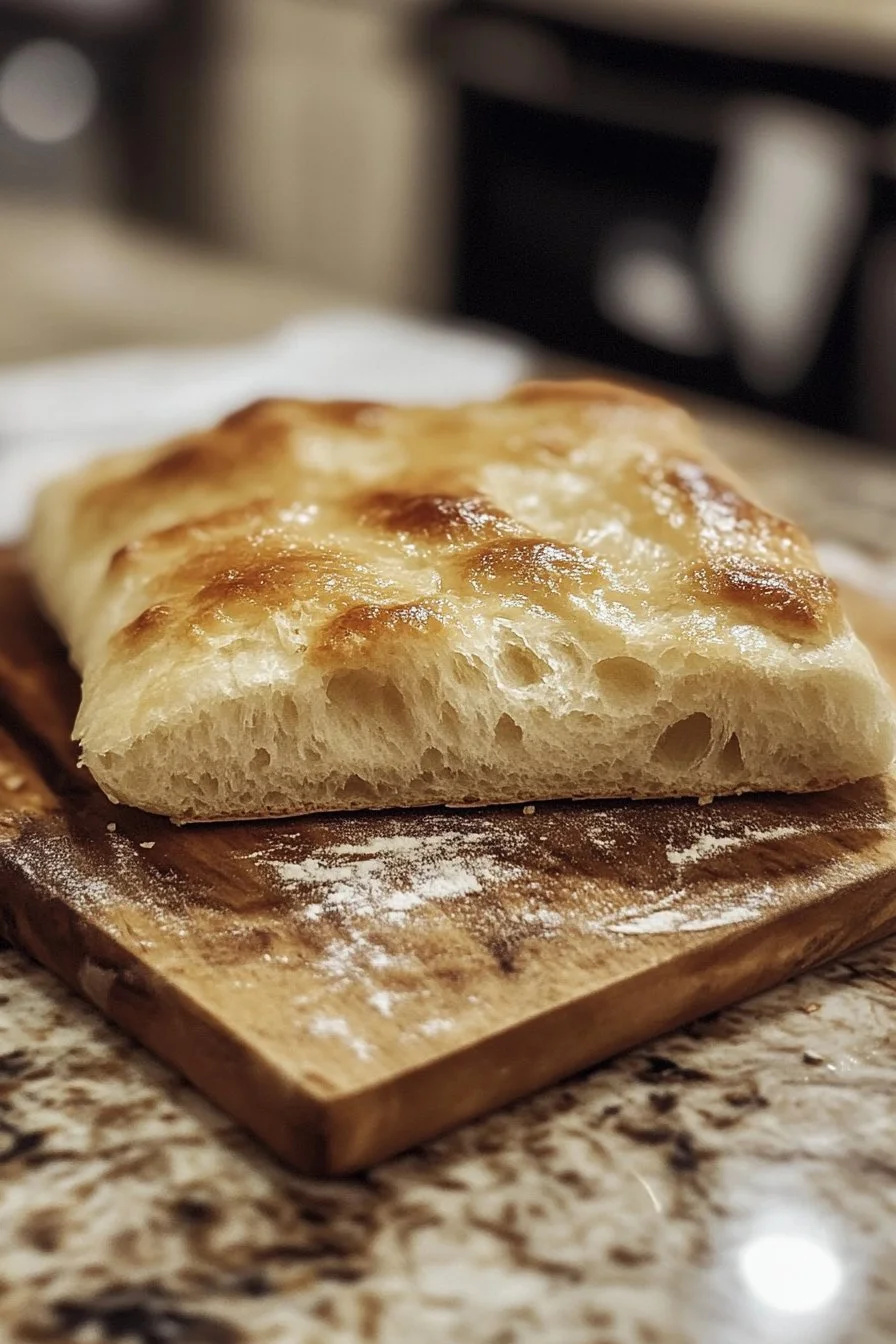
Rustic Italian crusty bread lends itself beautifully to various occasions. Serve it warm or at room temperature, directly from the oven to the table. The visual presentation captivates attention, with its artisan look and golden-brown crust beckoning guests.
Cut the bread into slices or wedges, showcasing its airy interior. A rustic wooden cutting board functions as an excellent serving platter, enhancing the artisanal aspect of the dish. Guests can appreciate the bread’s texture and flavor while enjoying meals alongside it.
Pairings/storage
This rustic bread pairs excellently with various dishes. Enjoy it with soups, stews, and salads. It can work wonders as a base for bruschetta or sandwiches. The crusty exterior holds up to spreads, dips, and toppings beautifully without falling apart.
To store leftovers, wrap the bread in a kitchen towel and place it in a paper bag. Avoid plastic, as it may cause the crust to soften. The bread tastes best fresh but can be reheated in the oven to restore its crustiness if necessary.
Conclusion
Creating rustic Italian crusty bread celebrates the beauty of simple ingredients. This bread-making journey transforms the kitchen into a hub of comfort, connecting people through nourishing food. Each slice encapsulates memories and traditional family gatherings, showcasing the warmth that homemade meals bring. Embrace the satisfying process of crafting this bread, and relish the delightful results that emerge from your efforts.
Print
Rustic Italian Crusty Bread
- Prep Time: 15 minutes
- Cook Time: 30 minutes
- Total Time: 45 minutes
- Yield: 1 loaf
- Category: Bread
- Method: Baking
- Cuisine: Italian
- Diet: Vegetarian
Description
A warm, crusty Italian bread that evokes nostalgia and comfort, perfect for any meal.
Ingredients
- 3.25 cups all-purpose flour (plus more for dusting)
- 1 teaspoon sea salt
- 1.5 cups warm water
- 2 teaspoons instant yeast (or active dry yeast)
Instructions
- In a large mixing bowl, combine the flour, sea salt, and yeast. Mix thoroughly.
- Gradually pour in the warm water, mixing until a soft dough forms.
- Cover the bowl loosely with plastic wrap and a tea towel. Let the dough rise at room temperature for 120-180 minutes or until it doubles in size.
- Transfer the dough onto a floured surface. With floured hands, fold the dough onto itself and shape it into a round ball.
- Lightly carve an ‘X’ into the top of the loaf with a sharp knife.
- Place the shaped dough onto a floured pizza peel, cardboard, or parchment paper, and let it rest while the oven heats up.
- Bake in a preheated oven at 450°F (230°C) until golden brown, about 30-40 minutes.
Notes
Ensure your yeast is fresh and maintain a warm environment for fermentation to achieve the best results.