📑 Table of Contents ▶
Easy Small Batch Ciabatta Rolls
I’m Della Lucia, and HealthyDinnerMeals was created from my belief that food should nourish both the body and the moments we share. My fondest memories come from simple homemade meals — not perfection, just comfort, connection, and care. Here, healthy eating stays approachable and satisfying, with recipes that fit real life: quick, flavorful, and balanced. Whether you’re cooking for yourself or loved ones, I hope these meals help you feel confident in the kitchen and inspired to enjoy every moment around the table.
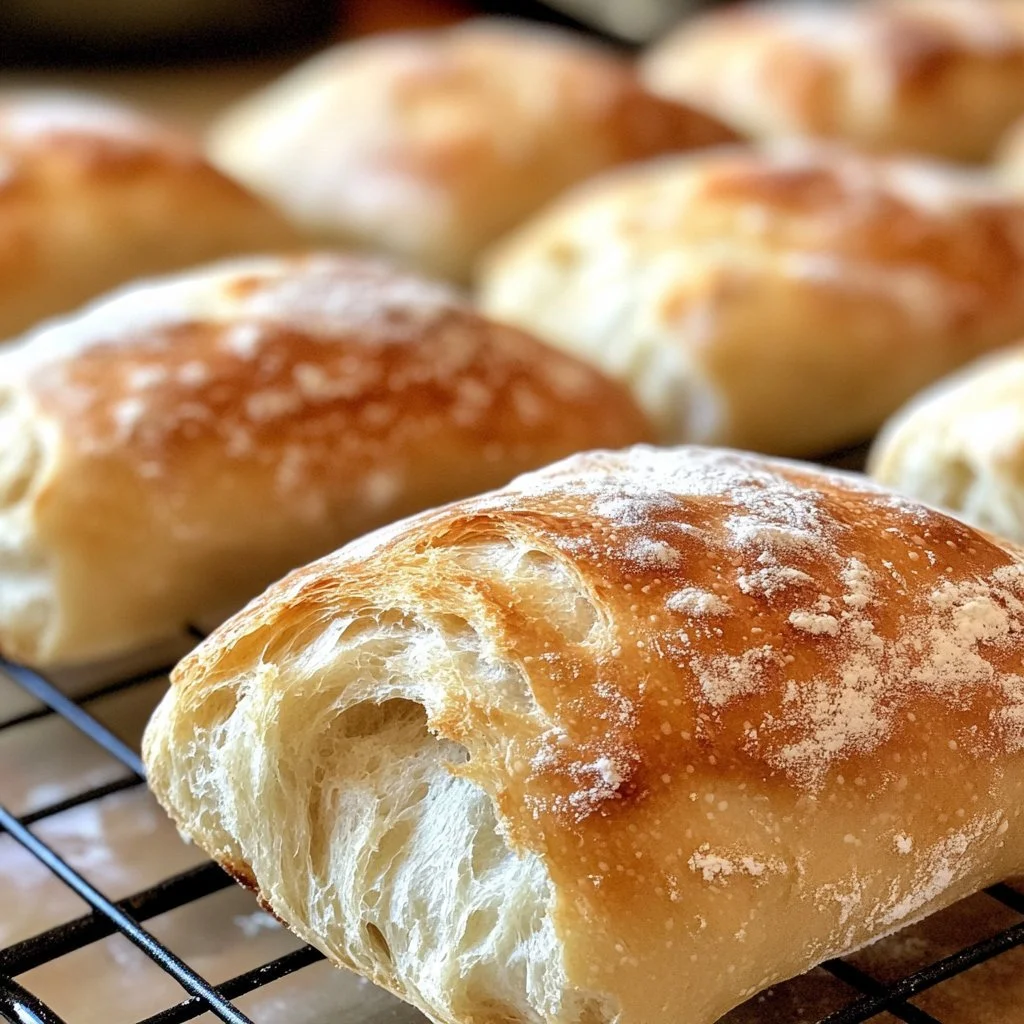
Making Easy Small Batch Ciabatta Rolls brings back memories of warm kitchens filled with the smell of fresh bread. There’s something magical about the process—flour dusting the counter, the gentle kneading of sticky dough, and the anticipation as the rolls rise. This simple recipe captures the essence of that experience, allowing you to craft delightful rolls without the need for a large batch.
The beauty of these Ciabatta Rolls lies in their rustic charm and soft texture. Each bite offers a delightful crunch from the crust, followed by a warm, chewy interior that’s perfect for any occasion. These rolls become a centerpiece of gatherings, whether a casual dinner with friends or a cozy family meal.
Embrace the process, and let this Easy Small Batch Ciabatta Rolls recipe fill your kitchen with joy and delicious aromas.
Easy Small Batch Ciabatta Rolls
Fundamentals
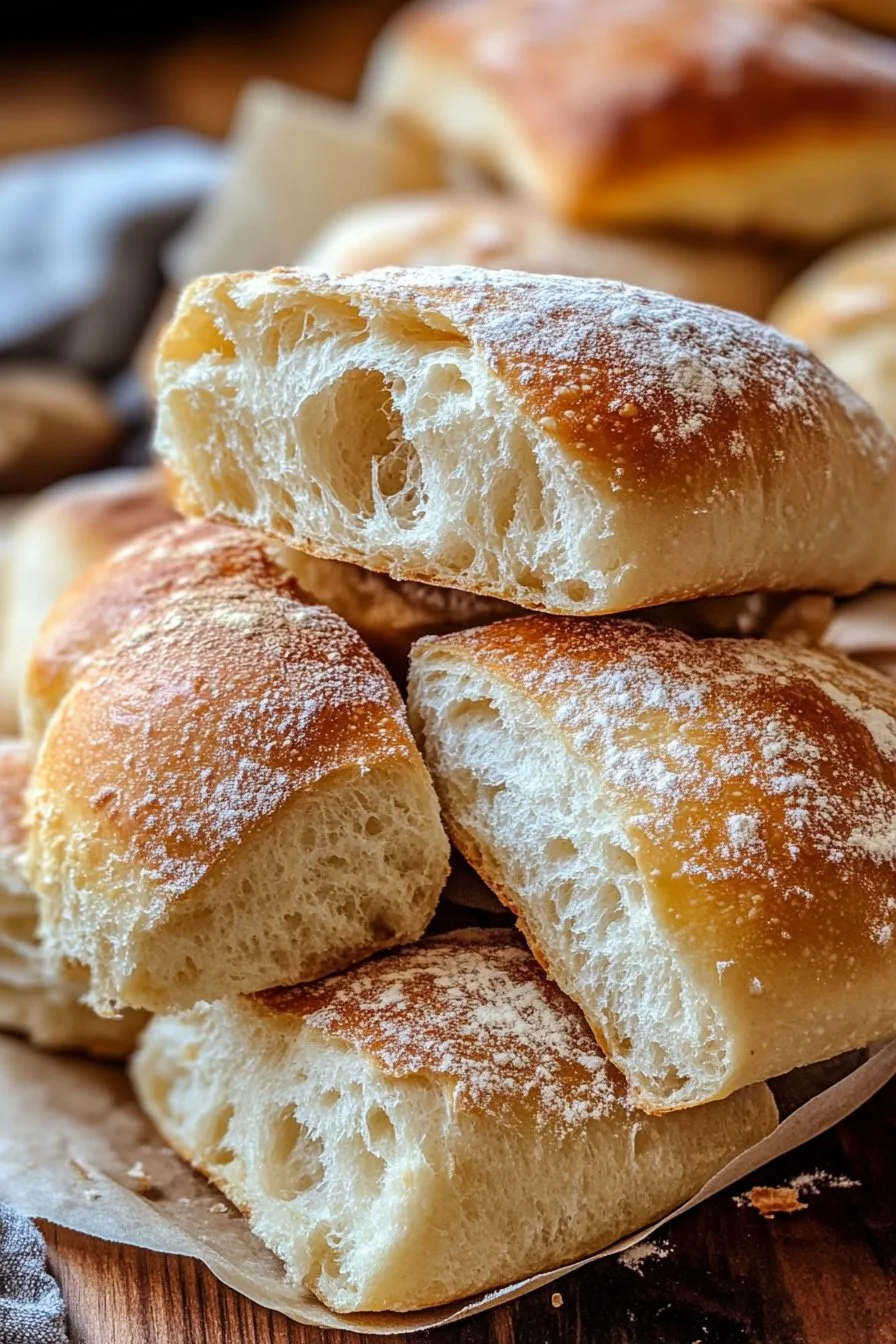
To kickstart your baking journey, understanding the fundamentals of ciabatta rolls is essential. This bread is famed for its airy structure and chewy crust. The unique texture stems from the high hydration dough, which results in those characteristic holes within the bread.
The ingredients you choose here play a pivotal role. The all-purpose flour serves as the backbone of the dough. Instant yeast allows for rapid fermentation, while salt heightens the flavors. Finally, warm water brings the mixture together, ensuring you achieve the perfect, sticky dough.
Creating ciabatta rolls means combining these elements harmoniously. This process involves patience and a sprinkle of finesse, but the outcome is incredibly rewarding. It’s not just about following steps; it’s about bringing life to simple components.
Preparation/setup
Prepare your workspace for success. Start with a clean surface and gather your mixing bowl, measuring cups, and any tools you’ll need. Set the oven to preheat at 450°F (230°C) once your dough has rested sufficiently. Placing a baking stone or sheet inside enhances the crustiness of your rolls.
As you measure and mix, ensure you incorporate the ingredients accurately. The journey from flour to warm, golden rolls involves careful steps, but don’t fret if things feel a little unruly at first. Embrace the stickiness of the dough; it’s part of the charm.
Ingredients
For this Easy Small Batch Ciabatta Rolls recipe, you will need:
- 2 cups all-purpose flour
- 1 teaspoon instant yeast
- 1 teaspoon salt
- 1 cup warm water
These simple ingredients combine to create rolls that’s a treat in every way. Let’s dive into the preparation process.
Directions
- In a large mixing bowl, combine the flour, instant yeast, and salt.
- Gradually add warm water and stir until a sticky dough forms.
- Cover the bowl with plastic wrap and let it rest for about 2 hours at room temperature.
- Preheat your oven to 450°F (230°C) and place a baking stone or a baking sheet inside.
- Gently turn the dough onto a floured surface and shape it into rolls.
- Let the rolls rest for 30 minutes while the oven heats.
- Transfer the rolls to the preheated baking surface.
- Bake for 15-20 minutes until golden and crusty.
- Allow to cool on a wire rack before serving.
The Technique Behind Ciabatta Rolls
Technique
The technique involved in crafting ciabatta rolls makes all the difference. Begin by mixing the ingredients until the dough is well combined. The sticky texture might seem challenging, but it’s a hallmark of ciabatta.
After the initial mixing, the resting period is crucial. It allows gluten to develop and the dough to rise. This step creates a light, airy structure. Handling the dough with care during shaping ensures that you retain that desirable fluffiness.
Tips/Tricks
To enhance your baking skills, keep these tips in mind. First, use a kitchen scale for measuring flour; it ensures consistency in each batch. Second, ambient temperature affects yeast activity. Warmer environments speed up the rising process, so adjust your resting times accordingly.
If the dough feels too sticky, use a light dusting of flour on your hands and the work surface while shaping. It’s essential to keep the dough’s hydration for the crust to develop well during baking.
Perfecting Your Small Batch Rolls
Perfecting Results
The key to perfecting your Easy Small Batch Ciabatta Rolls lies in patience and practice. Observe the dough during rising; it should double in size. Keep an eye on the rolls while they bake; a golden crust is the perfect indicator of readiness.
After baking, allow the rolls to cool on a wire rack. This step prevents moisture from accumulating underneath, which ensures a crispy footing.
Troubleshooting/Variations
Not every batch will be flawless on the first try. If your rolls don’t rise as expected, consider checking your yeast’s freshness. Old yeast can lead to underwhelming results.
Also, if you crave a different flavor profile, incorporate herbs or garlic into the dough. Just remember to maintain the original ratios to preserve the texture.
Serving and Storing Your Ciabatta Rolls
Serving/Presentation
Presenting your Easy Small Batch Ciabatta Rolls is all about simplicity. Serve them warm, straight from the oven, or let them cool slightly on the rack before plating. They look stunning on a rustic wooden board or in a basket lined with a cloth napkin.
Consider pairing these rolls with soups or salads. Their texture and flavor complement a variety of dishes, making them a versatile choice for any meal.
Pairings/Storage
These ciabatta rolls shine alongside light spreads like hummus or olive oil. They also work wonderfully with charcuterie boards filled with cheeses, olives, and fresh vegetables.
For storage, keep them in a paper bag at room temperature for up to two days. If you want to extend their life, freeze the rolls. Wrap them tightly in plastic wrap, then place them in an airtight container. Thaw them at room temperature when ready to enjoy again.
Conclusion
Embracing the art of baking Easy Small Batch Ciabatta Rolls becomes a journey filled with delightful aromas and connections around the table. The simple ingredients and straightforward steps invite you into a world where bread-making transforms into a cherished ritual. Experience the joy of baking and share the warmth of these rolls with loved ones, creating new memories in your kitchen, one batch at a time.
Print
Easy Small Batch Ciabatta Rolls
- Prep Time: 60 minutes
- Cook Time: 20 minutes
- Total Time: 80 minutes
- Yield: 4 servings
- Category: Bread
- Method: Baking
- Cuisine: Italian
- Diet: Vegetarian
Description
Delightful ciabatta rolls with a crunchy crust and a warm, chewy interior, perfect for any occasion.
Ingredients
- 2 cups all-purpose flour
- 1 teaspoon instant yeast
- 1 teaspoon salt
- 1 cup warm water
Instructions
- In a large mixing bowl, combine the flour, instant yeast, and salt.
- Gradually add warm water and stir until a sticky dough forms.
- Cover the bowl with plastic wrap and let it rest for about 2 hours at room temperature.
- Preheat your oven to 450°F (230°C) and place a baking stone or a baking sheet inside.
- Gently turn the dough onto a floured surface and shape it into rolls.
- Let the rolls rest for 30 minutes while the oven heats.
- Transfer the rolls to the preheated baking surface.
- Bake for 15-20 minutes until golden and crusty.
- Allow to cool on a wire rack before serving.
Notes
For best results, use a kitchen scale for measuring flour, and adjust resting times based on ambient temperature.